Monthly Archives: December 2013
WIP: Reaper Kickstarter Sophie cont.
I decided Sophie’s bikini top should be a bright purple, so I used VMC Purple to basecoat it. I also wanted her boots, shorts, and jacket to be black, so I basecoated them a dark grey – RMS Stormy Grey.


WIP: Reaper Kickstarter Sophie cont.
I finally got to put paint on the model! I feel like I’ve been working on Sophie forever, yet I just started painting her.
I used Reaper Master Series Bronzed Shadow, Rosy Skin, and Fair Skin for Sophie’s skin (except the wings).


I also decided she needed a little light makeup. I used Vallejo Model Air Mahagony and Vallejo Model Color Azure. VMA Mahagony mixed with glaze medium was applied to her lips, and mixed with a little RMS Rosy Skin and applied lightly to her cheeks. VMC Azure was mixed with a little RMS Rosy Skin and applied to her eyelids. Then I took straight RMS Pure Black and put in eyeliner/mascara, and I used VMA Mahagony mixed with a tiny bit of RMS Pure Black to draw in her eyebrows.
Here’s my palette at this point. The two bits of paint above the wells of skin colors are her makeup.

The next thing was her hair. It was first basecoated with Vallejo Model Air Mahagony. I absolutely love that color…it is so versatile! I then used gradually increasing amounts of Vallejo Model Color Light Orange to highlight, then I mixed a little of the original Mahagony and some glaze medium and glazed over her hair to make it a little less orange.

More soon!
WIP: Reaper Kickstarter Sophie cont.
I did more surface prep and assembly of Sophie.


Then I finally got to prime her (with Vallejo grey surface primer as usual)!


WIP: Games Workshop Dark Angels Company Master cont.
I’ve been super busy lately with holiday prep stuff, so I haven’t had as much time to paint as I’d like. I did get a little work done on the Company Master though. I worked a little more on his sword, and I began basecoating the areas that will be gold.

The girls say hi!

And this little angel is part of what has kept me so busy!

Paint and brush racks by TheIronBow
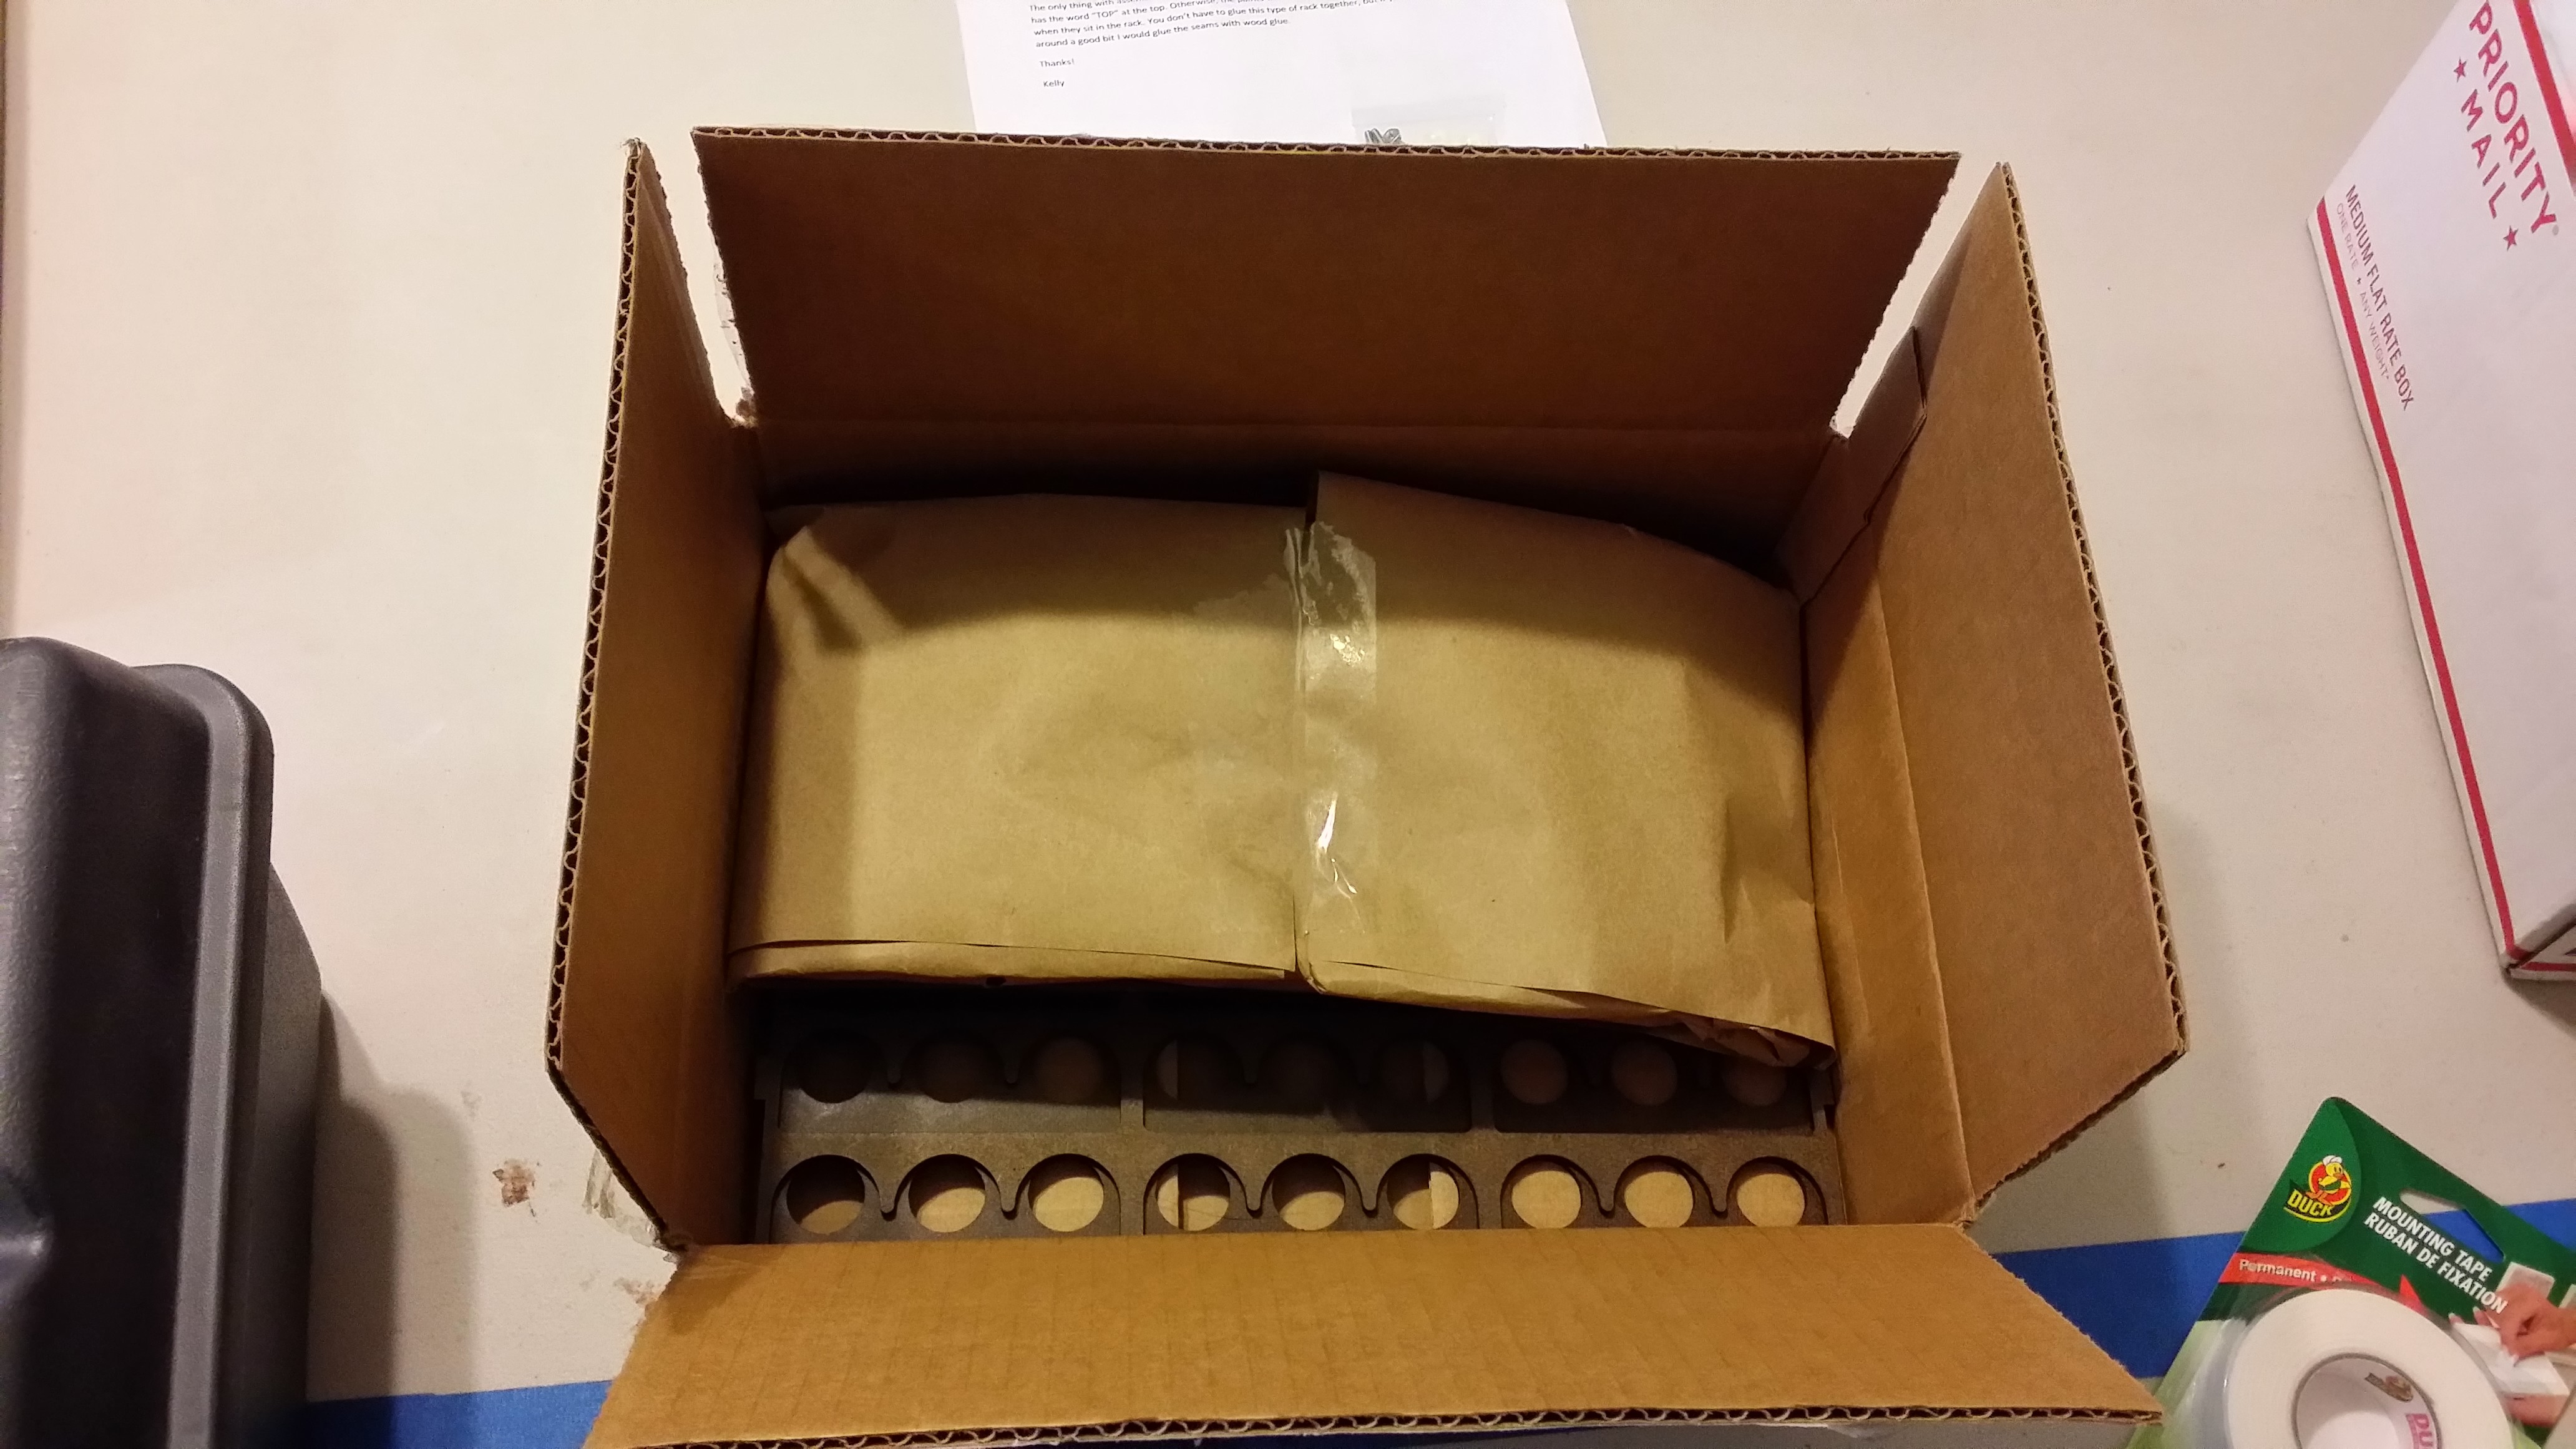
Recently I received very nice racks for brushes and dropper bottle paints from an Etsy store called TheIronBow. They shipped quickly, and they were well packed with a letter that included instructions on assembly.

The paint rack is completely vertical and holds 54 dropper bottles. Its assembly was extremely simple and required no tools.

Assembly on the brush rack was a little tricky. The letter gave some basic information about assembly, but for the most part you are on your own to figure it out. I had a little trouble. I wanted to assemble it without tools or glue as it really seemed like you ought to be able to considering how the parts are held together. I did manage to do it without tools, but glue was necessary for me. Here’s how I ended up doing it:

Whoops!

That’s better..
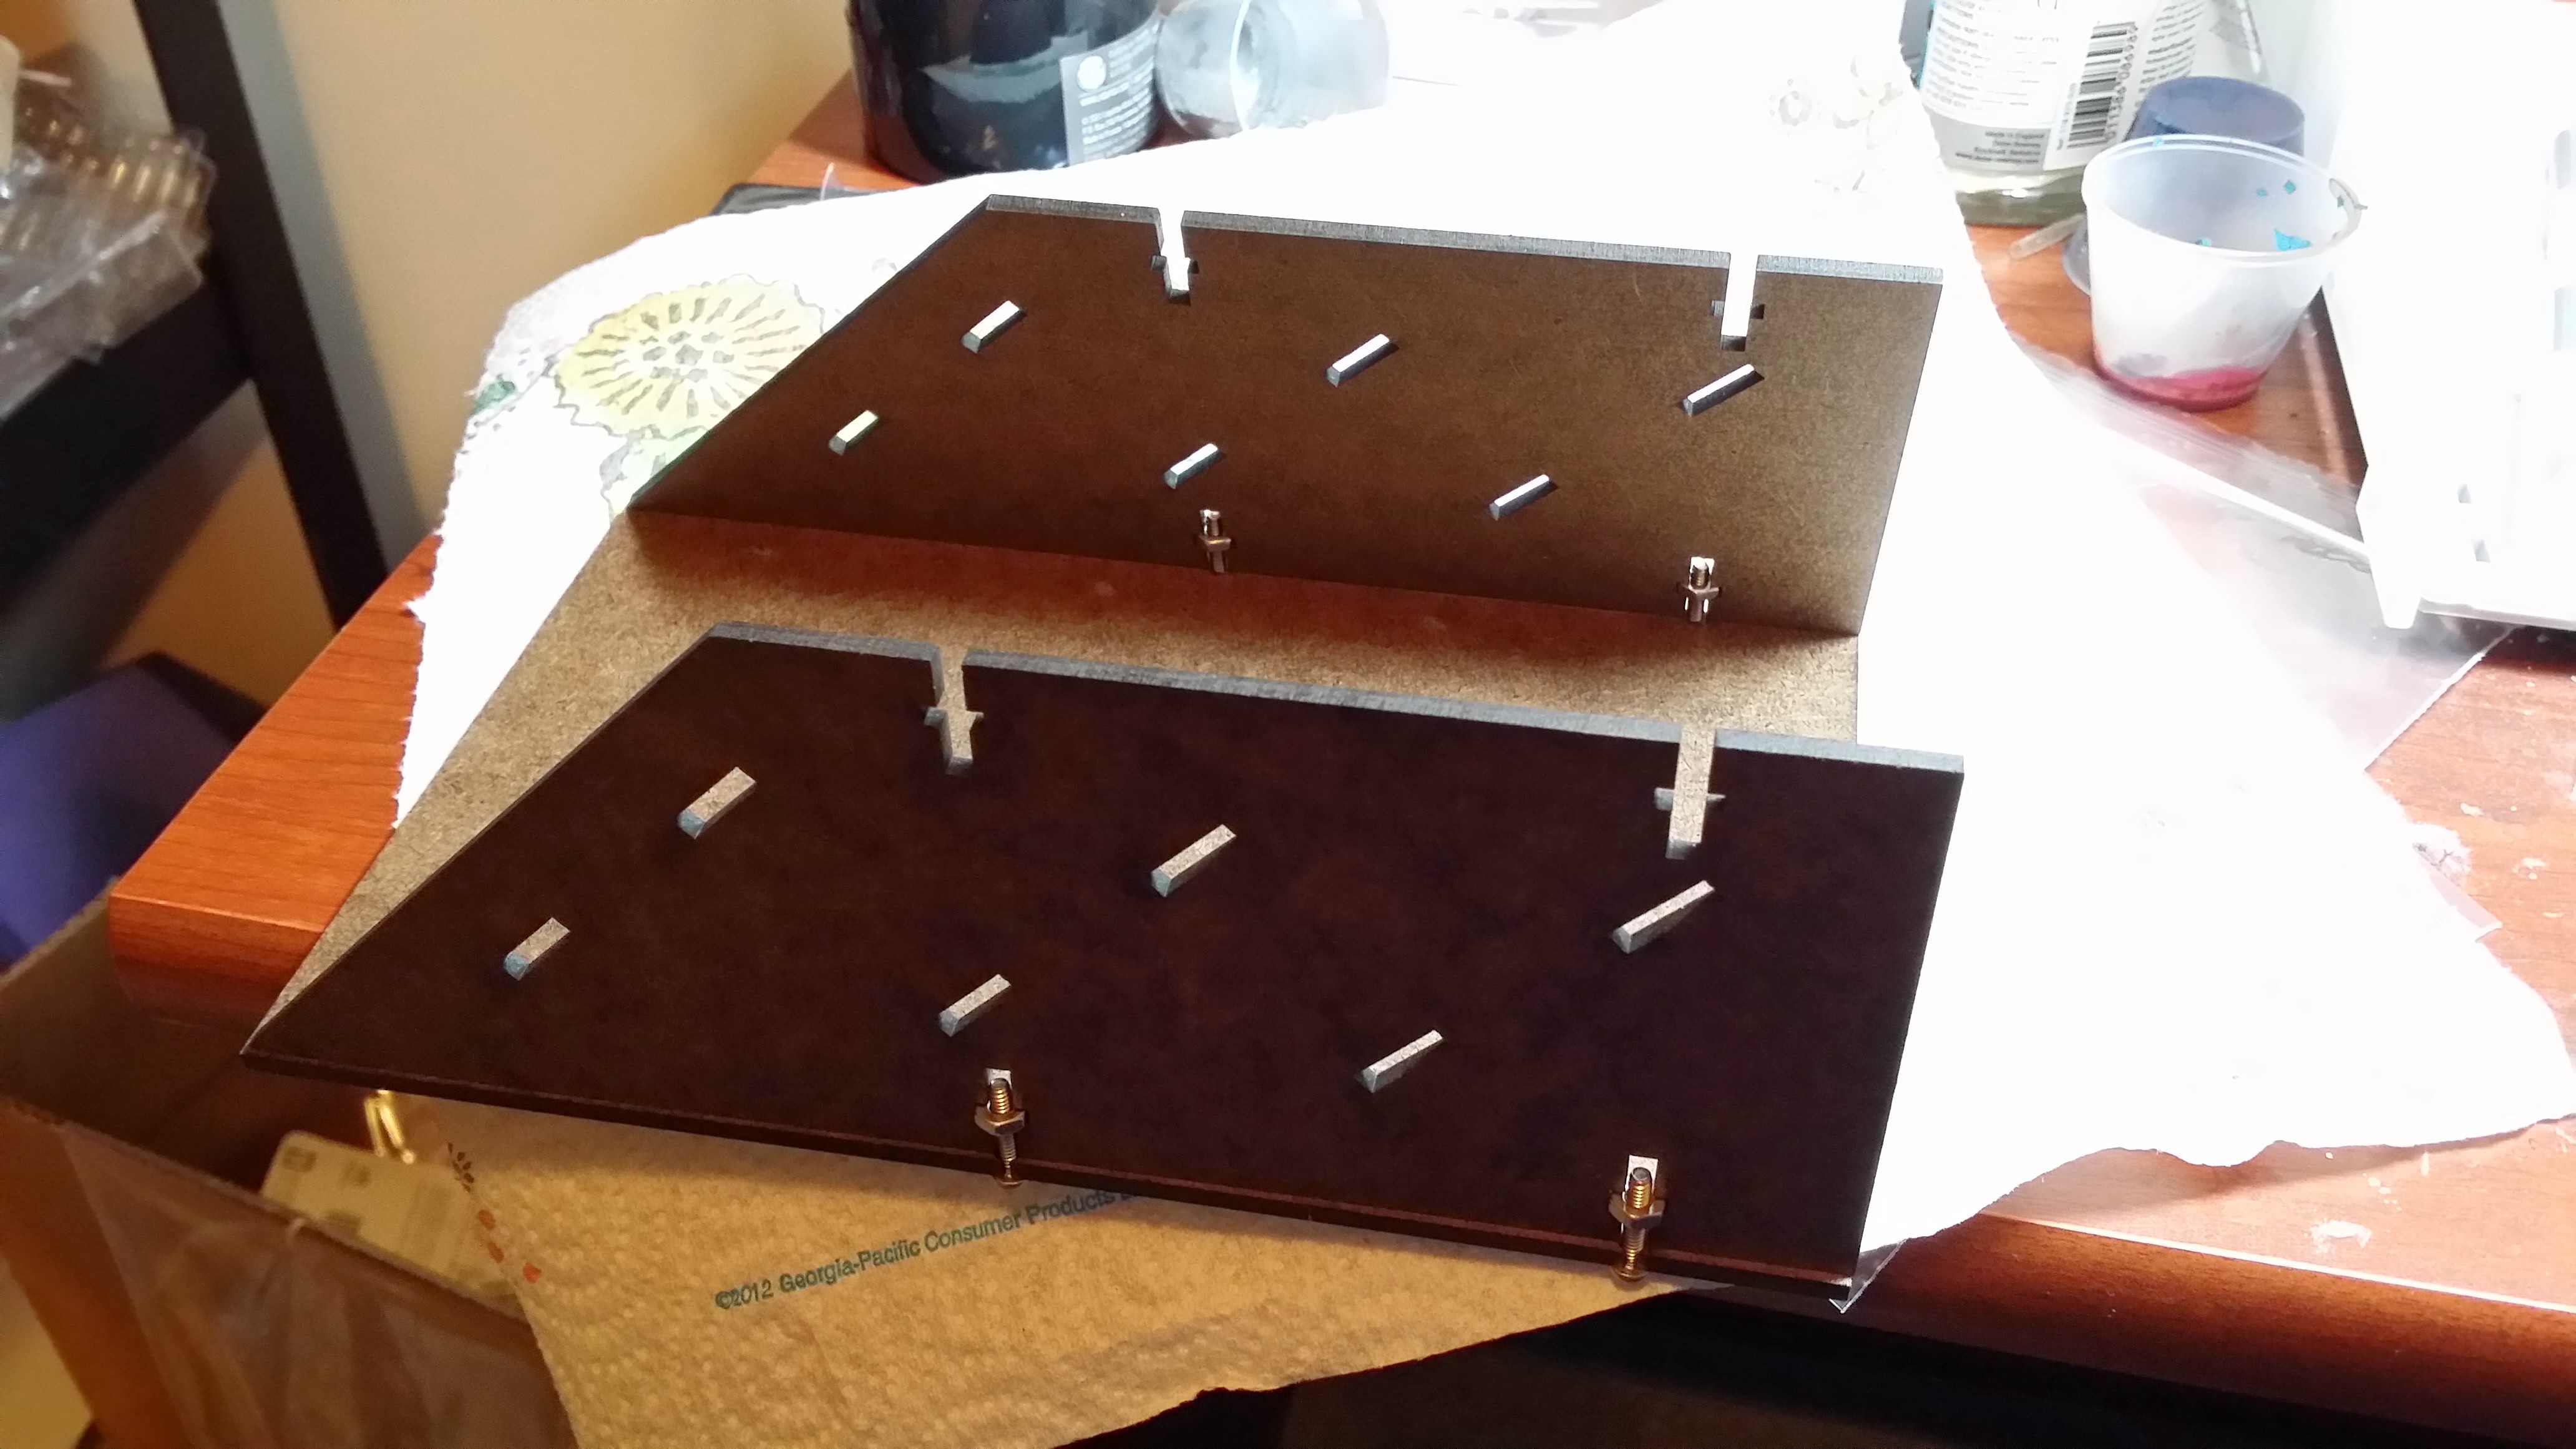
No glue yet…
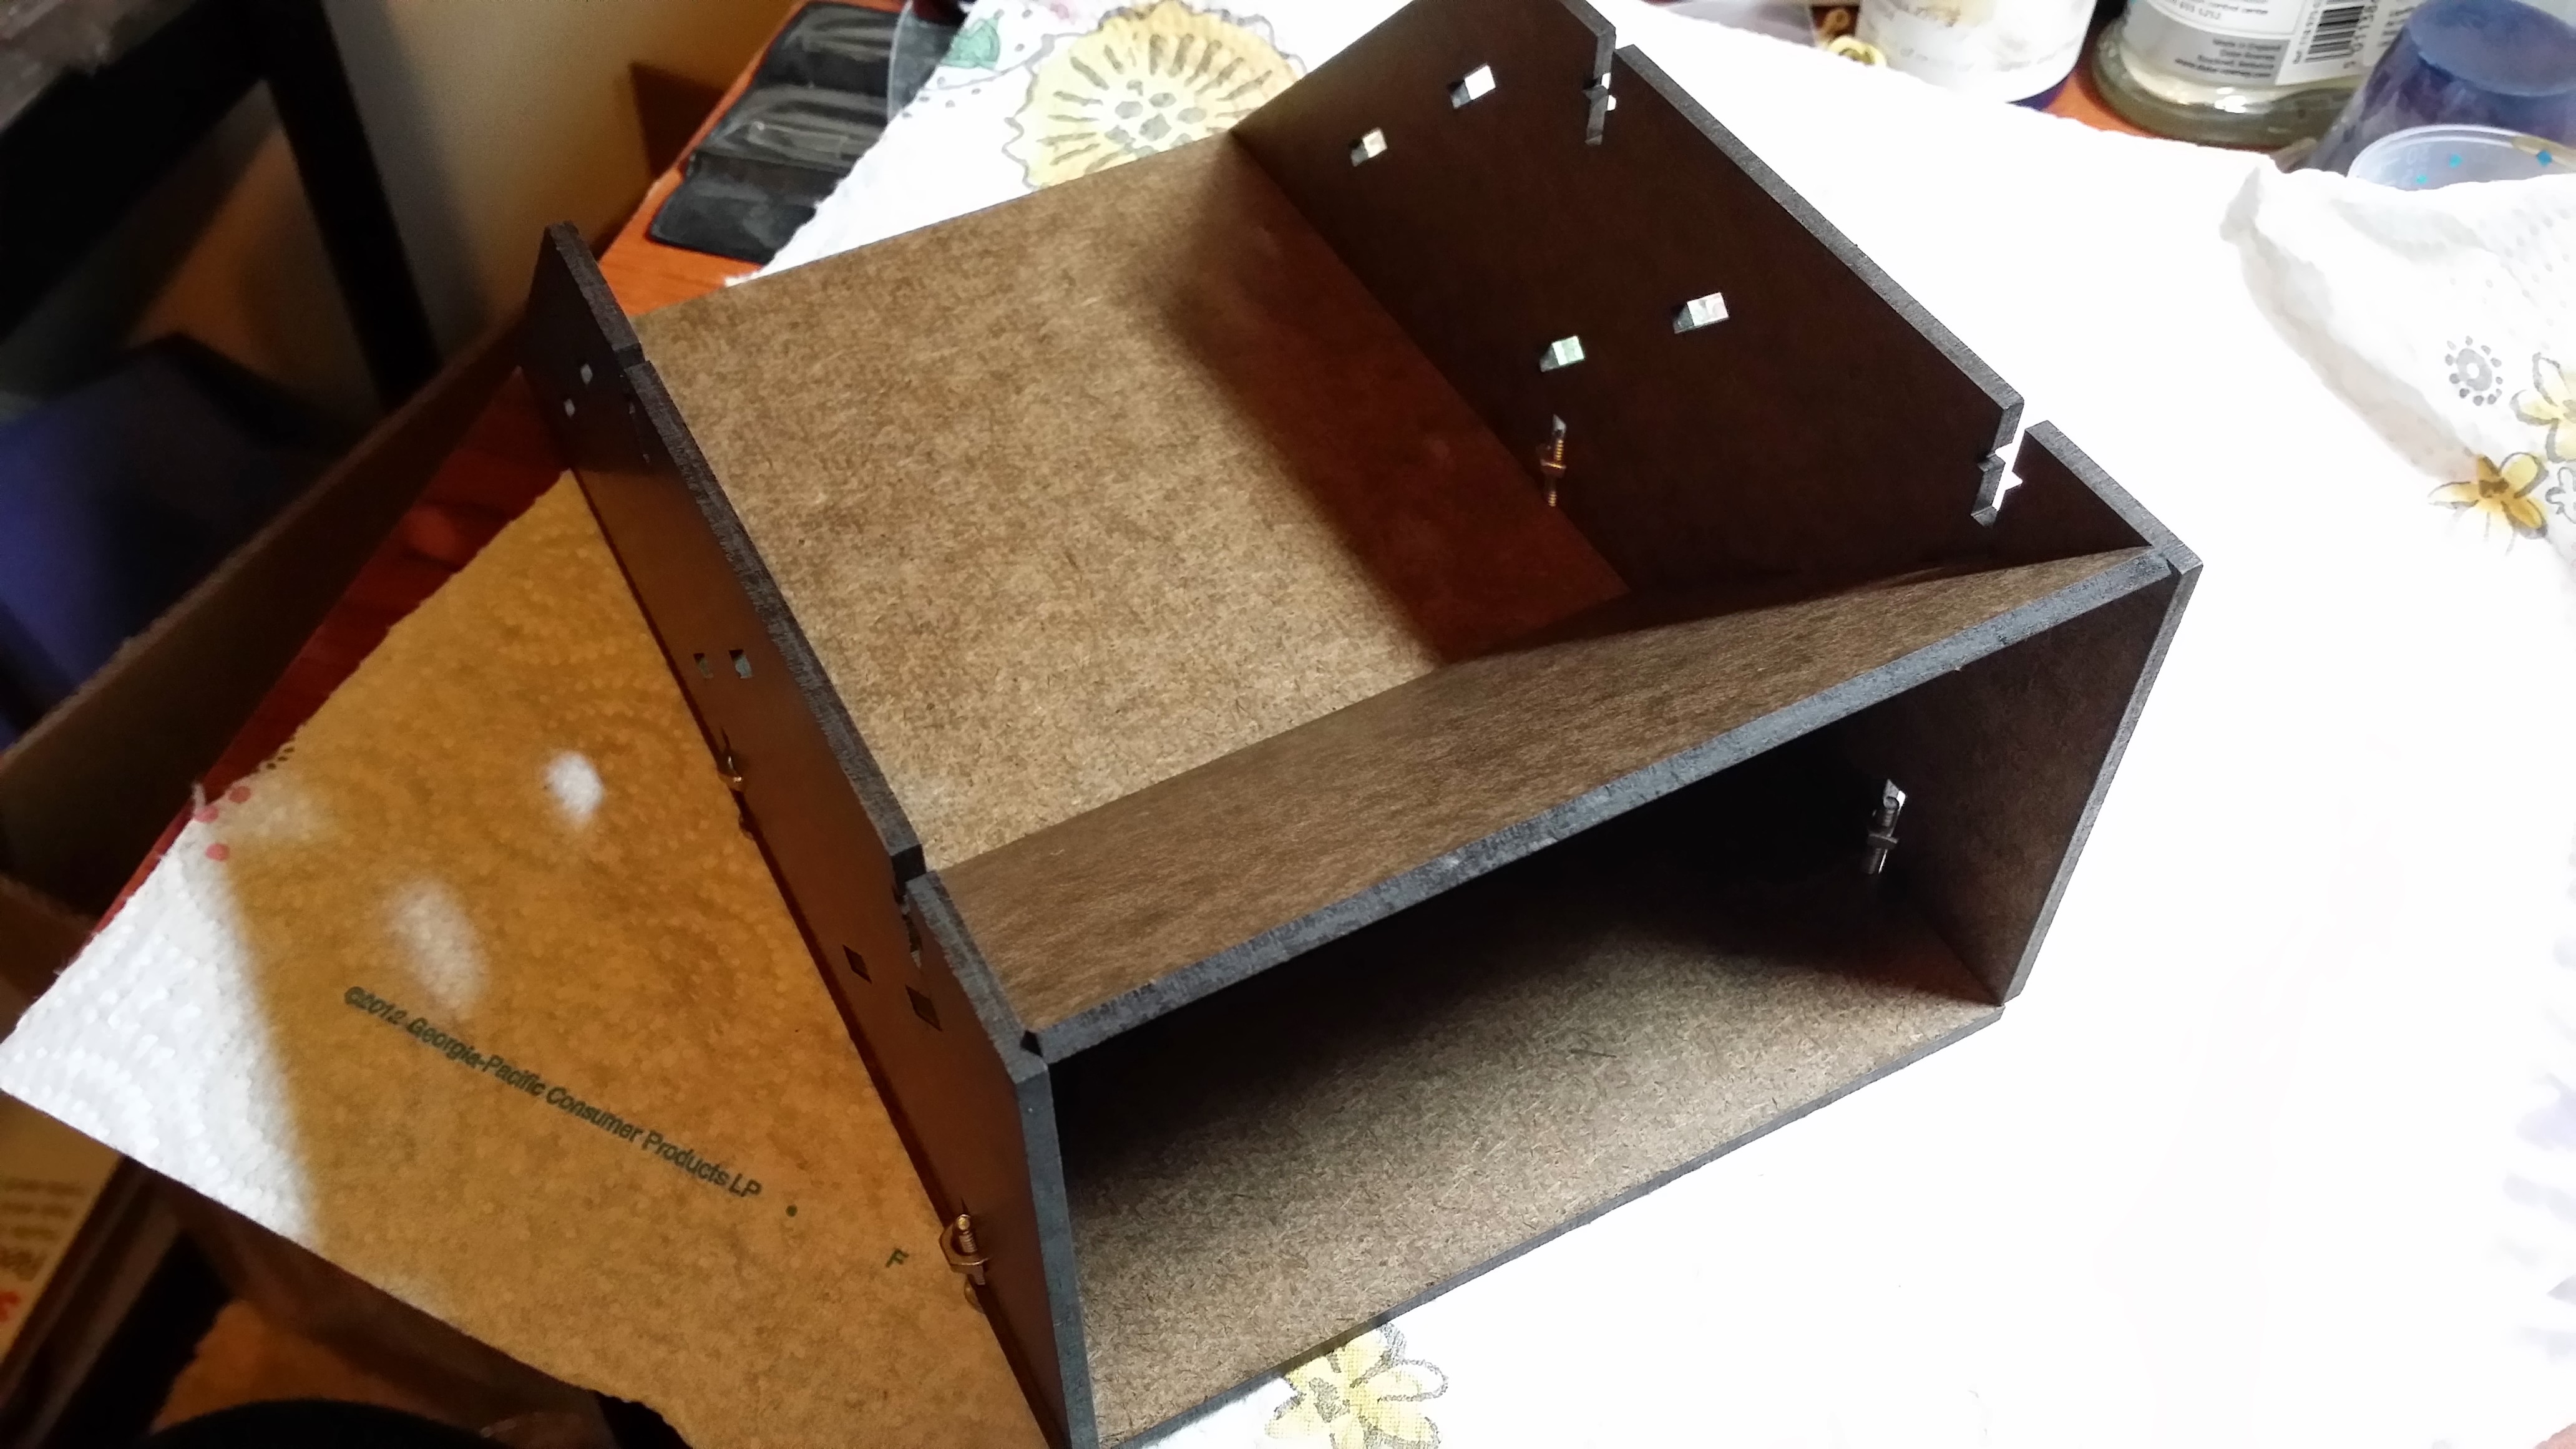


At this point I had to glue the side on in order to get the front on. When I tried without glue the tabs kept coming out of their slots and the whole thing would fall off one side or the other of the back piece. Honestly, most of my troubles stemmed from not wanting to use glue, and the letter did mention that glue would make it easier!

Here it is fully assembled with my brushes in it. As you can see, it will hold a ton of brushes and tools.

For a size reference, here are both racks in my workspace. The paint rack is especially compact considering it holds 54 bottles. That is just over half of what one of my wall racks will hold, and its facing appears to be about 1/3 of the facing of my wall rack. The wall rack isn’t as deep though. I think it would be totally reasonable to have a couple of these paint racks sitting around the edge of your workspace – you would still have almost the entire space remaining and all of your paints would be in easy view and reach. The brush rack also takes up very little room and can hold basically any brushes and tools, although I’m not sure about the triangular Army Painter brushes if you use those. At $20 each, the price is very reasonable. Both racks seem to be solid once built, and probably will hold up very well to typical use.
TheIronBow also sells several other types of paint racks that are good for craft paint and paints that come in pots. In addition, there is a caddy for larger bottles and a rack that holds both paints and tools together. They also sell dice towers, and they seem to do custom orders as well.
Check out TheIronBow at http://www.etsy.com/shop/TheIronBow!
WIP: Games Workshop Dark Angels Company Master cont.
I started on the wet-blending on the sword:

I also changed the color of the wings on his helmet and basecoated the little bit of leather he has. Soon I will finish the sword, leather bits, NMM gold details, and then do the base. This model has really been one that looks messy until it comes together in the end, and I’m nearing the end so it better come together!
WIP: Reaper Kickstarter Sophie cont.
I’ve been working on Sophie, but that model is being a real bear. It comes in way more pieces than it ought to, and they all have gaps, and pock marks, and spidery cracks. Also, apparently Reaper must have hired someone to squash and twist models before they go in the blister pack. The handle bars have her hands sculpted on them, and they were mangled in the blister. The motorcycle itself is in three pieces that don’t fit well. The front wheel attachment is smaller than the area it attaches to, so that required some green stuff work. Then the front of the bike attaches to the back of the bike at whatever angle you please, except that if you put it at the wrong angle then the mangled bars won’t reach Sophie so her hands can attach. Also, it’s next to impossible to dry fit the thing without at least partially assembling it, but assembly is so fiddley… Apparently Sophie is meant to float a little above the seat like she’s in the middle of getting on it and still has the toes of one foot on the ground, so the awful hand-on-handlebars situation is the only way she really attaches. And then there’s the wings…which are huge and I’m worried that they may not fit between the ground and the handlebars at the angle things are currently together. I like the sculpt, but I’m really ready to be done with this part of the process.
All the individual pieces:

Front end green stuff:

Brushes!
A few weeks ago I was in the market for some new Windsor & Newton Series 7’s. I was perusing DickBlick.com and noticed that the W&N Series 7’s were mostly out of stock with no expected restock date. That was obviously very troubling, so I took a look at my other options. Obviously Raphael 8404’s are a great option, but I was curious about the DickBlick Studio (not to be confused with their Master line!) brushes so I bought one. Over the last couple weeks I’ve been using a DickBlick Studio size 0 round sable for most of my work to compare with the Raphaels and the W&Ns.
For a very inexpensive brush, the DickBlick brush is pretty nice. It holds a tip very well. I can’t speak for long-term use, but over a couple weeks it’s kept its ultra-sharp tip as well as I’d expect a Raphael 8404 or W&N Series 7 to with the same care. The only thing about its shape I’m not completely happy with is that if you use warm water to clean it that is maybe the hotter side of warm (but still something you can keep your hands in), it may become slightly deformed. My brush now leans to one side a little after the first time I cleaned it. That has not happened with any of my Raphael’s or W&N Series 7’s.
I typically use a Raphael 8404 for blending. It holds a ton of paint, and the bristles are fairly firm, but soft enough to allow for very smooth brush strokes. The DickBlick bristles aren’t nearly as firm as even the Raphael 8404, but the brush is still more than capable of smooth blending. The bristles, however, are very short in comparison and don’t hold very much paint. In retrospect, I probably should have purchased a size 2 instead as that’s a size I use a lot anyways and it would hold a bit more paint.
For everything except blending I typically use a W&N Series 7 because the bristles hold a super sharp point and they feel a lot more firm than the Raphael 8404. This affords me the most control, and overall these brushes have my absolute favorite feel. For very fine detail, such as tiny eyes, this is absolutely necessary.
For basecoating, the DickBlick brush was fine, just not what I was used to. It also held less paint than the W&N Series 7, which means you can’t get as much coverage from each time you fill your brush. This does slow you down a bit.
When doing tiny details the DickBlick studio brush is also capable, but I still prefer the firm feel of the W&N Series 7’s. I had a more difficult time than I’m used to painting tiny things like eyes, but in the end they still got done.
Overall, if you aren’t able to invest the $12-15/brush for Windsor & Newton Series 7’s or Raphael 8404’s, the $6-9 DickBlick kolinsky sable brushes are probably your next best bet. They are certainly much better than synthetic brushes, and those typically run about the same price. They are also far and away better than the cheap-o “sable” brush sets you can find in any craft store, and those are a similar price as well.
DickBlick kolinsky sable round brushes: http://www.dickblick.com/products/blick-studio-sable-brushes/
Raphael 8404 brushes: http://www.dickblick.com/products/raphael-kolinsky-red-sable-fine-pointed-round-series-8404/
Windsor & Newton Series 7 brushes: http://www.dickblick.com/products/winsor-and-newton-series-7-kolinsky-sable-pointed-round/
EDIT: At this time it appears that all of their Kolinsky sable brushes are running out of stock with indefinite backorder, and as far as I know this is due to THIS unfortunate bit of bureaucracy. There are still a few sites you can get W&N Series 7 brushes and Raphael 8404 brushes at, but not the DickBlick studio brushes. Hopefully this will be resolved soon.
WIP: Games Workshop Dark Angels Company Master cont.
I got a little more work done on the Company Master today. I worked up the highlights on the robes a bit higher, and I darkened the shadows on the cloak a bit. I also started painting the insignia and other details. Don’t worry about the blue on the sword, it obviously isn’t done yet!

WIP: Reaper Kickstarter Sophie
Well I’ve been working on cleaning up Sophie. Overall the cast wasn’t too bad…I’ve certainly seen worse from Reaper, and from metal models in particular. That Reaper Kagunk a little while back had all kind of holes and he was even missing an ear originally, so I’m glad Sophie isn’t suffering from all that. The worst of it is a gap where the tire attaches to the bike and a misaligned mould:

Hopefully in the next day or so I will be able to pin, assemble, and prime her.
She didn’t come with a base, but I have a spare 60mm round that I could do something nice with. I need to figure out exactly what will be on her base as well as what colors she is going to be before I can go any further than priming!
