Quick Tabletop High Elf Prince on Griffon
This is just a quick-and-dirty (but not actually dirty!) how-to for a tabletop level High Elf Prince on Griffon from the Island of Blood boxed set.
First, clean the mould lines, assemble, fill gaps, etc. as desired. Next, prime with zenithal lighting. This will give you basic, strong lights and darks to start with.

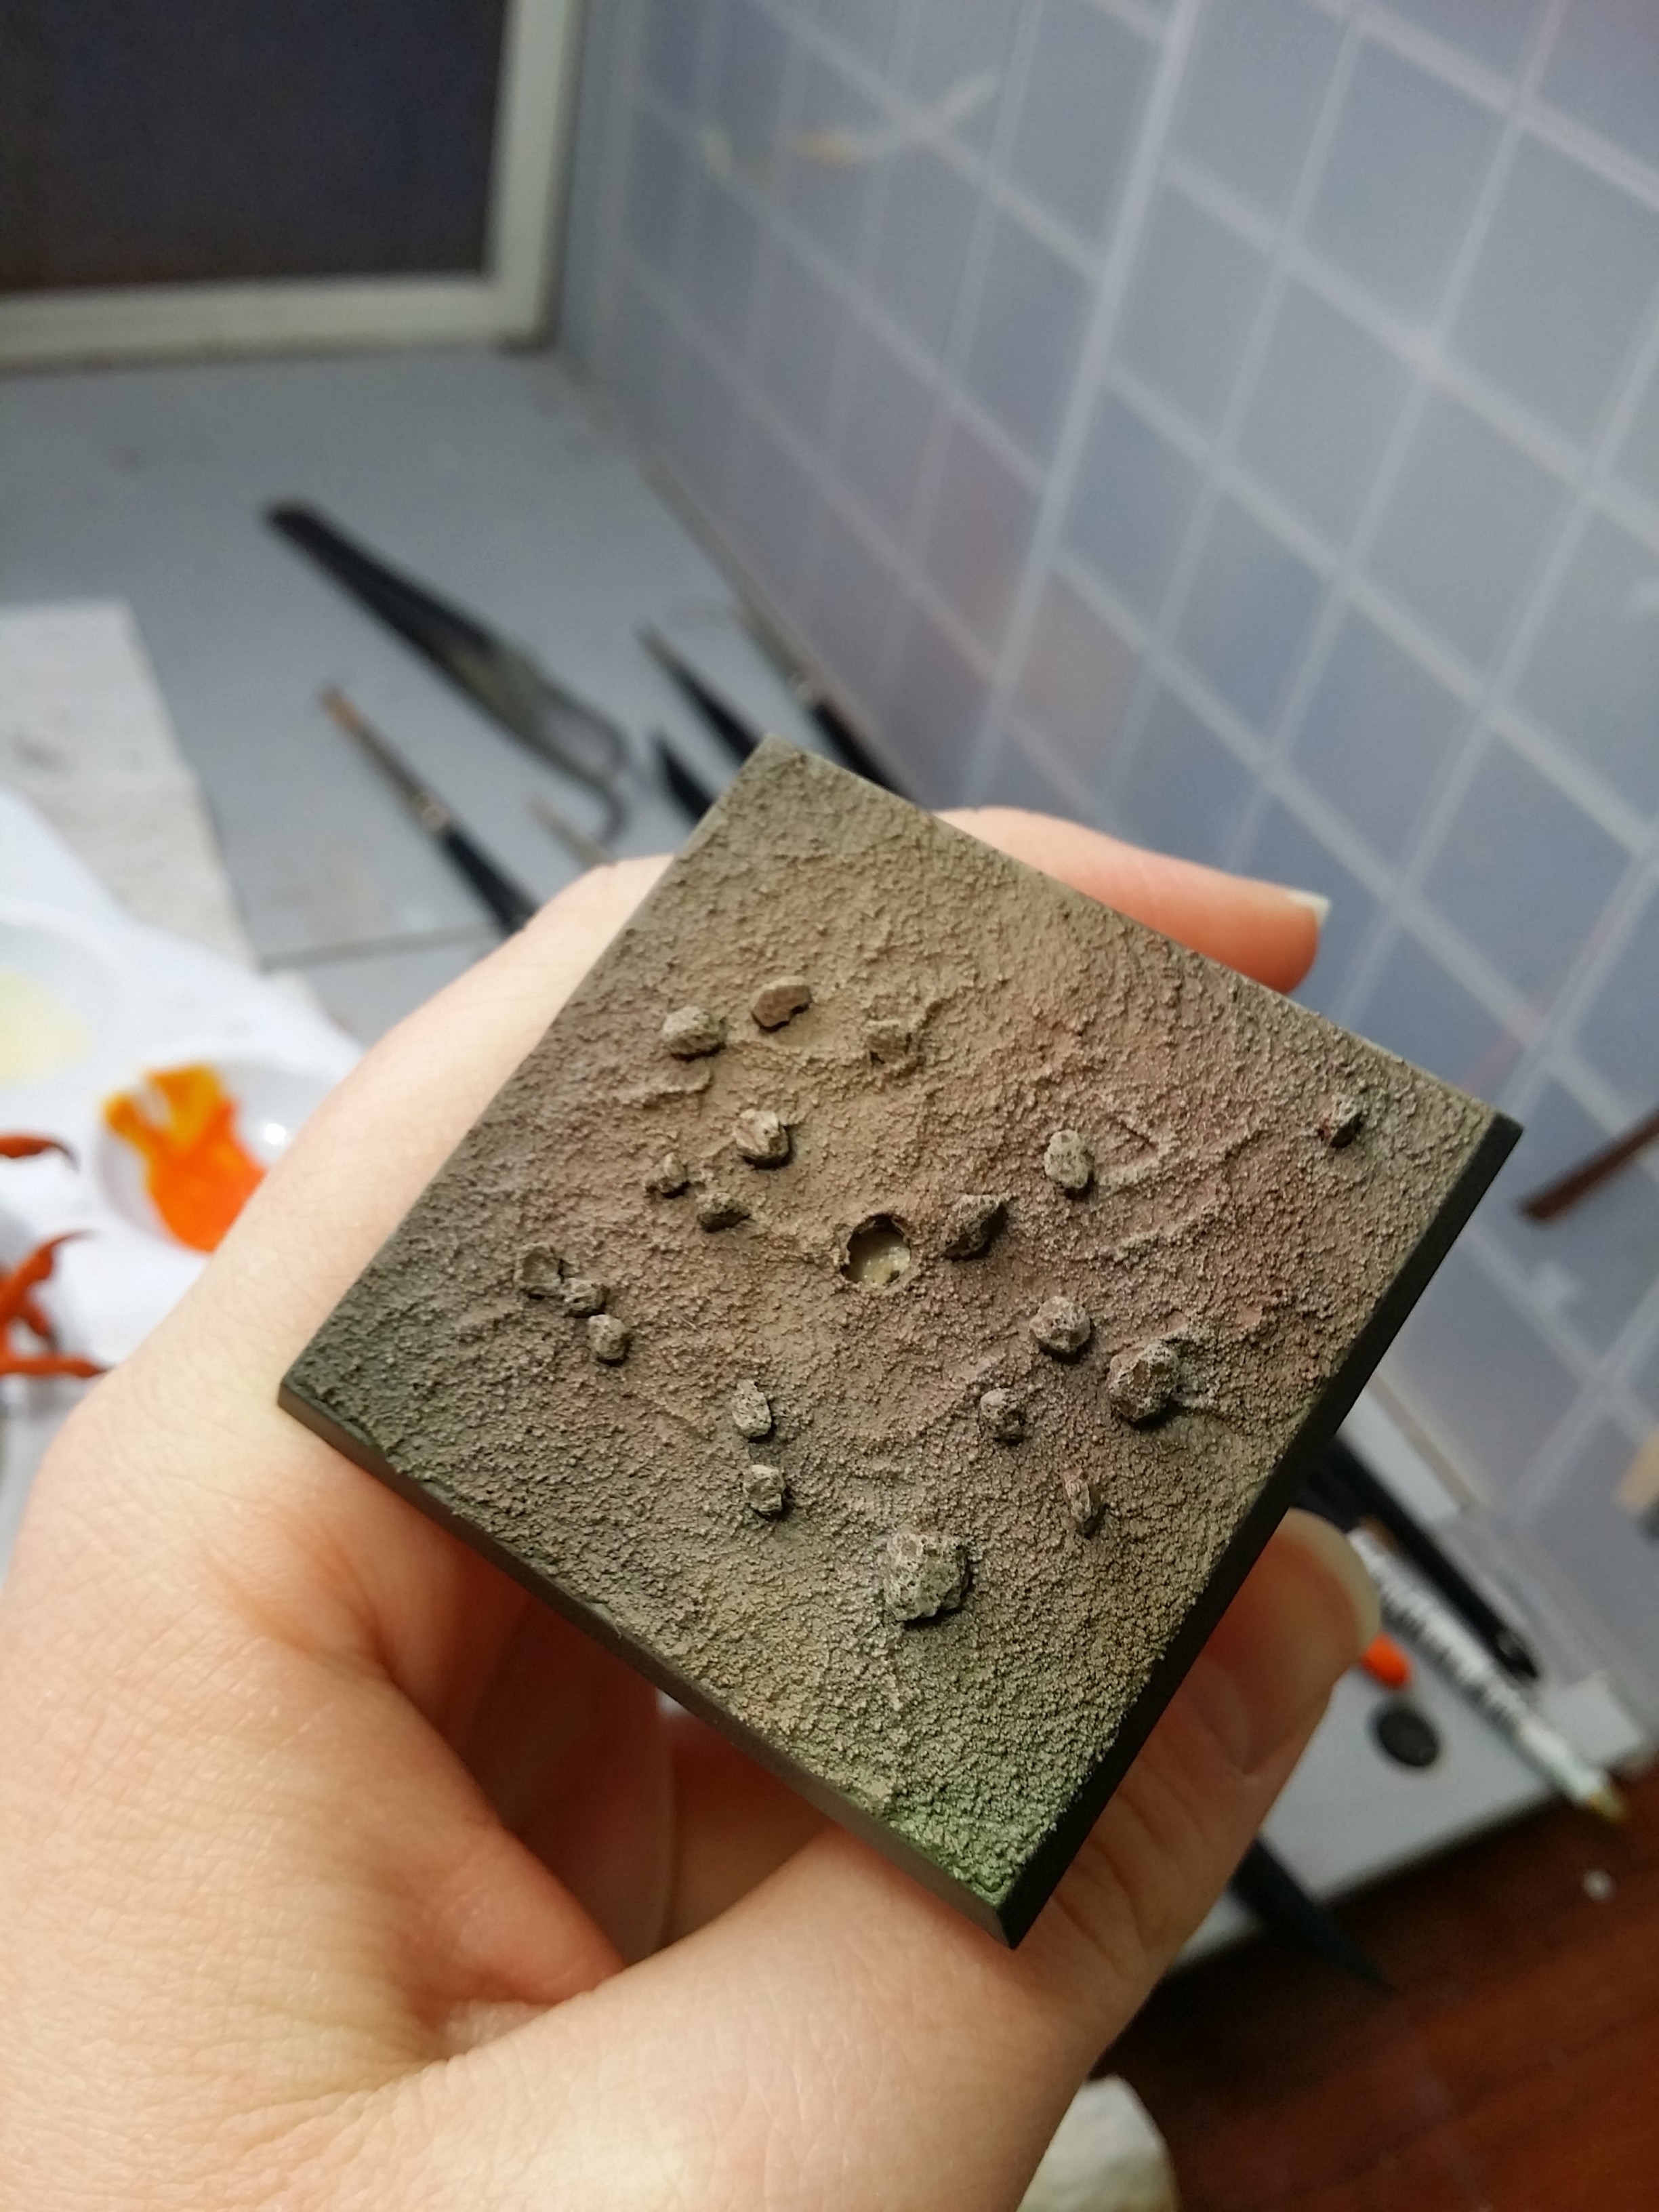
Next it’s a good idea to get the base started so it can dry while you paint the griffon. I used Vallejo Red Oxide Paste and added a little large-ish ballast while the paste was still wet (it’s an excellent glue). You could just as easily coat the base with PVA glue and apply sand.

Now you need to select a light, medium, and dark shade for the flank of the griffon. I used RMS Golden Highlight, RMS Golden Shadow, and RMS Olive Skin Shadow. For the quickest work, use an airbrush to apply the paints. If you don’t have one, then a large brush will go a long ways to speeding things along. As long as you maintain your brush tips, even very large brushes can paint very tiny details. Details as small as eyes can be painted with the tip of a size 3 W&N Series 7, so the flank of a High Elf griffon should be no problem. Also, paint the base coat on the feathers. I used RMS Creamy Ivory.

The next step is to wash the feathers on the wings. You could also wash the feathers on the body at this point, although I didn’t do that until later in the process when I painted this model. I used a watercolor wash, but you could use a premade wash, watered down acrylic paint, or an oil wash. All will have results that are a little different, but all should still turn out fine. If you plan to use an oil wash, make sure to remember to satin varnish before you apply it so you can effectively clean it up after.
Here’s my watercolor wash before clean-up:

After I cleaned up the watercolor wash, it was time to drybrush the wings. I used RMS Linen White, which is a little lighter than the original base of Creamy Ivory, but not a stark white.

At this point, check your base. If it’s dry, then it’s time to start applying paint to it. I airbrushed it, but if you don’t have that option then make sure to use a large brush. Make sure to switch away from your really nice brushes so the rough texture of the base doesn’t tear up the bristles! I covered my base in VMA Black, then RMS Olive Skin Shadow. I also applied a little VGC Goblin Green and RMS Sandy Brown to make it more interesting.
Now it’s time to work on the details of the griffon. First, paint the legs and beak a color of your choice. I used RMS Explosion Orange. After, wash the legs and beak. I used Army Painter Strong Tone Ink. I really like the Army Painter inks for making quick, neat work of things like this. I feel like they apply a lot easier than GW washes, and they stay where you put them.

After, I applied VMA Black to the tip of the beak and the talons.

At this point I washed the rest of the feathers, but it would have been fine to do that earlier as well.

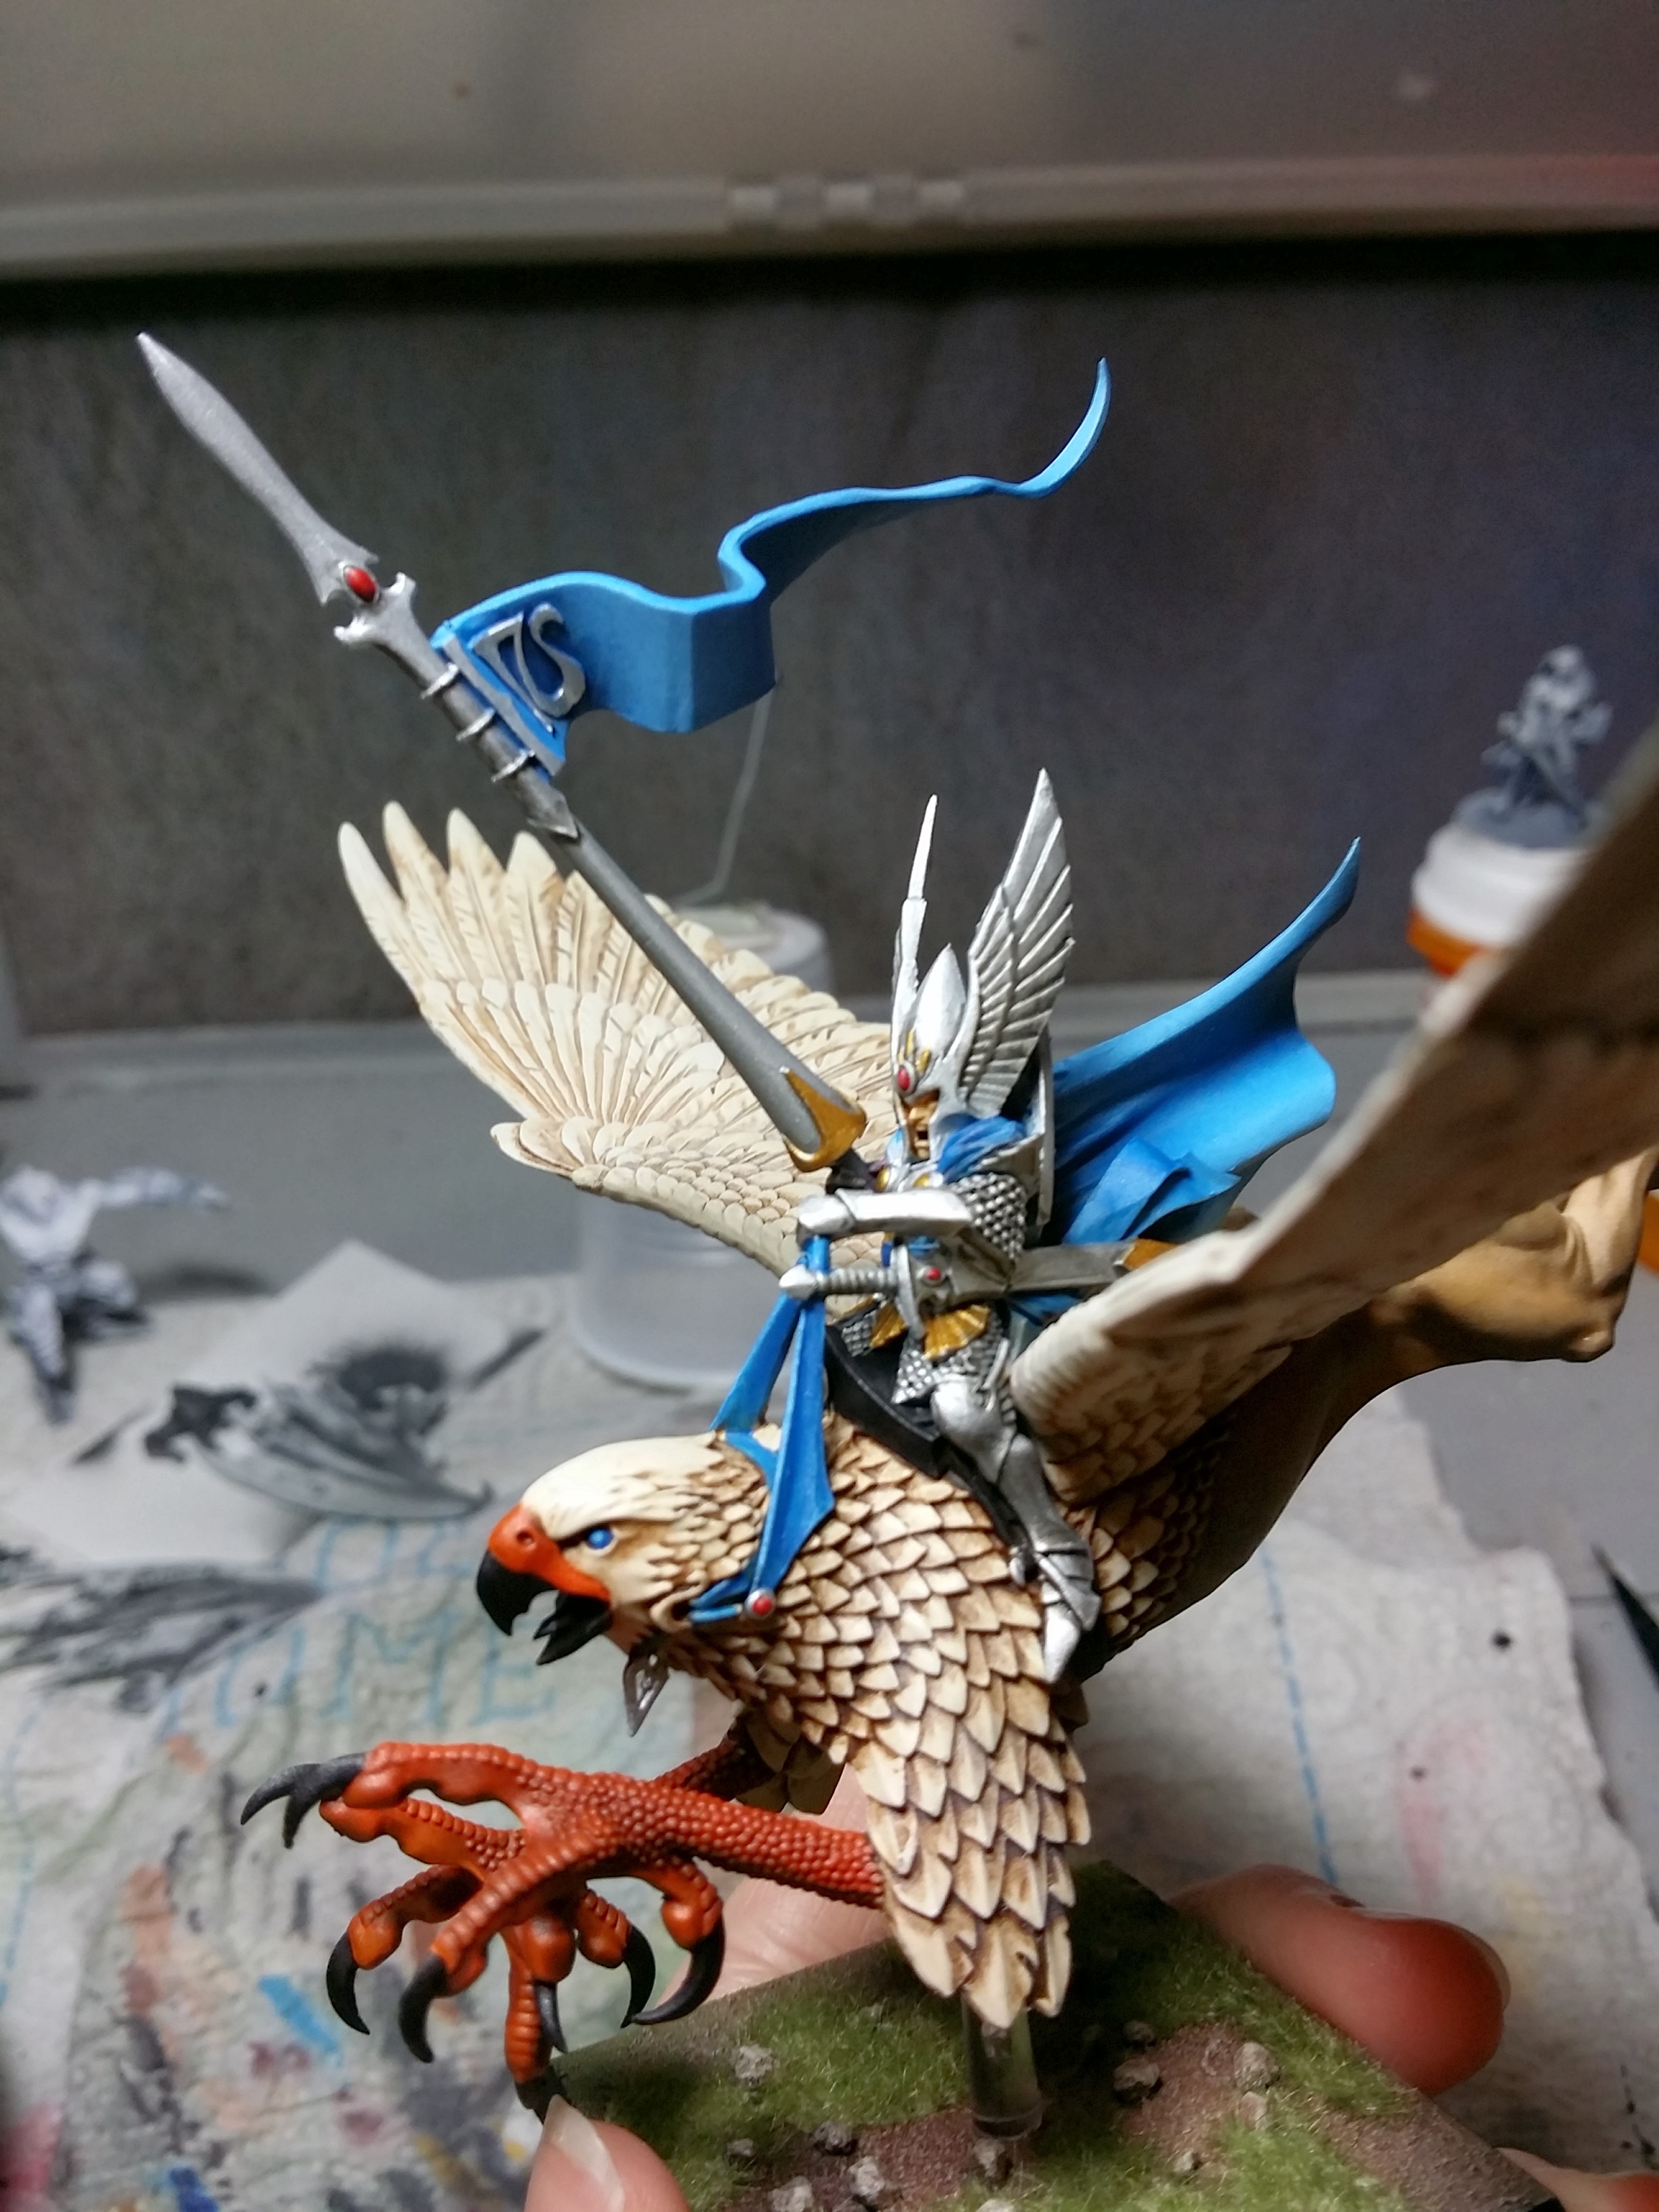
Drybrush the body feathers the same as the wing feathers, and now it’s time to get to the tiny High Elf Prince. If you’re airbrushing, mask off the top of the griffon under the cloak. I used a couple small strips of blue painter’s tape. Because of the zenithal priming, a shadow color really isn’t necessary on the cloak and banner, so pick a mid-tone and a highlight. I used RMS Sapphire Blue and RMS Sky Blue. Apply these colors to the cloak, banner, reigns, griffon’s eyes, and the rest of the cloth on the prince. I washed the tiny bits of cloth on his body with Army Painter Blue Tone Ink before highlighting for a little extra contrast.
Next, apply a skin color to the prince’s face and wash. I used VGC Elf Skin and Army Painter Strong Tone Ink. After that, apply a silver to the armor and lance. I used VMA Aluminum.
When that paint has dried, wash the armor. I used a thinned VMA Black as a wash.
While that dries, drybrush your base. I used RMS Terran Khaki.
When your wash has dried, clean up the silver metal where necessary. Then apply gold where you choose. Also, paint in the gems on the elf and any other tiny details that are left.
Apply flock to the base, attach the model, and you are done!


Picture of him will go up in the gallery soon!
Posted on March 17, 2014, in Games Workshop, Tutorial, Warhammer Fantasy and tagged Games Workshop, High Elves, Miniature Painting, Prince on Griffon, Tutorial, Warhammer, Warhammer Fantasy, WIP. Bookmark the permalink. Leave a comment.

Leave a comment
Comments 0