Category Archives: Scibor Miniatures
Stone and Skull Scibor Resin bases
Recently, I painted a set of 18 resin Scibor bases for a unit of Dwarfs that I painted previously.
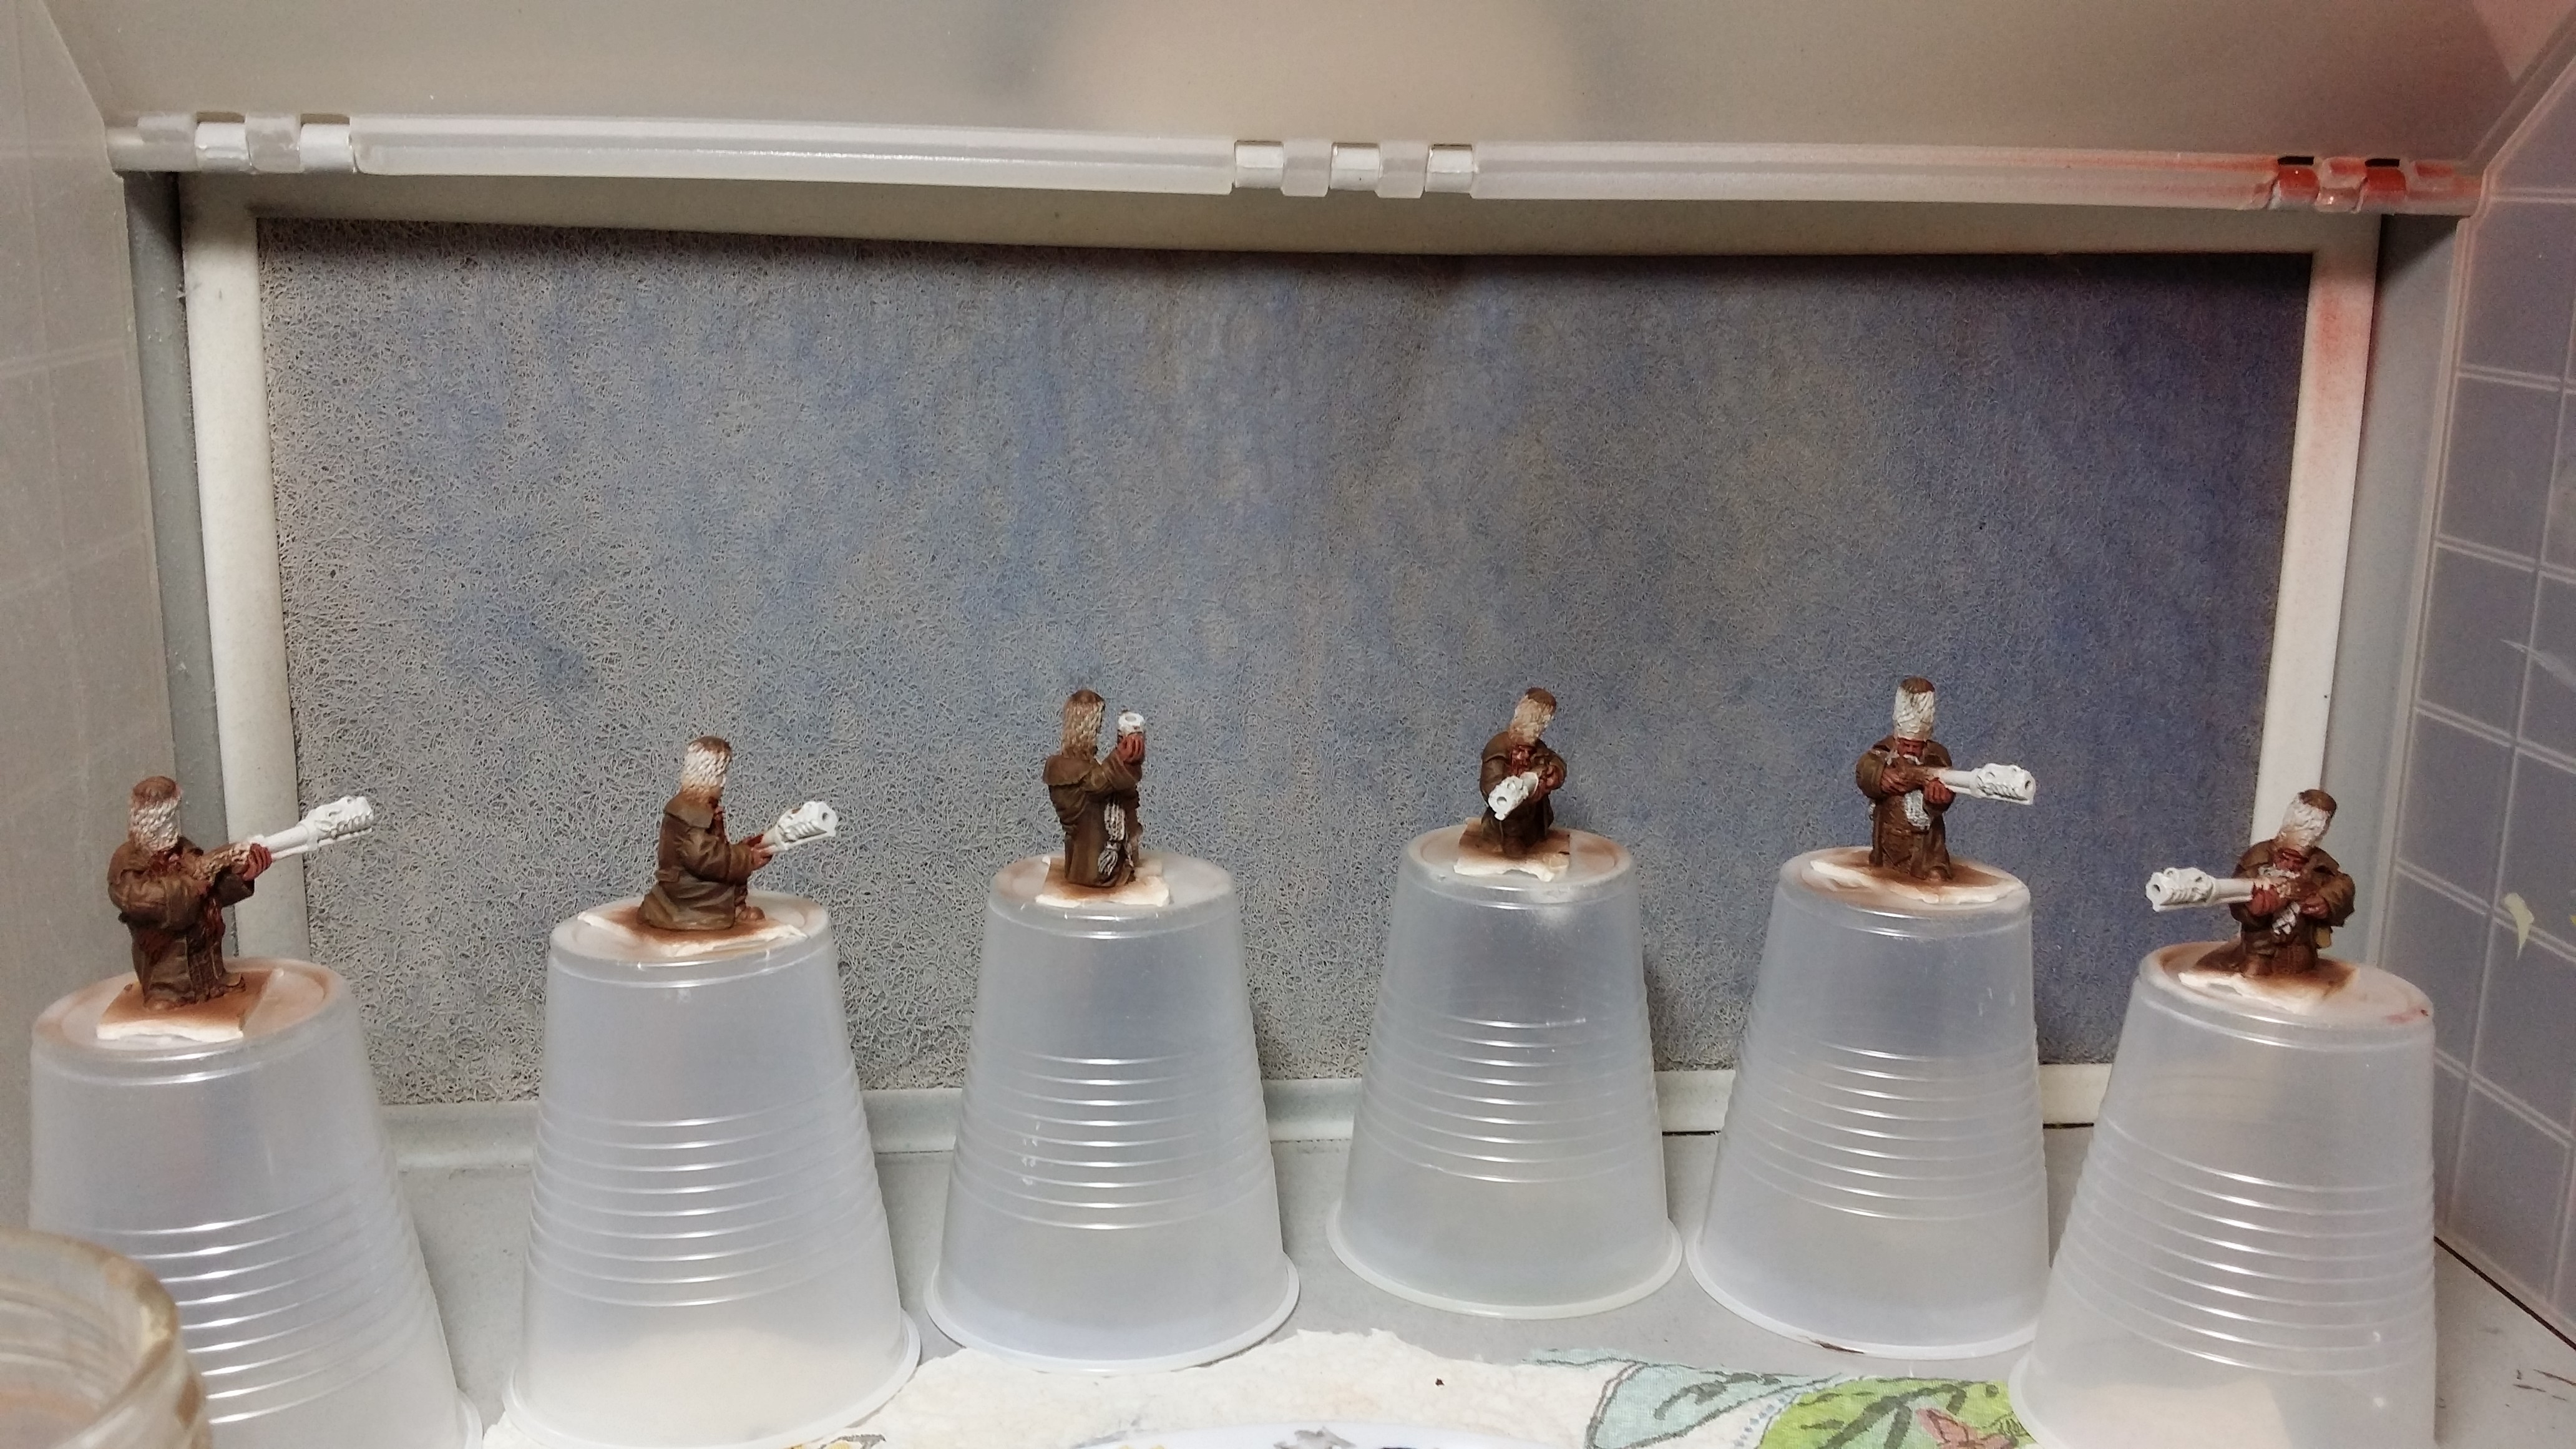
The first thing I did was wrap some craft sticks in painter’s tape, and then put the bases on the stick for airbrushing. This is probably the easiest way to hold them for airbrushing, and it can really help speed up the process.
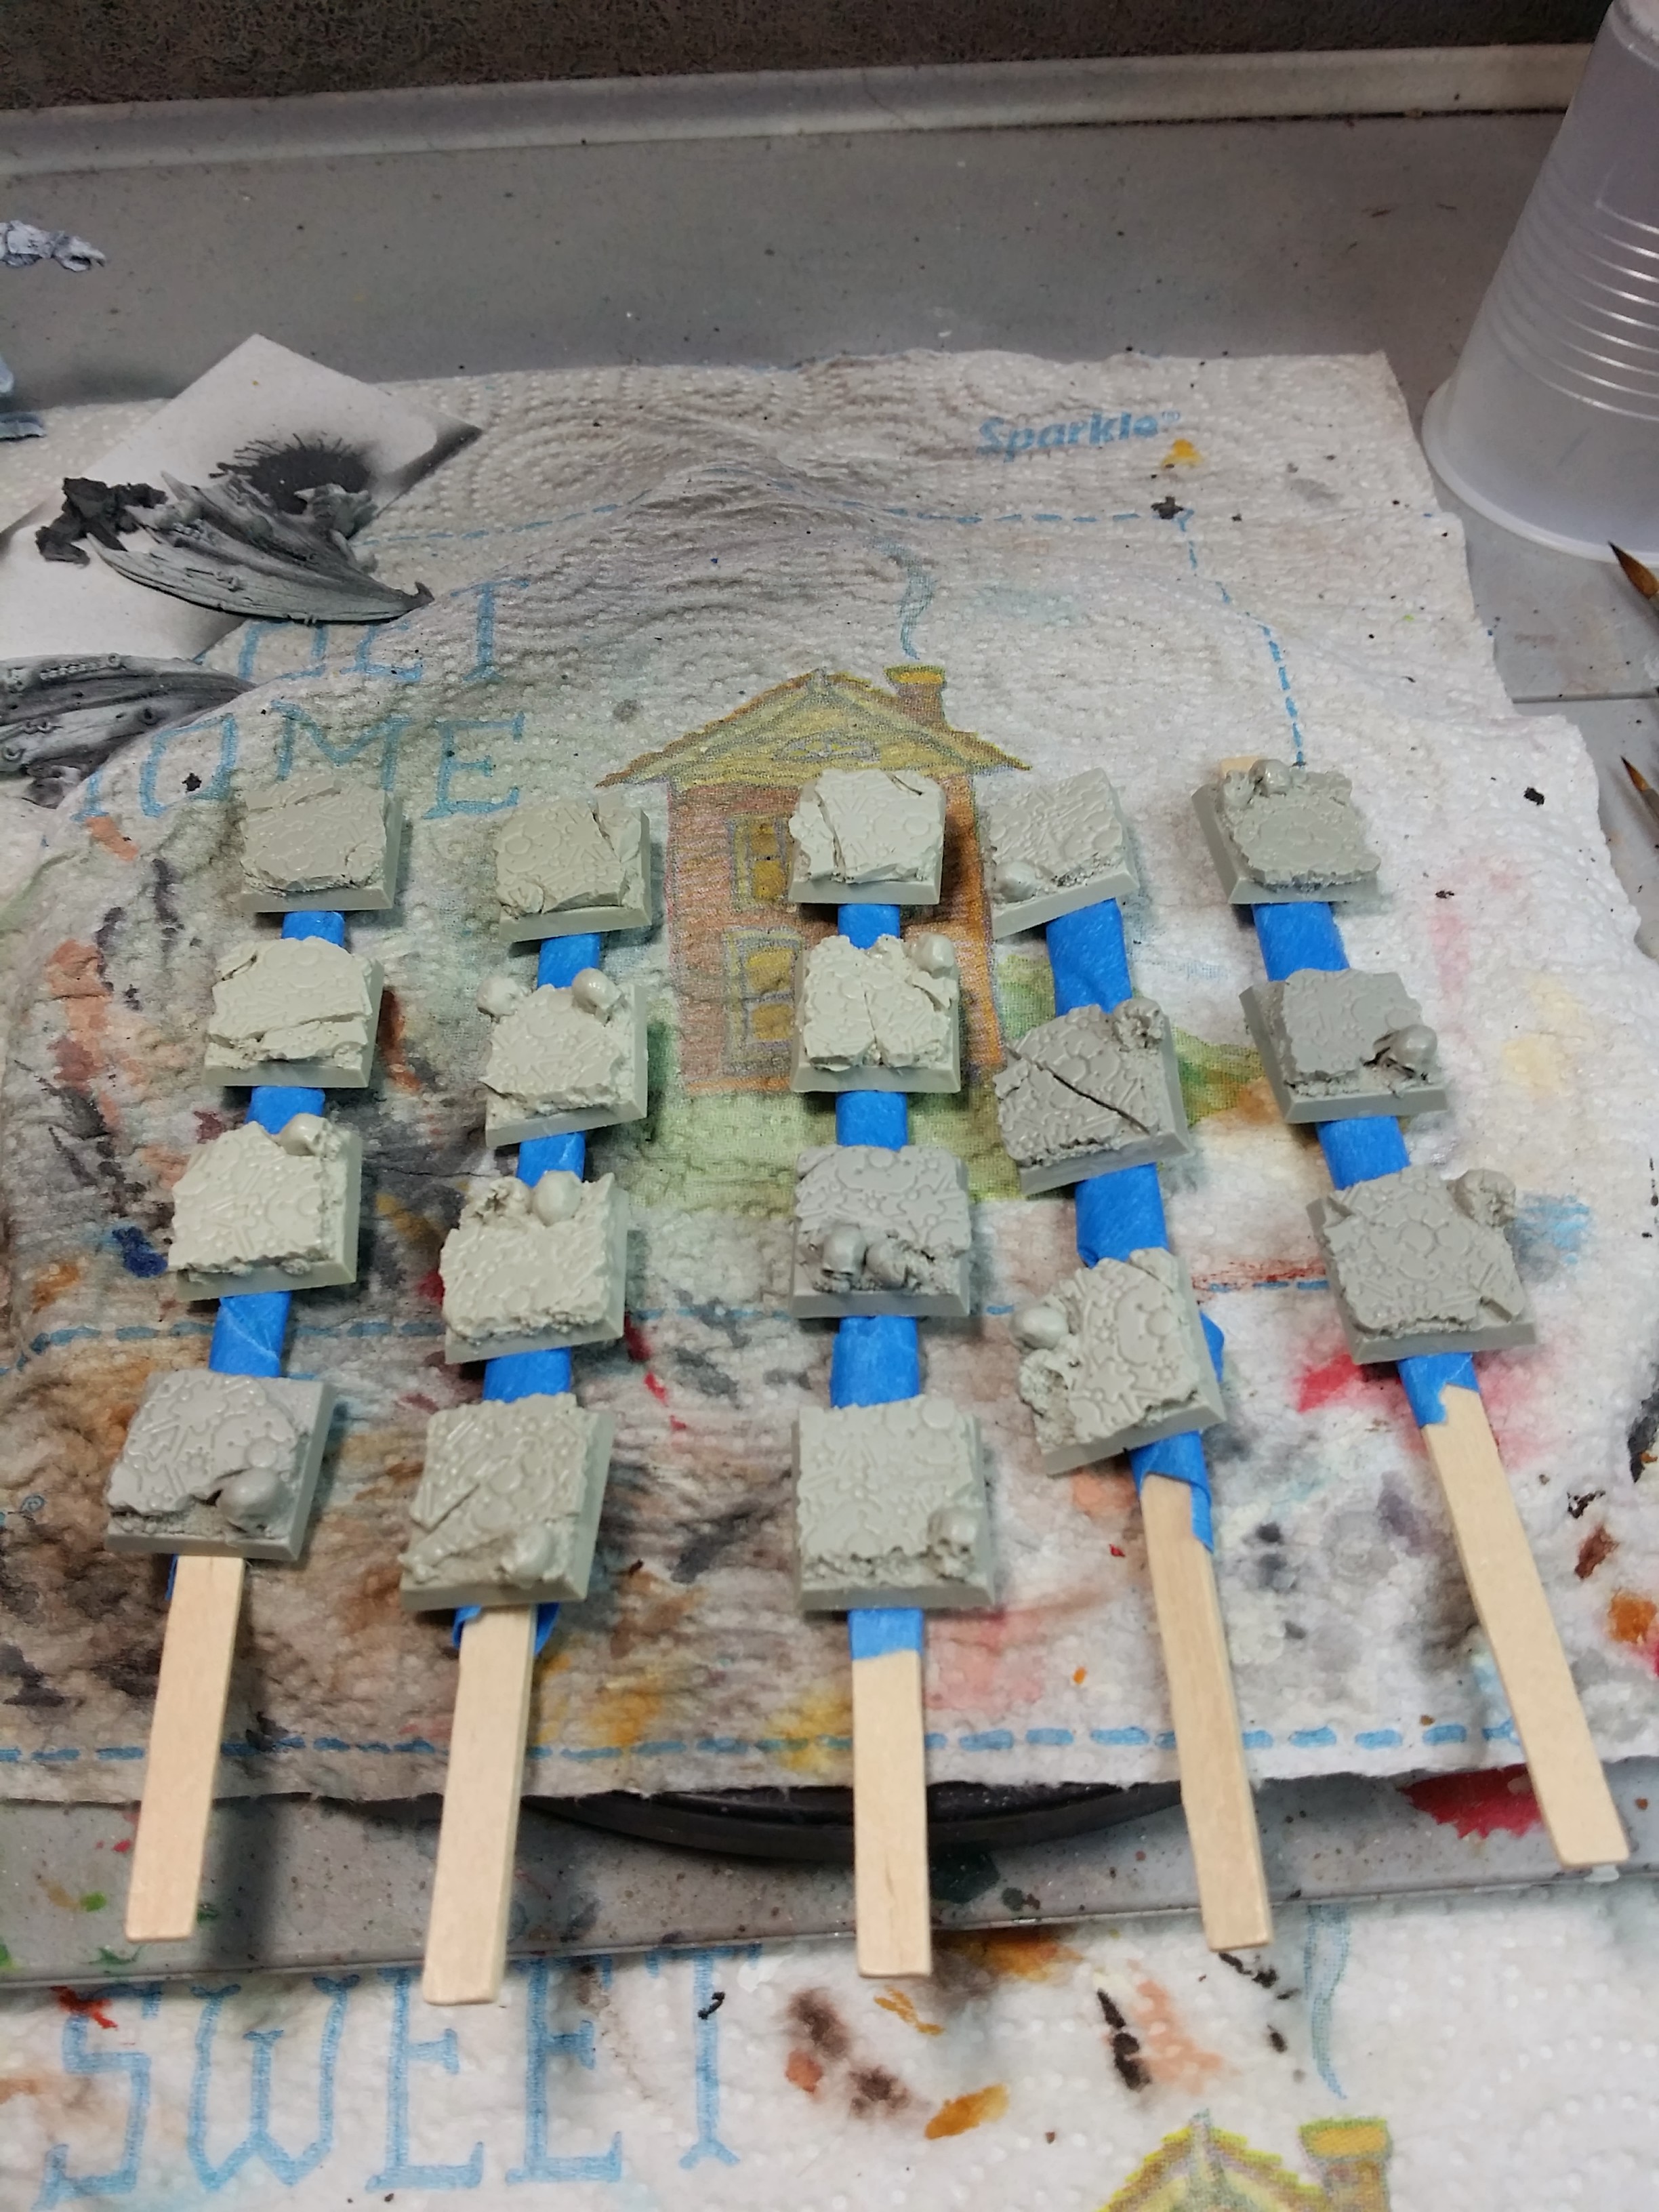
Then, I primed them with black Vallejo Surface Primer.

Next, they were drybrushed with a medium grey.
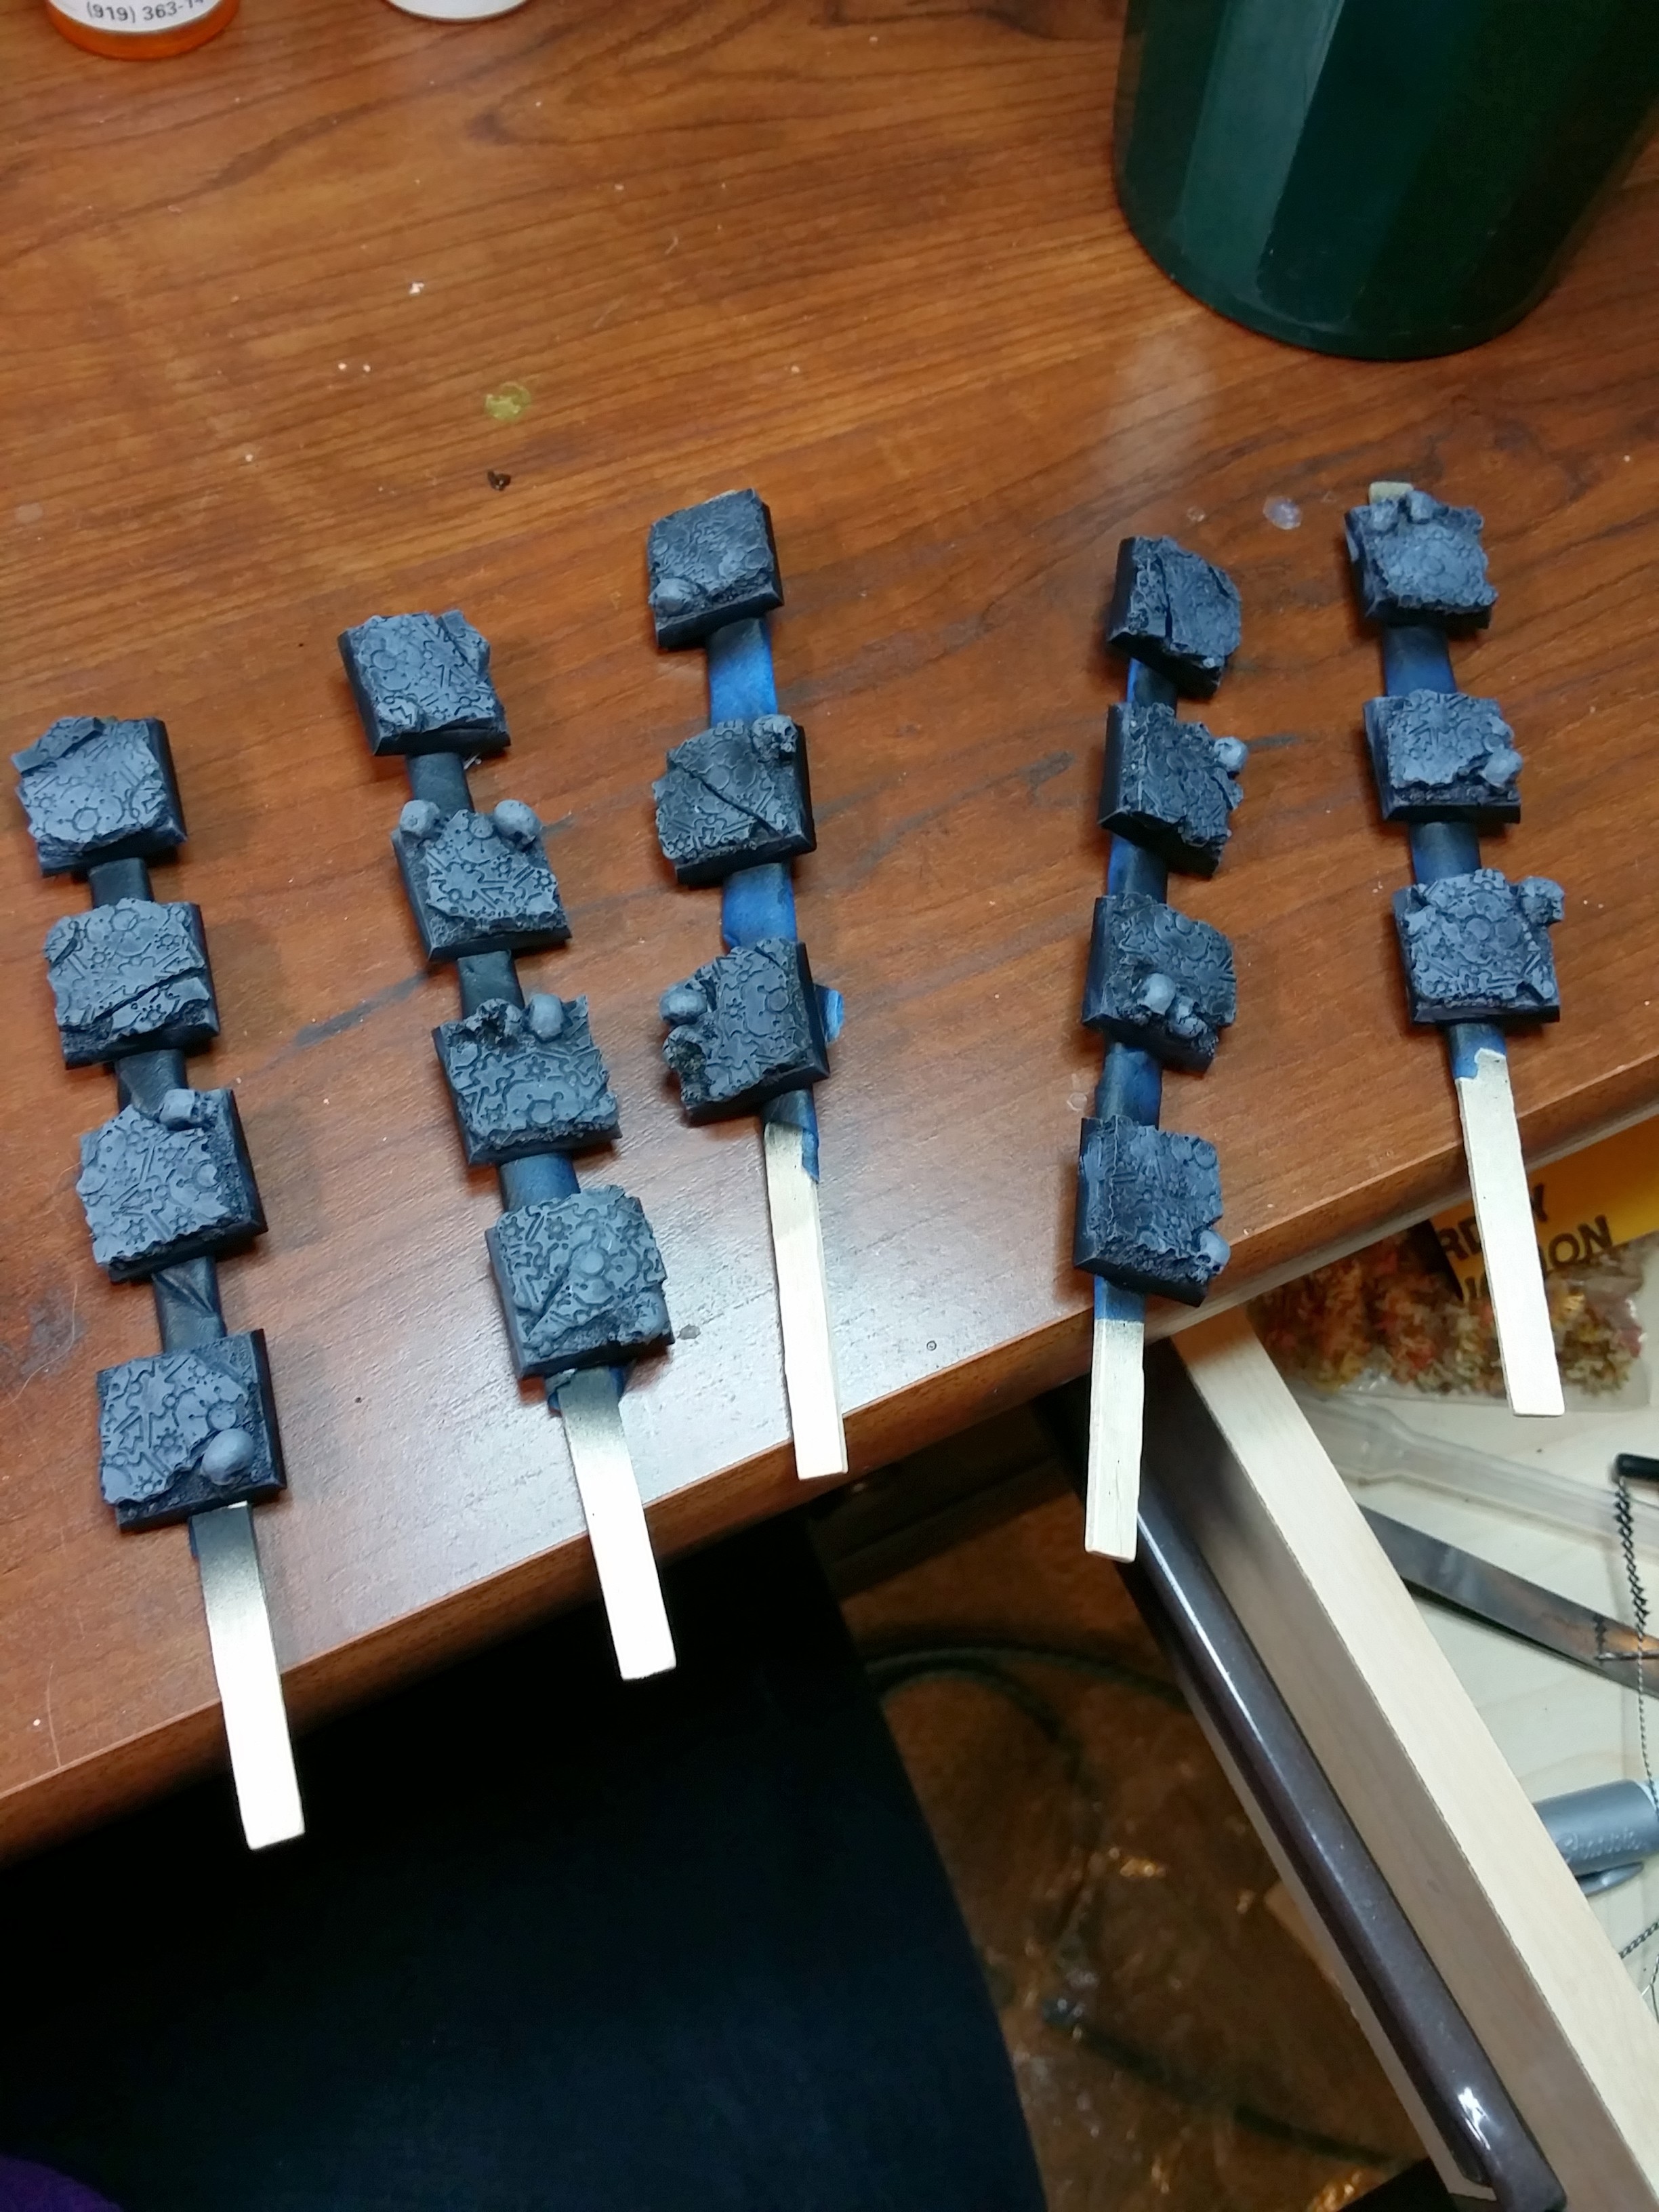
After, they were washed first with Army Painter Green Tone ink…

Then with Army Painter Purple Tone ink. Adding many layers of unexpected colors can help create depth and interest. Many other colors would be fine to use, just go with what feels right to you. I wanted the overall result to be cool colors with the skulls really standing out, so I thought blue, purple, and green would be great hues to include. The Dwarfs have quite a bit of blue on their own though, so I left that color out of the bases.

Then they were drubrushed again with RMS Cloudy Grey.

Next, the skulls alone were heavily drybrushed with RMS Cloudy Grey to pick them out.

Then the skulls were drybrushed heavily with a mix of RMS Cloudy Grey and RMS Amber Gold to gradually bring them to their final color, but still keep them tied into the base overall.

Then, the bases were washed in some areas with GW Agrax Earthshade and GW Seraphim Sepia, and the skulls were drybrushed with RMS Yellowed Bone.

The skulls were then washed with GW Seraphim Sepia.

After that I picked out some areas of the stone with a light drybrush of VMC Light Sea Grey, which has quickly become one of my favorite paints.

After that all that was left was to black out the edges and take them off the sticks.

Then attach the Dwarfs!

This whole process was very fast and very simple, but the results speak for themselves!
WIP: Chaos Dwarfs, Vaeloth Hellborn Paladin cont.
It has been such a busy week! It’s the end of January, and for those of us that have payroll and the associated filings as part of our job responsibilities, this is a busy time! Thank goodness all that is behind me for another year and I can get my painting time back.
The group of Scibor Moscal Strielec Dwarfs that I was working on in my last post are now finished:
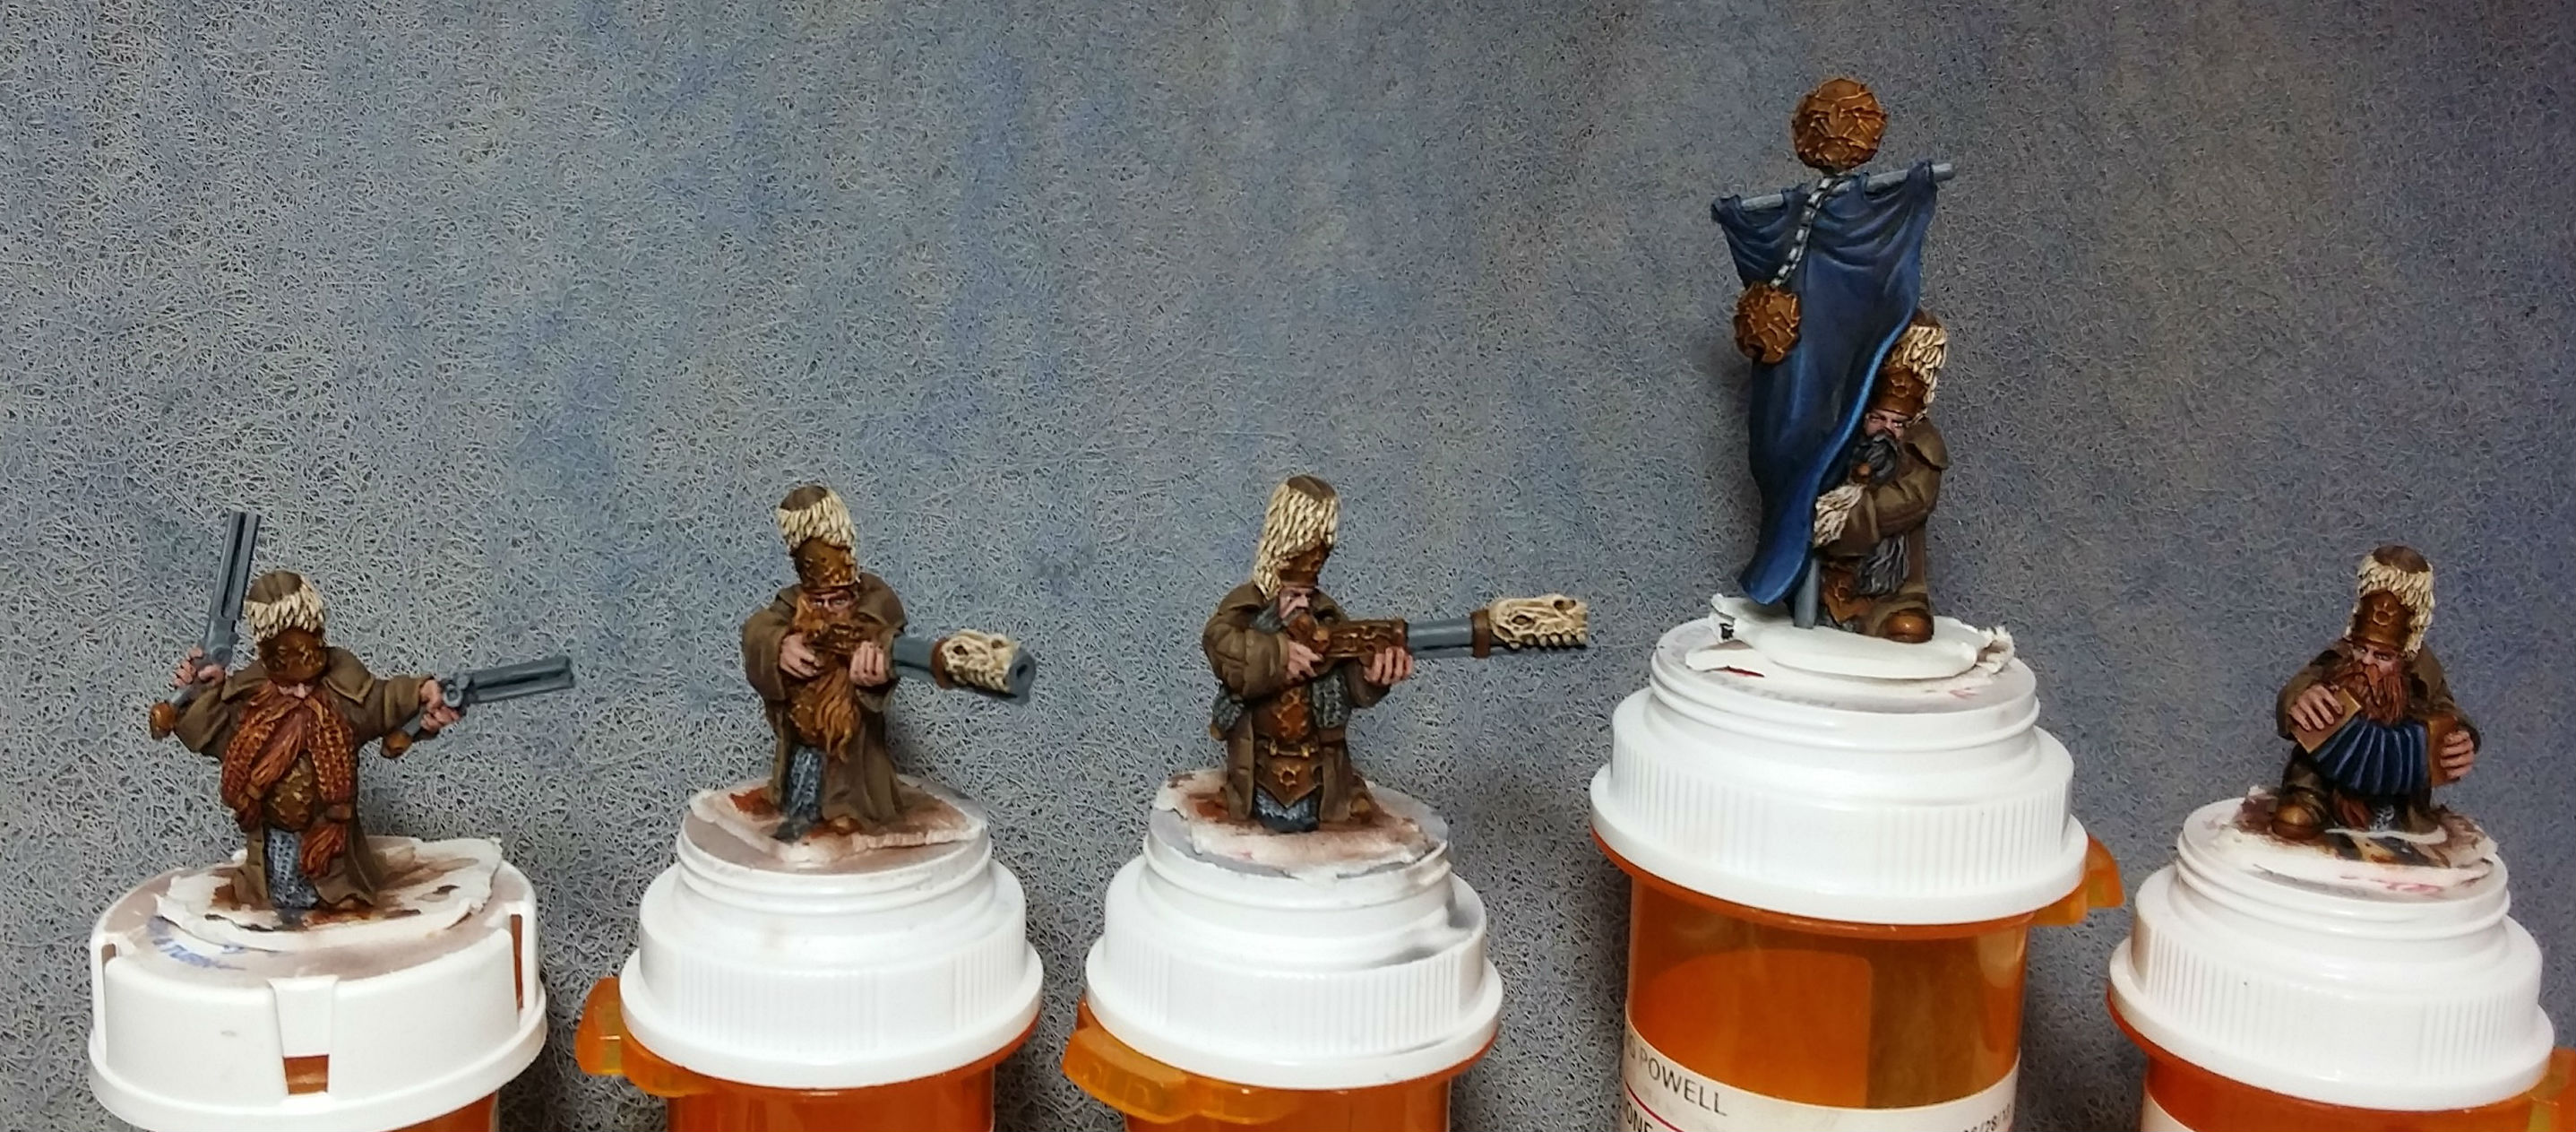
After this group was done, my client decided that the colors he chose weren’t chaos enough since the models aren’t obviously chaos-like.
There is a new plan for that army, and hopefully we can get going on it soon. It will be truly awesome, and it’s a chance for me to do something I’ve never done before. Learning something new is always fun!
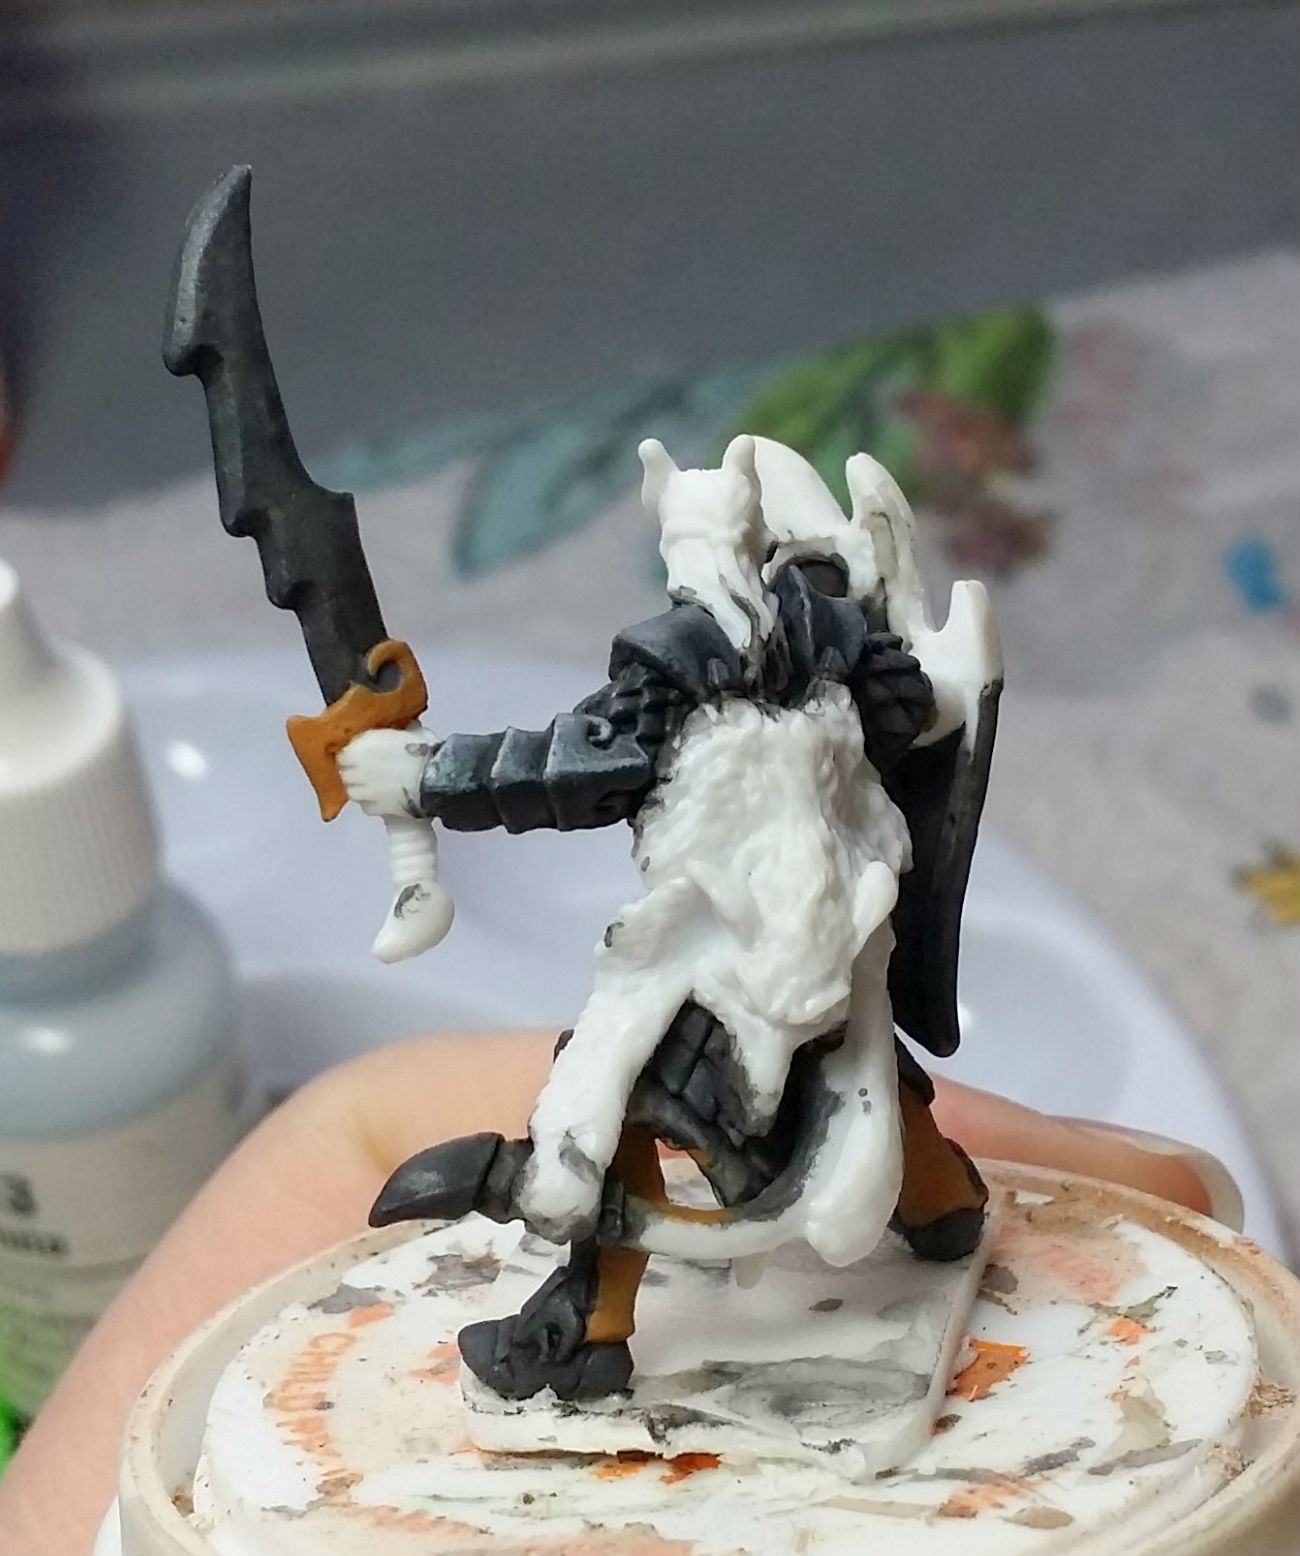
I painted the Hellborn Paladin a bit more. I really like the change to his hair, and I’m still working on the blend on the shield and figuring out what to put on it. Also, the blade will end up brighter.


On a completely different note…the For Sale page has been updated as models have been sold. I do still have the Feral Warpwolf for sale as well as the Dragonthrall Mage!
WIP: Chaos Dwarfs cont.
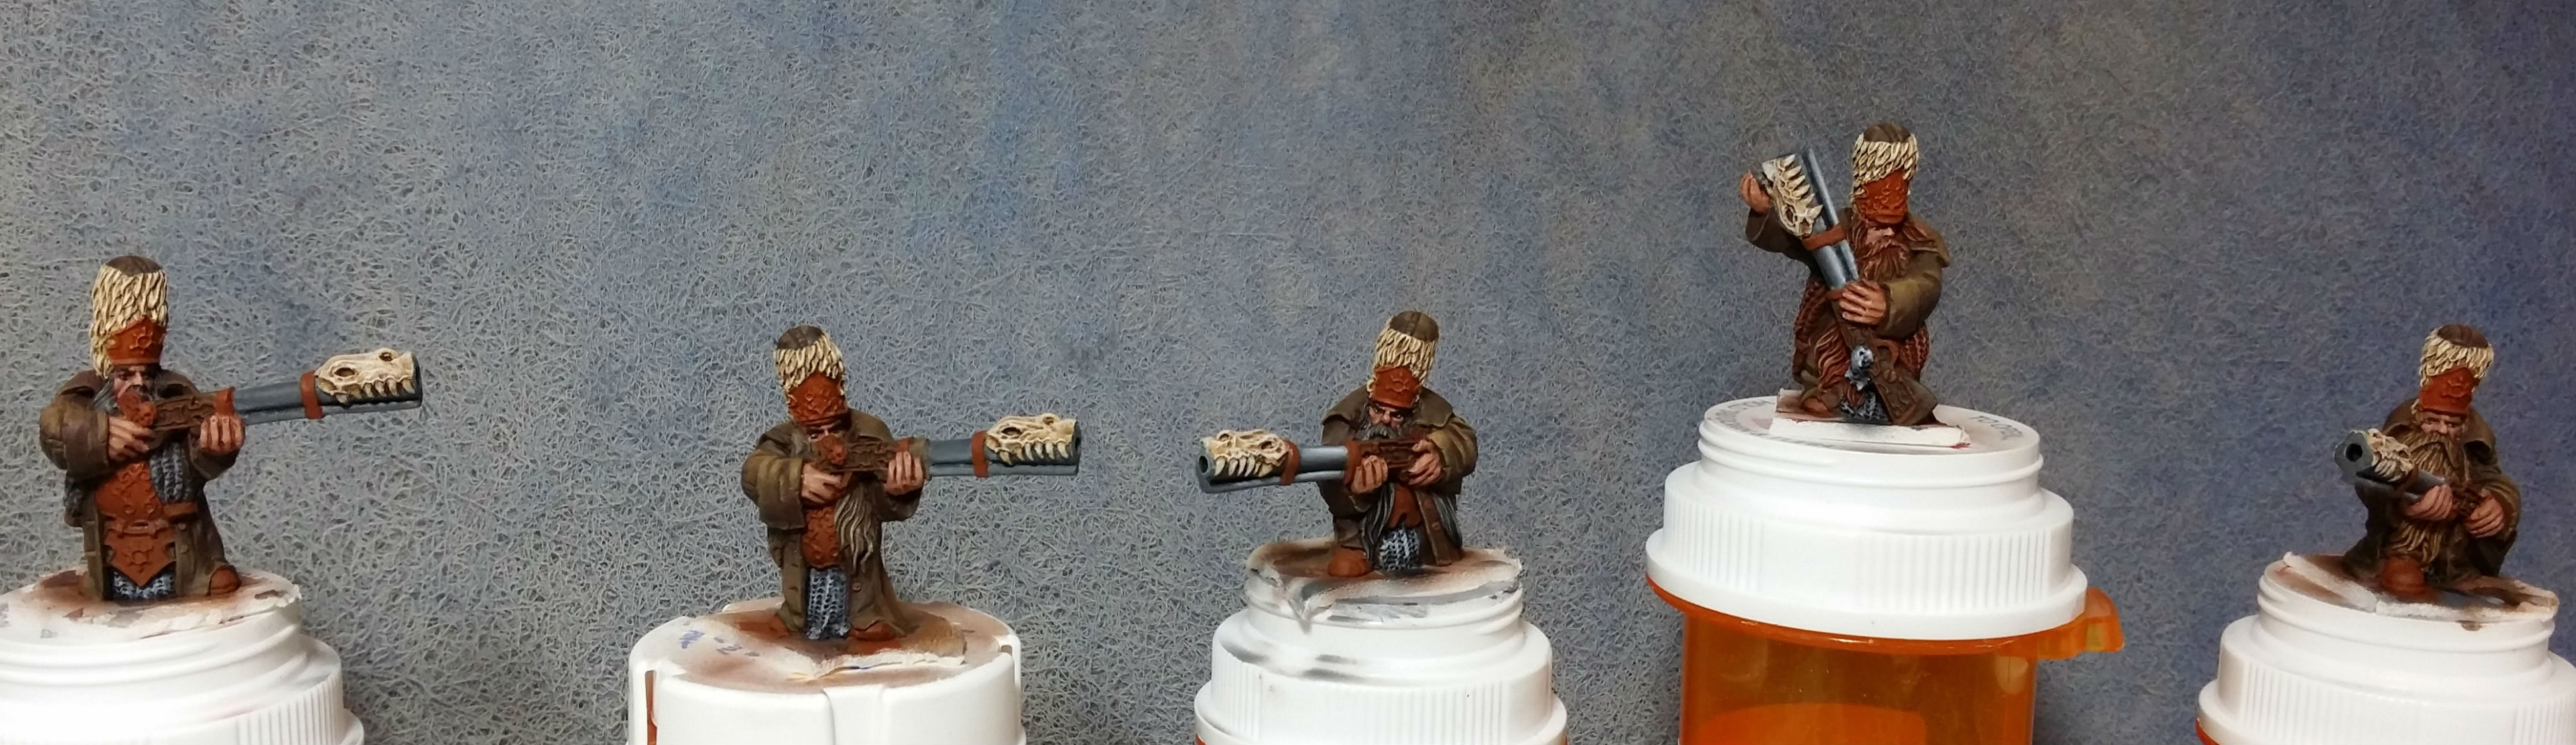
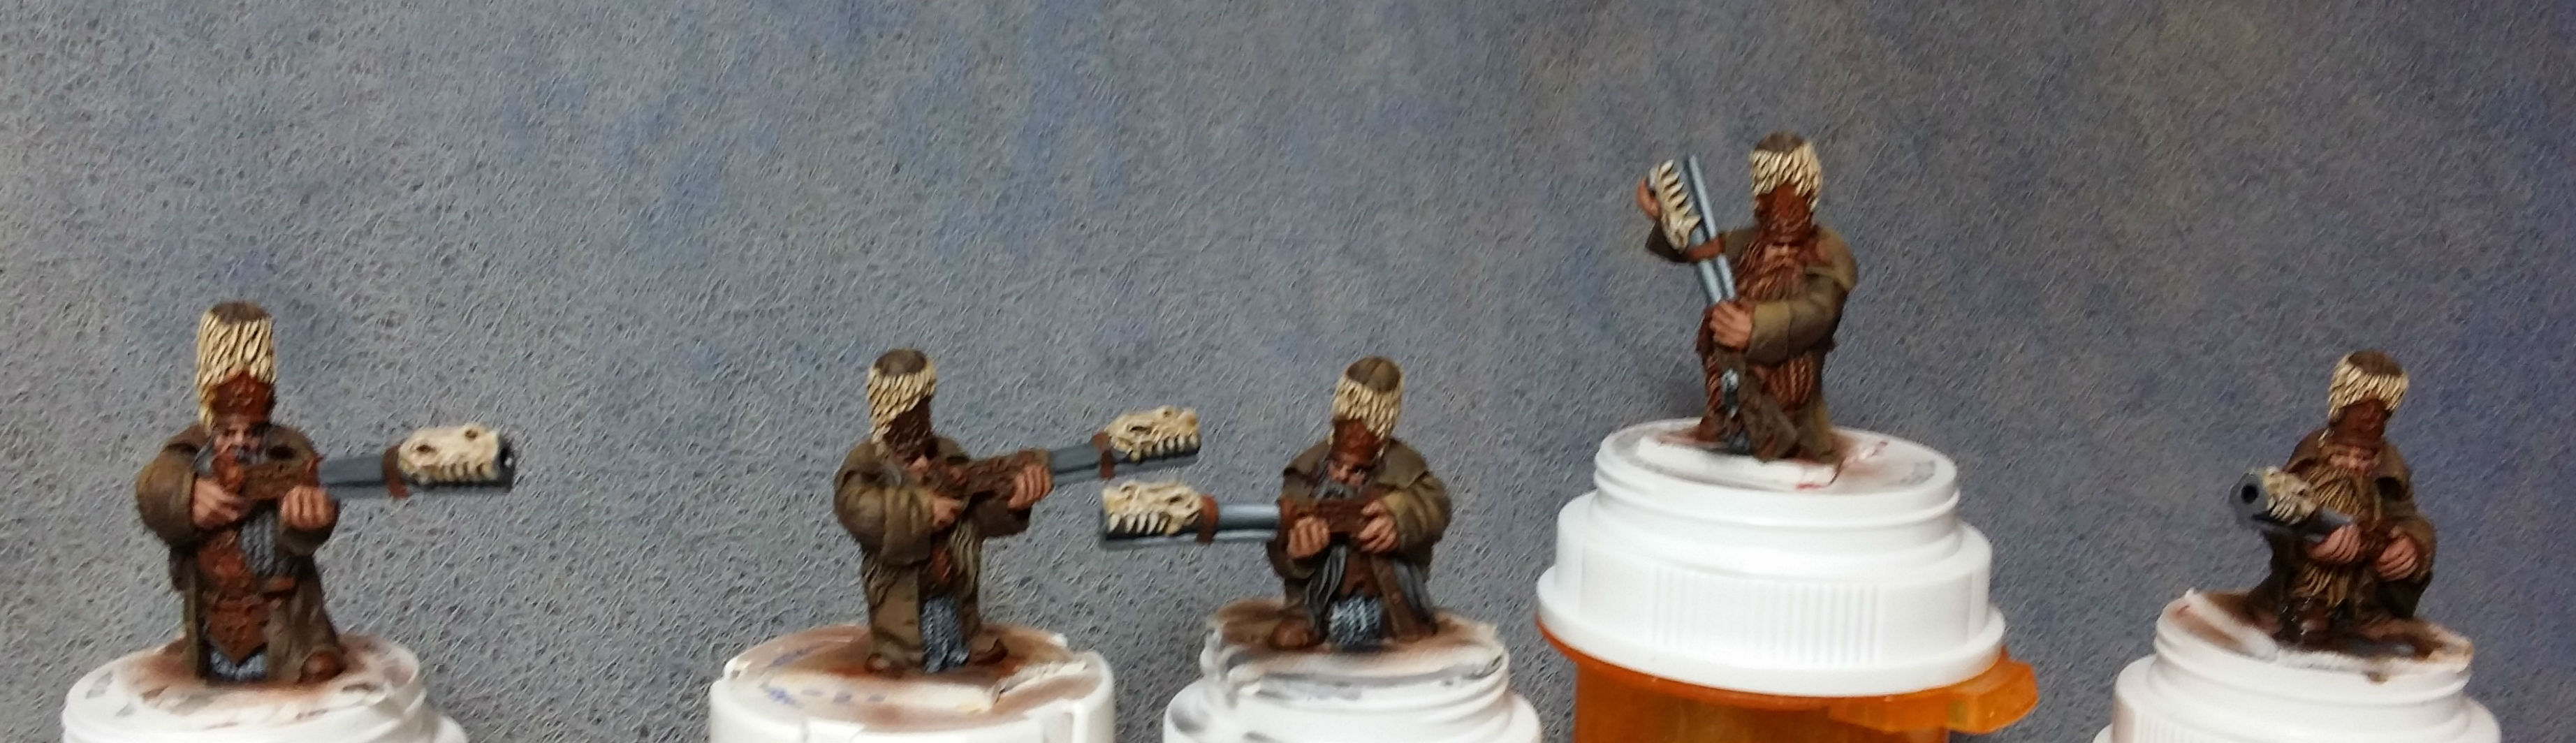
I finished another 6 Chaos Dwarfs! Painting every troop in an army to a display level really can take a lot of time.
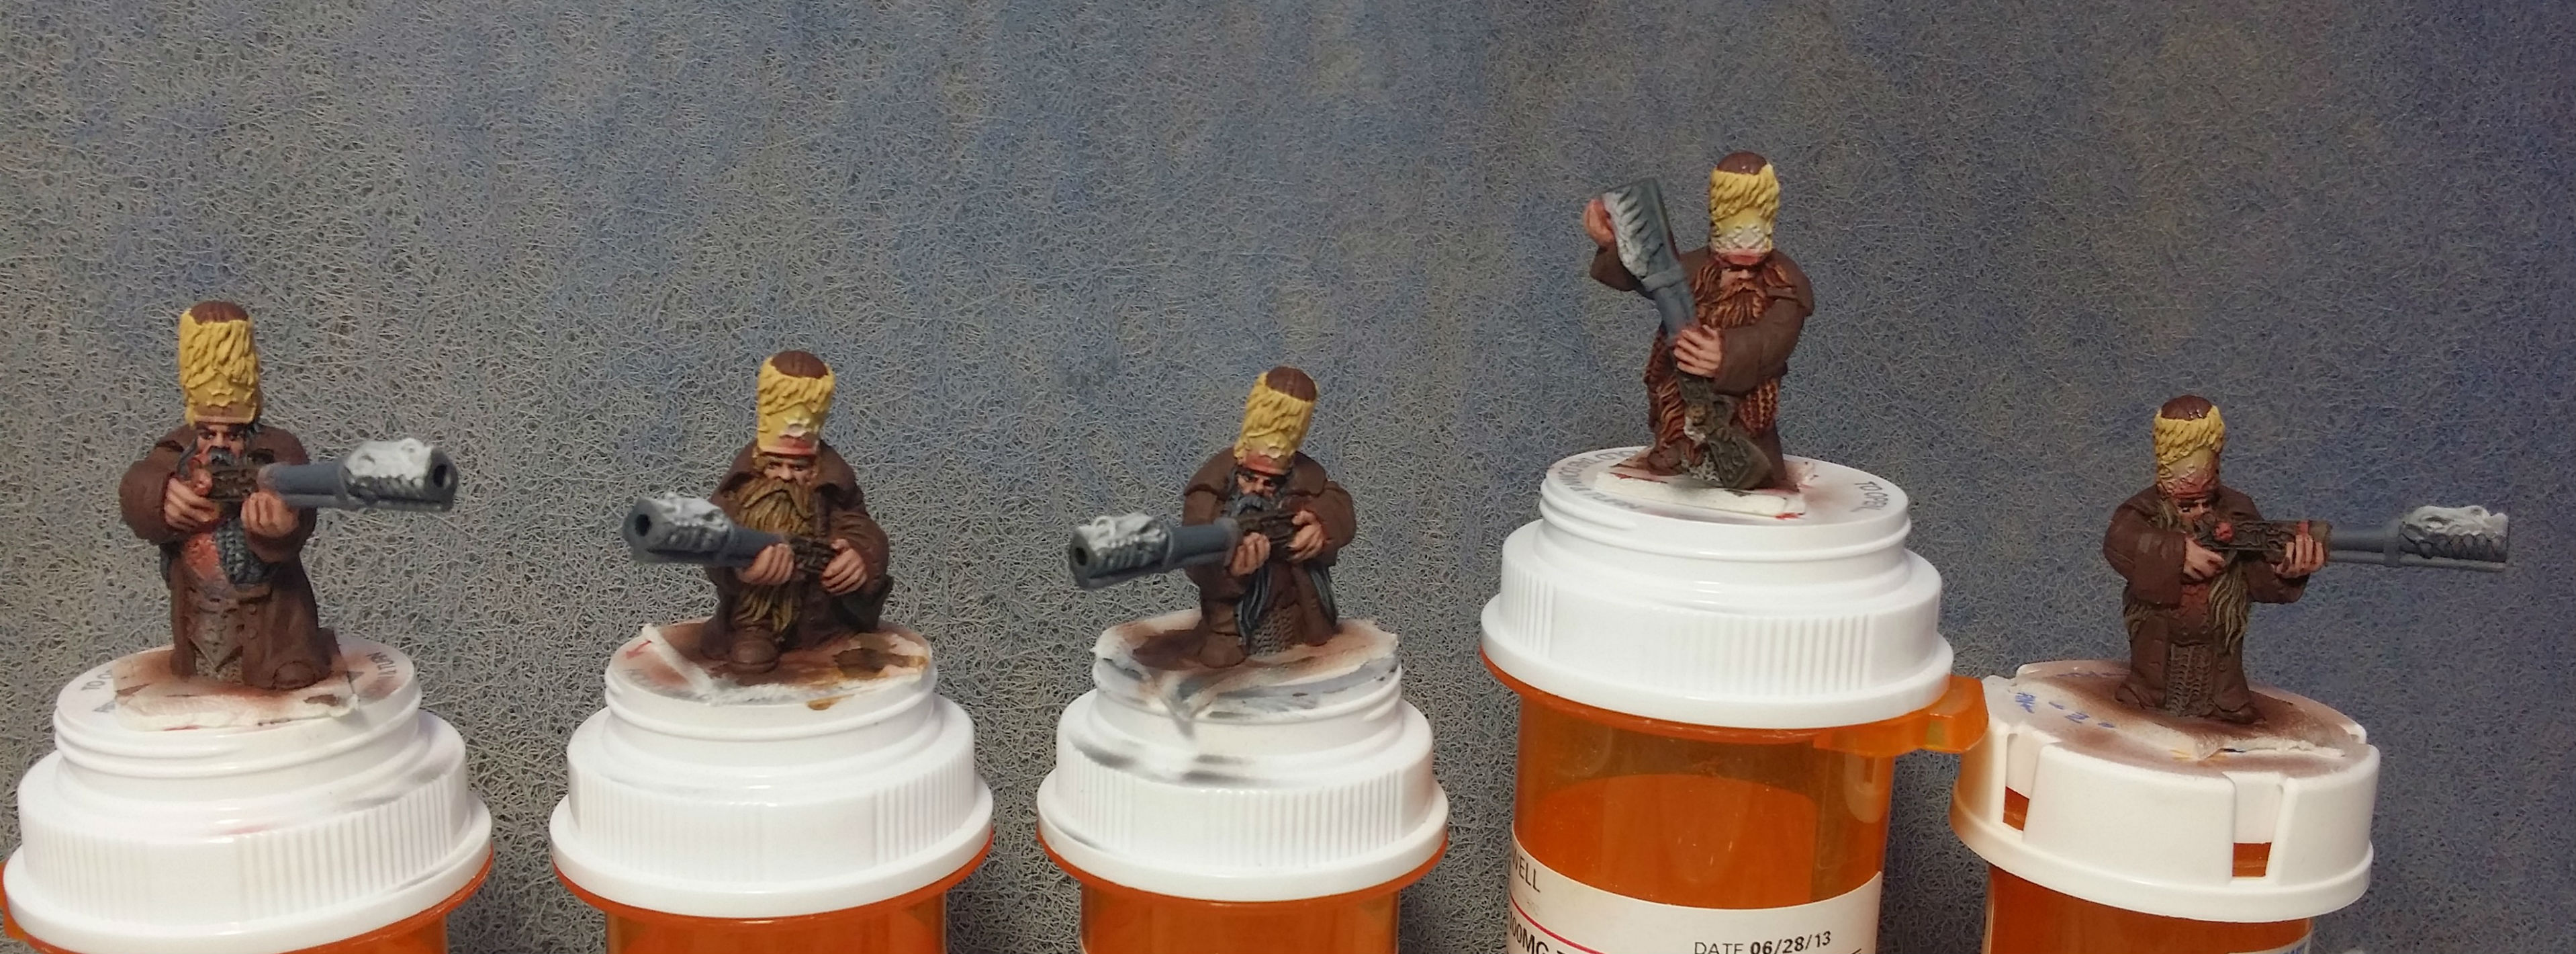
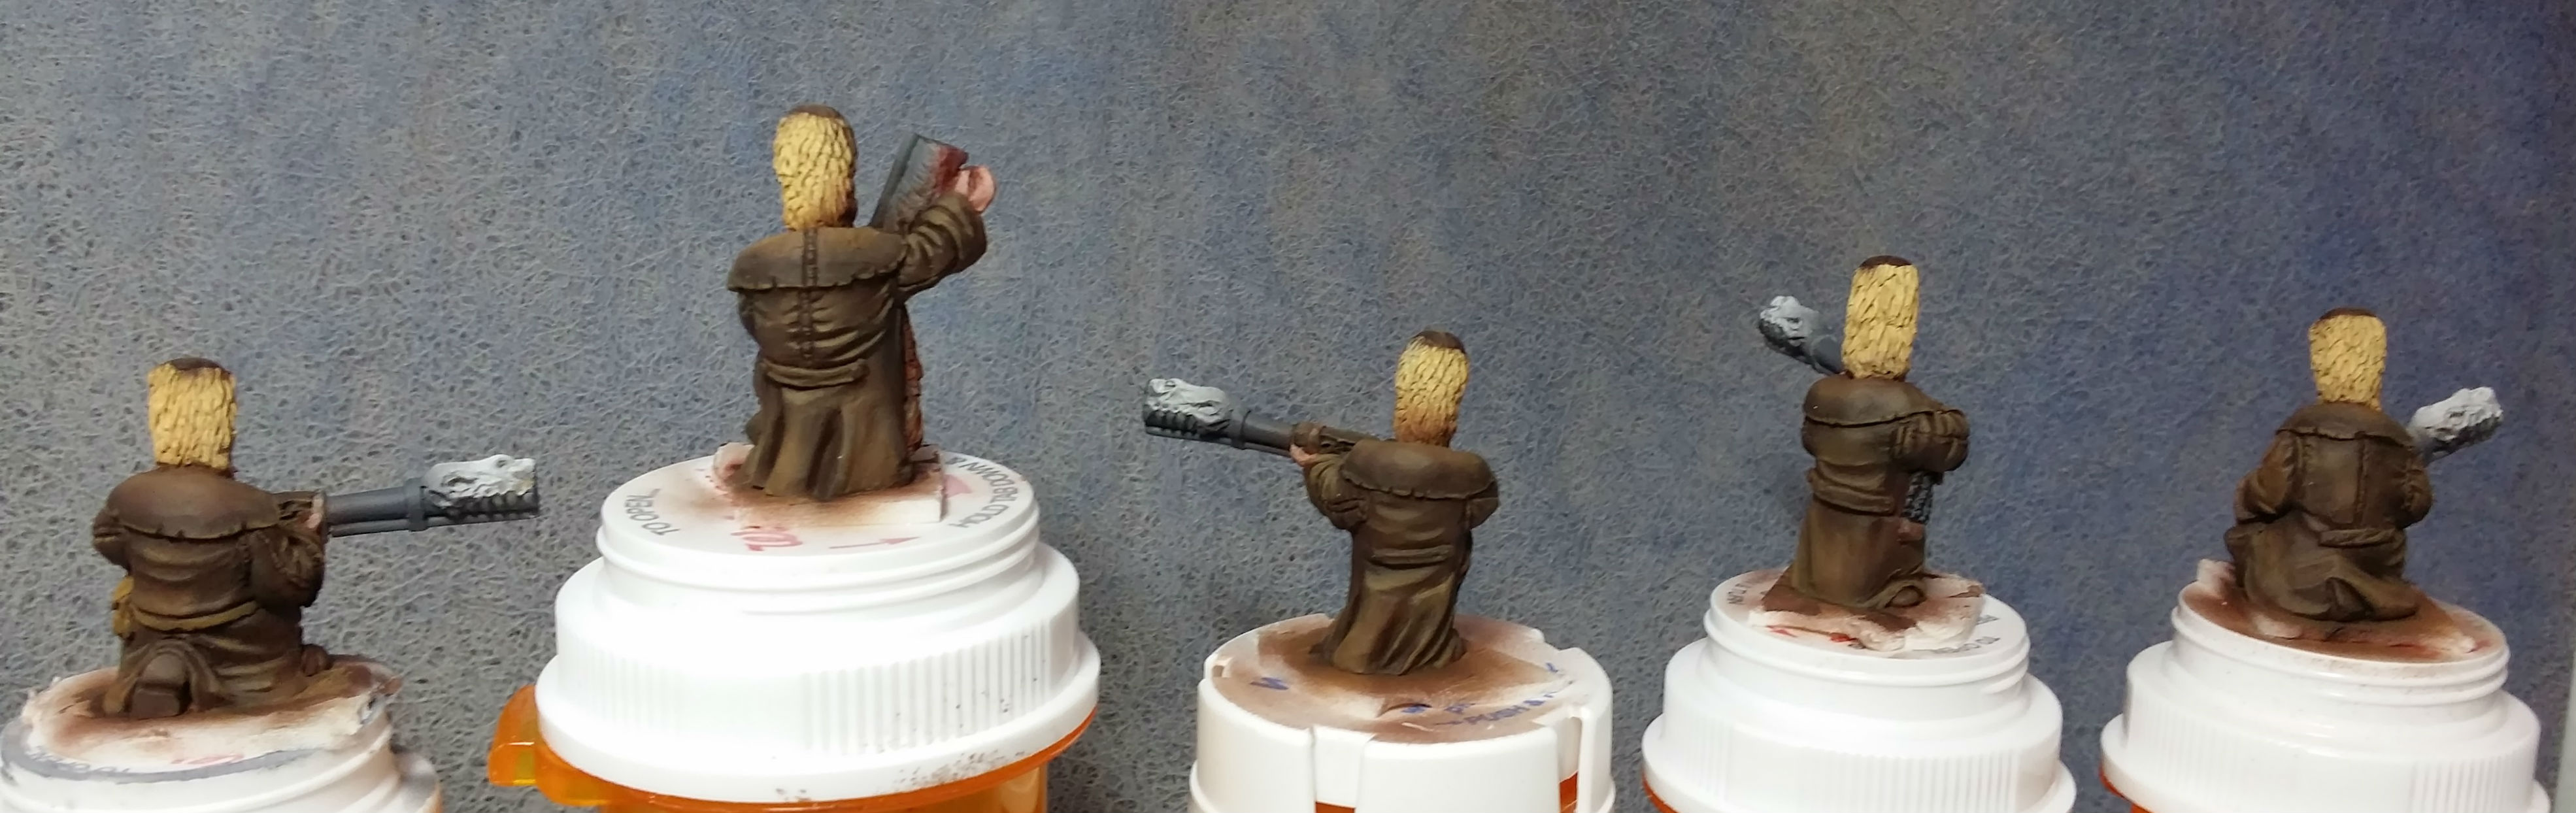
Here are a couple WIP photos and a finished (until basing is done and I can get them into my lightbox of course) photo of the next set:


And then it was time to start on another set, this time a set of 5:
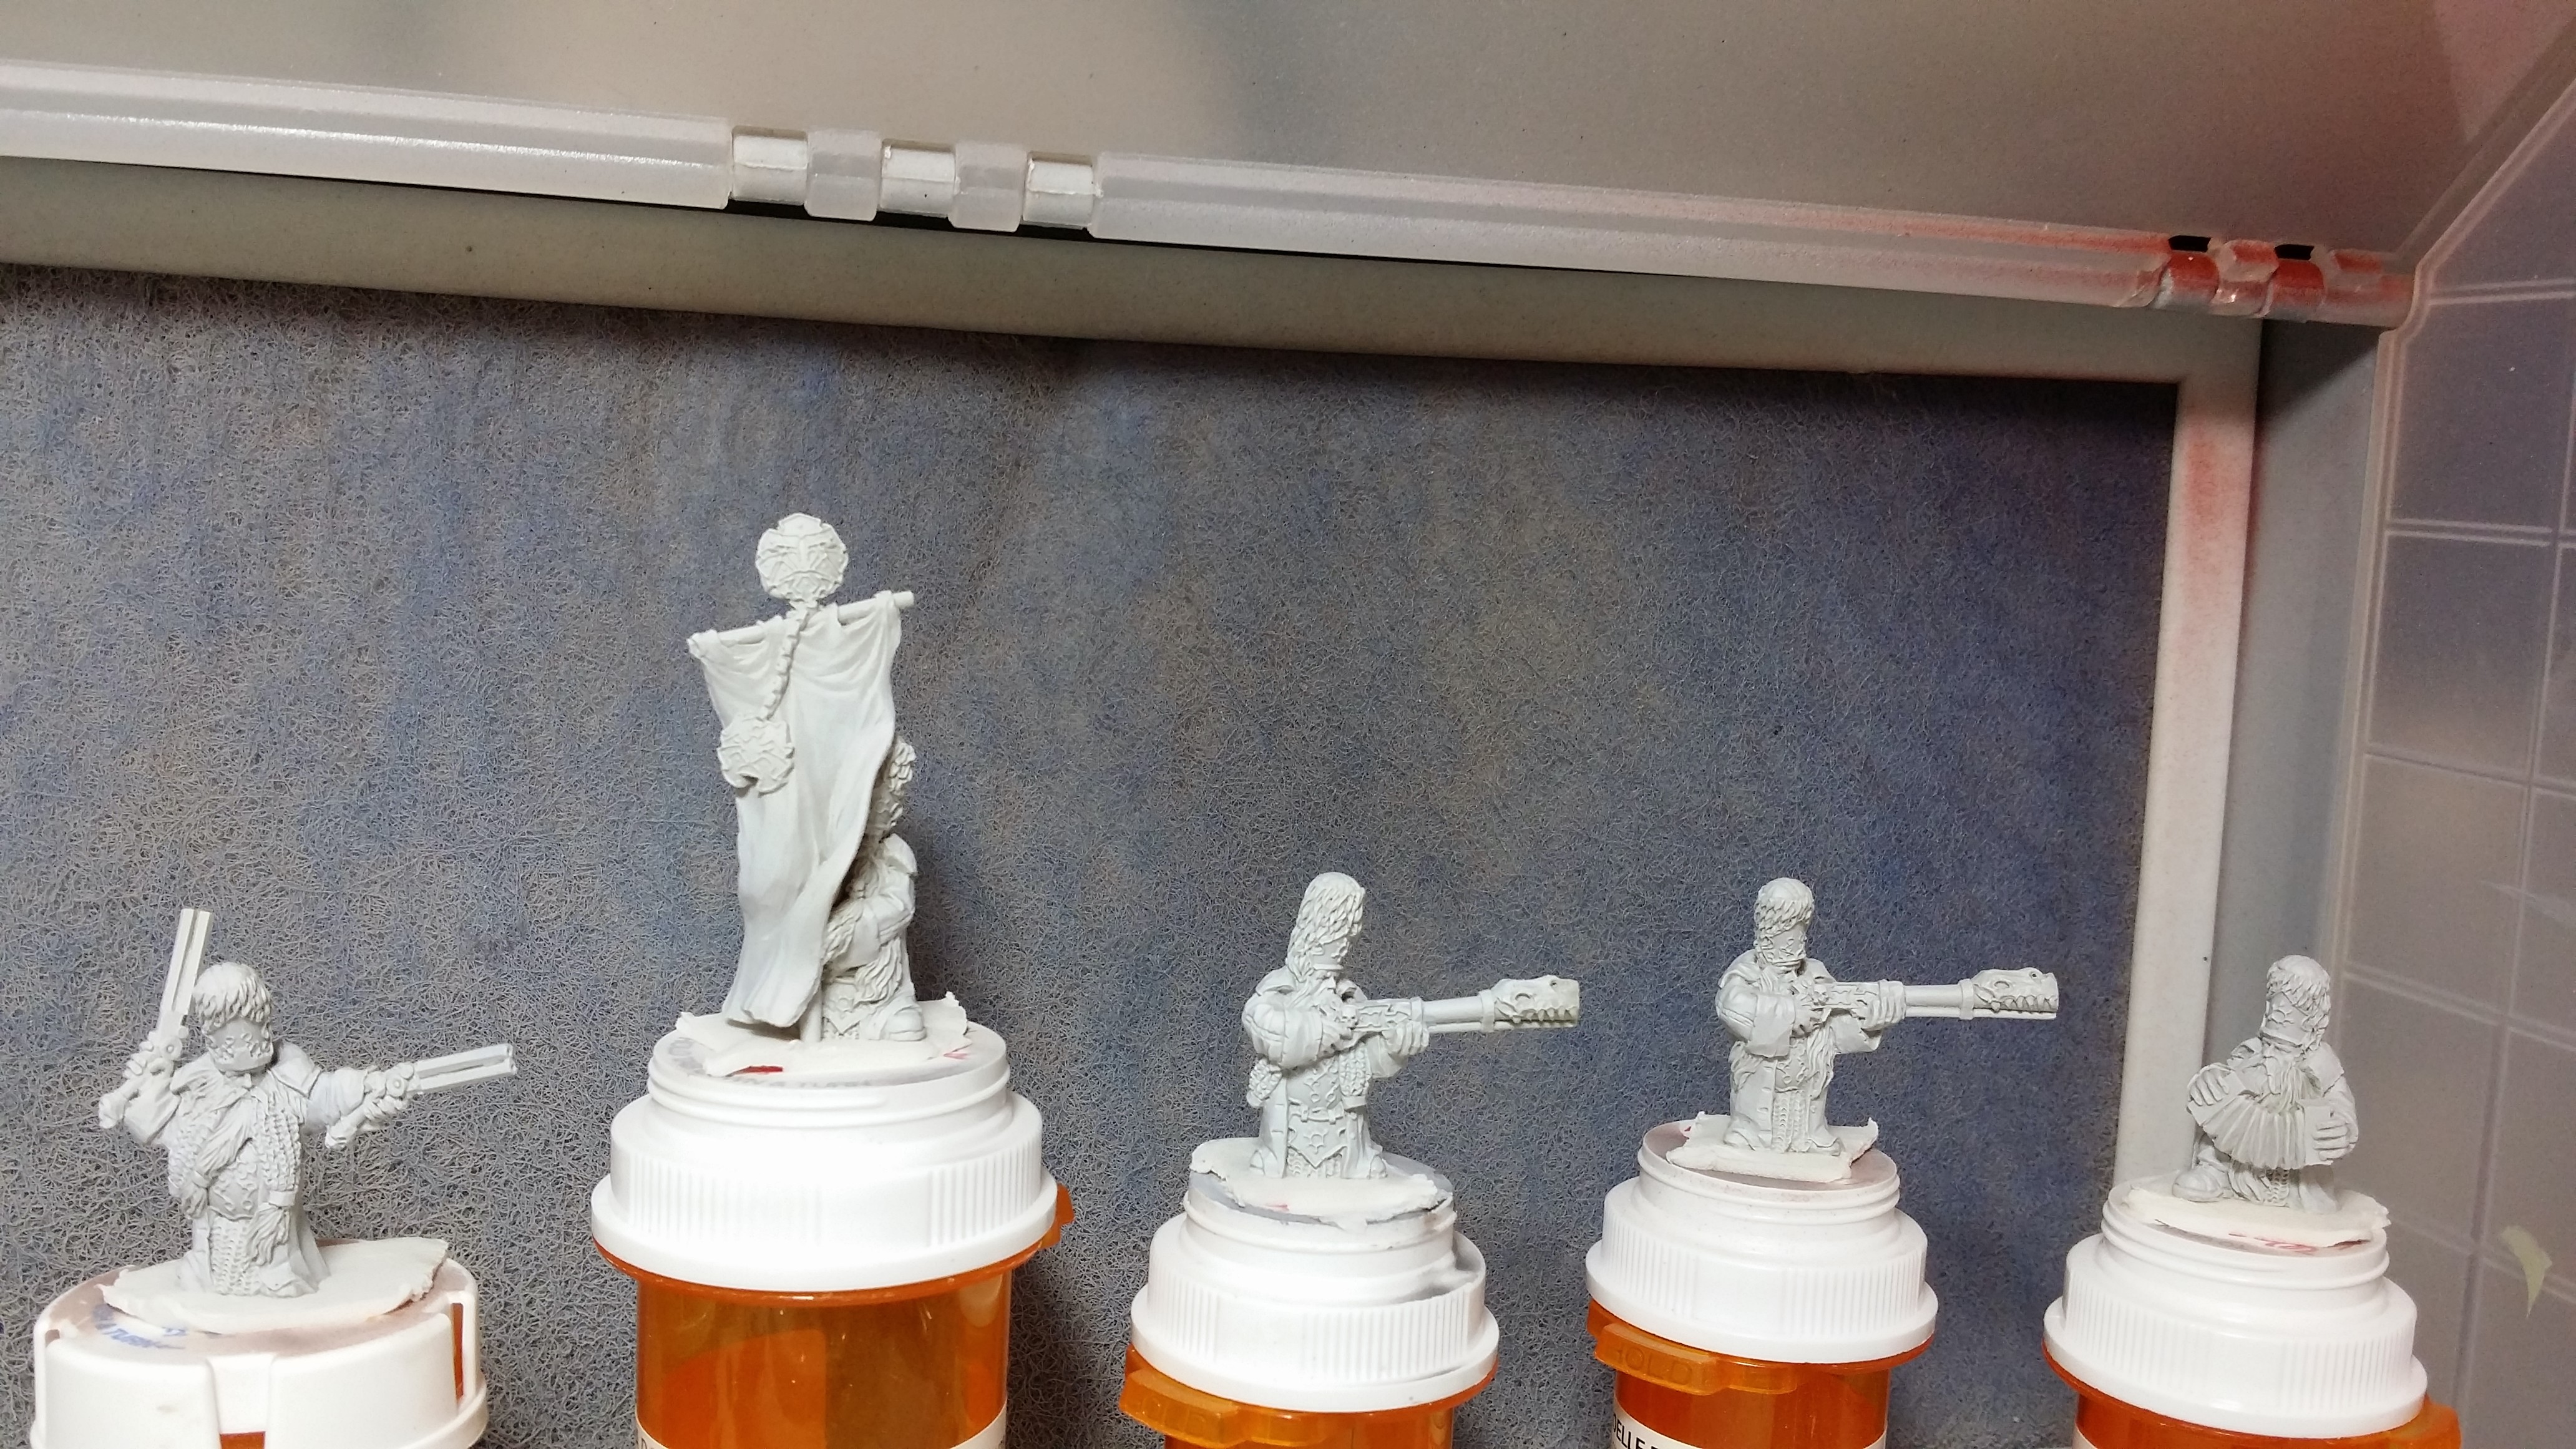
That guy with the standard is going to be a huge paint in the butt to paint. There is a space between it and him, but it’s tiny…and of course there is stuff in there. Also, he’s a one piece cast, so it’s not like I could have just kept the banner separate. Grr!
Being more than a little weary of painting the same few dwarfs over and over, I took part of an evening off and worked on Be’Lakor by starting some pre-shading. I didn’t even get to finish that, but that’s OK. I’m not on any time constraint with that model.

WIP: Chaos Dwarfs cont.
I did a lot more work on the Scibor Strielecs.
From where I last left off, the next stop was the NMM on the guns and chainmail:

Then I basecoated the brass:
NMM Shadows:
NMM Highlights:


At this point they are basically finished, they just need touch-ups.
I got to spend a few hours at my FLGS tonight with my husband. I painted, and he played a Warhammer Fantasy game with a friend of his who has a YouTube channel that he posts battle reports to. If you haven’t already come across his channel, he posts a lot of great battle reports: https://www.youtube.com/user/OnceBitten360.
WIP: Chaos Dwarfs cont.
I really haven’t had as much time to paint over the last 3 days as I would have preferred, but I have been able to work a little on the Chaos Dwarfs here and there.
I have been working on the next 5 Dwarfs. In the last post about them they had barely been basecoated, and all with an airbrush. Since then I did some work on their skin and beards:

Then I finished their beards and neatened up the basecoat on their leather coats:
After that, I airbrushed the basic highlights and shadows on their coats:

Then I fine-tuned the shadows and highlights on the coats and did the smaller ones with my lovely size 3 W&N Series 7:
I’ve gone from using a size 0 to a size 3 very recently, and I really prefer the bigger brush! I’ve even been able to do eyes with it because of the amazing point.
Hopefully in another day or so I will have these guys done and be onto the next group of 6.
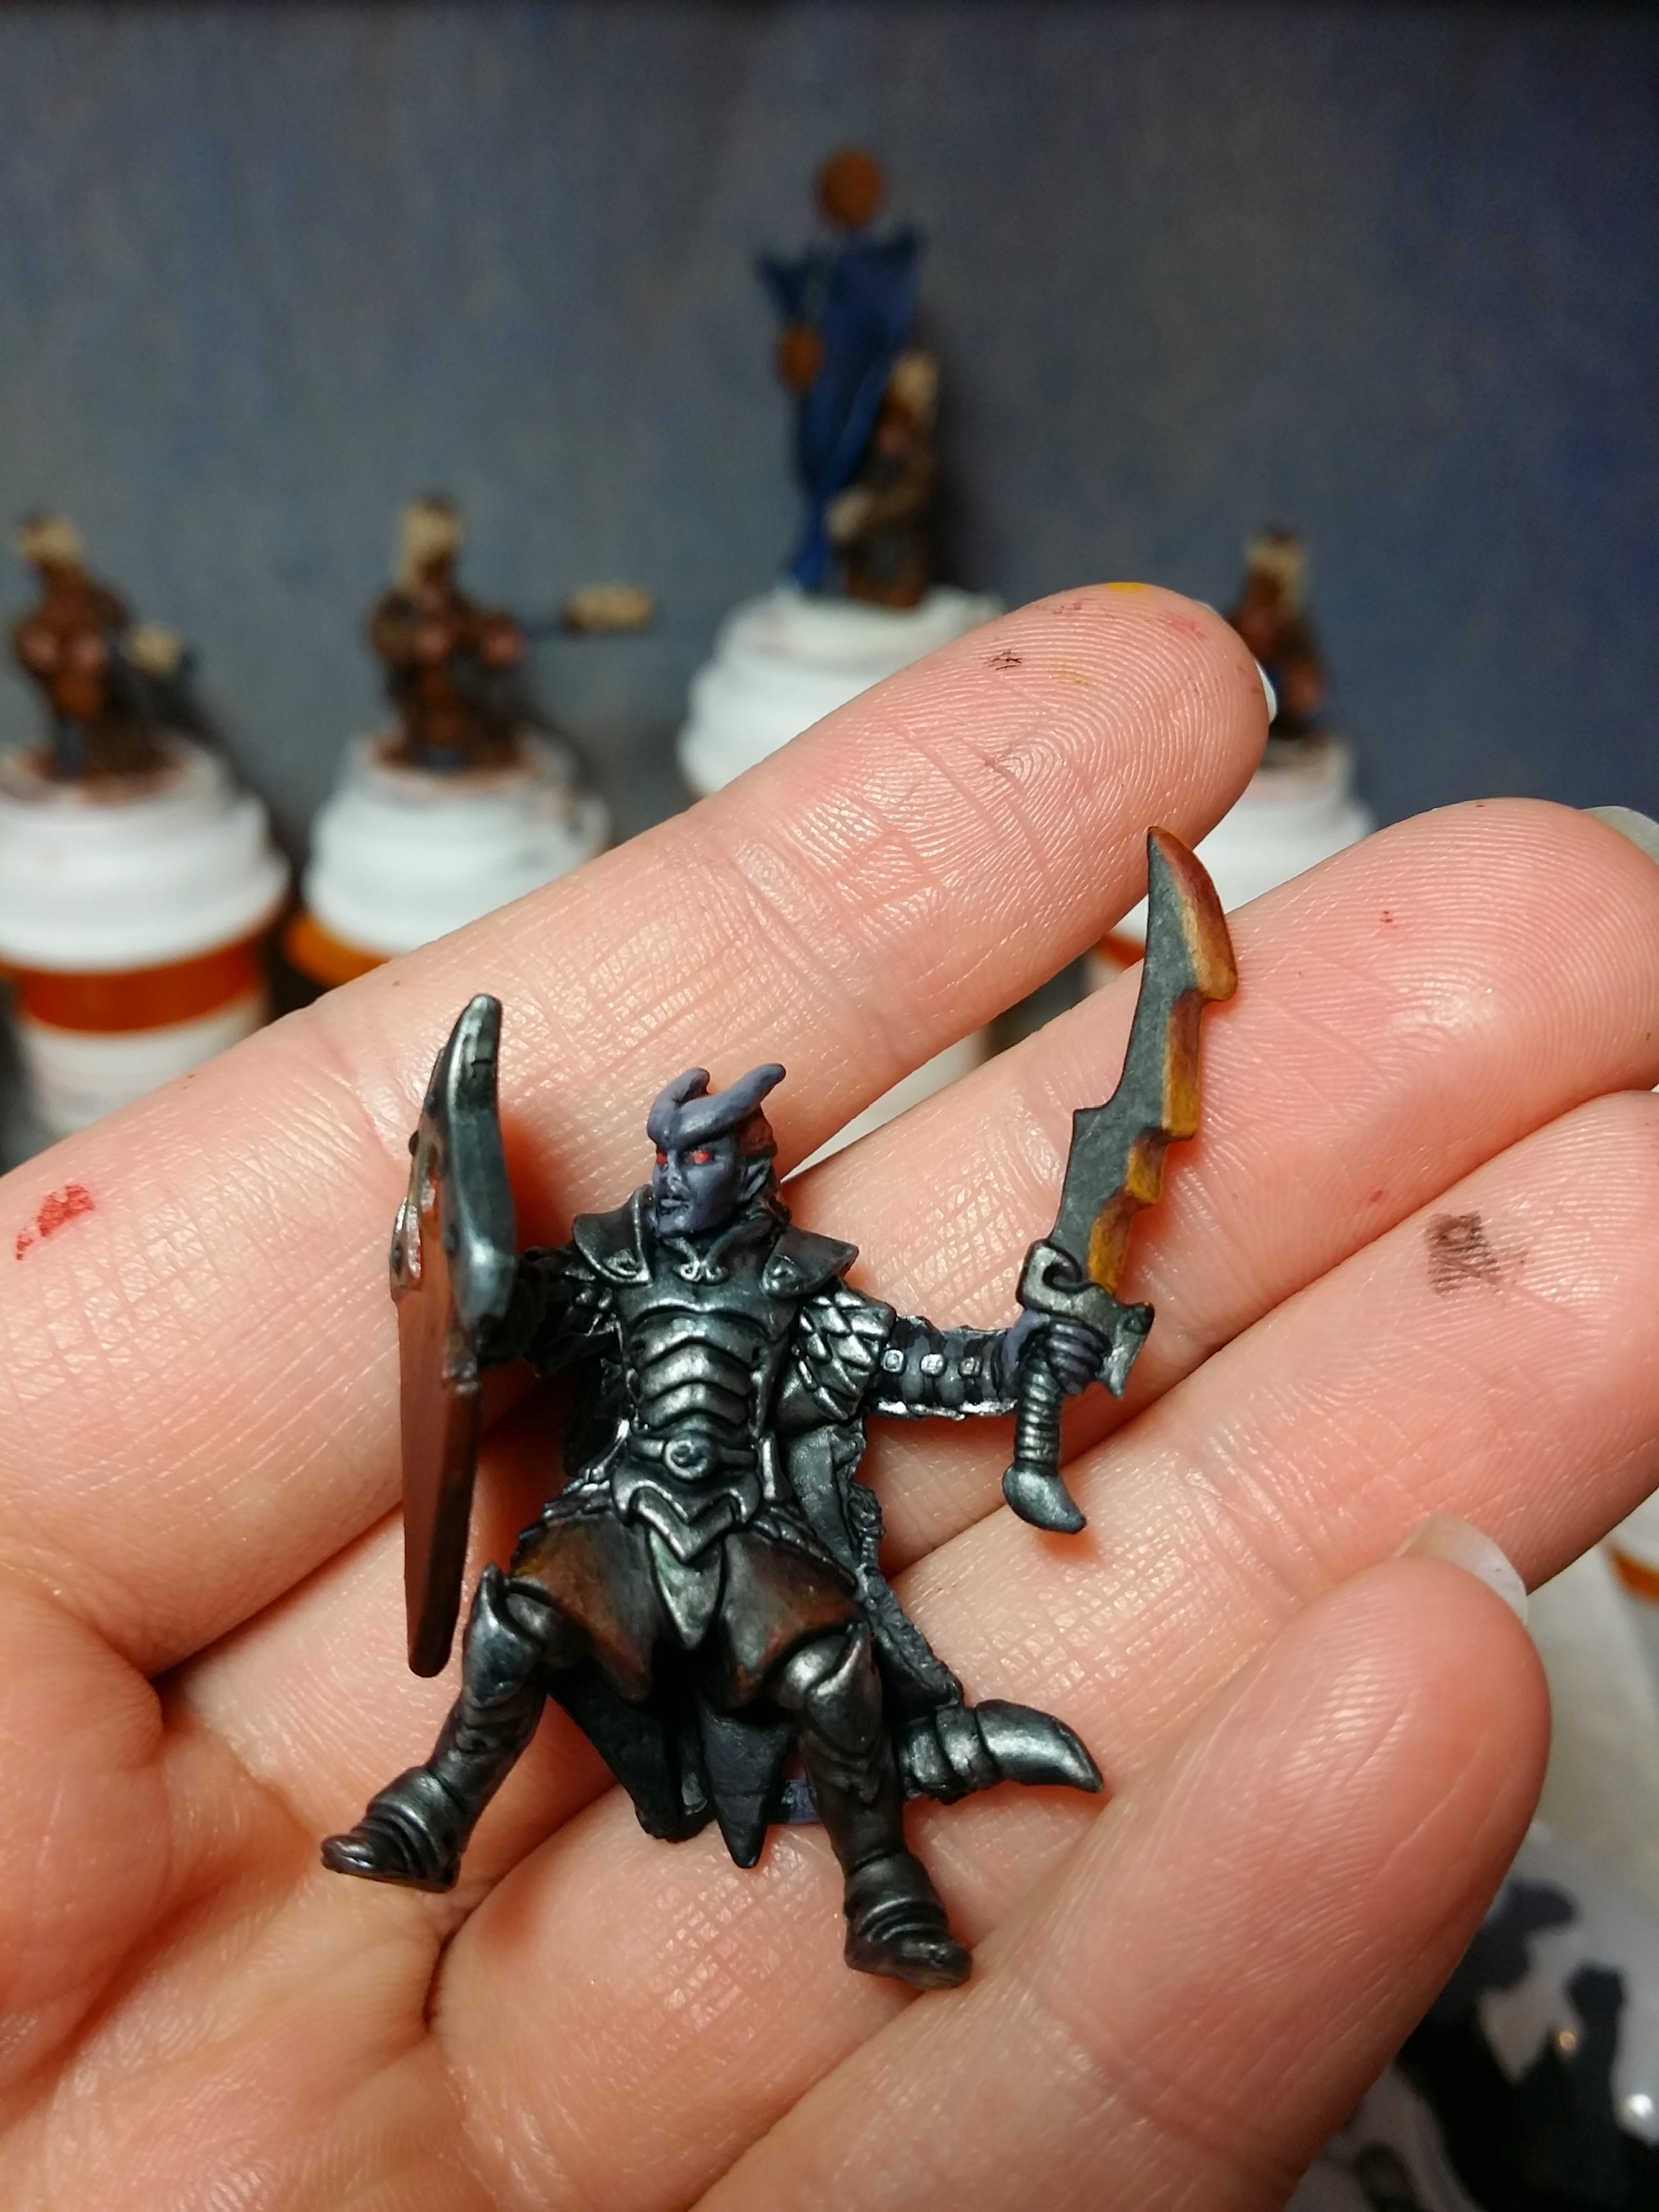
I also decided to stop fiddling around with Vaeloth and get him done, so I took his armor in a completely different direction:

I used Vallejo’s alcohol-based Liquid Silver, which coats very nicely.
Also, soon I will be putting up a series of posts about alternative WHF Vampire Counts models. There are a ton of great options out there, and I’m trying to be very thorough.
WIP: Reaper Vaeloth Hellborn Paladin cont.
I got a little work done on Vaeloth, although I’m not entirely sure which direction to take certain parts of this model still.

I think the NMM is a little rough at this point, and the blending is going to take some more work.
I also got started on the rest of the first group of 6 Chaos Dwarfs.
They’re at that point a lot of models hit where they look like a 3 year old finger painted them. =)

Tomorrow they won’t look so…red.
Tutorial: Scibor Moscal Strielec part two
In case you missed it, here is Part One of this tutorial. And now to finish the Scibor Strielec!
17. Basecoat the bag and strap with RMS Chestnut Gold.
18. Highlight the bag and strap with RMS Tanned Leather.
19. Basecoat the gun and chainmail metal with RMS Stormy Grey.
20. Basecoat the hat with RMS Amber Gold.
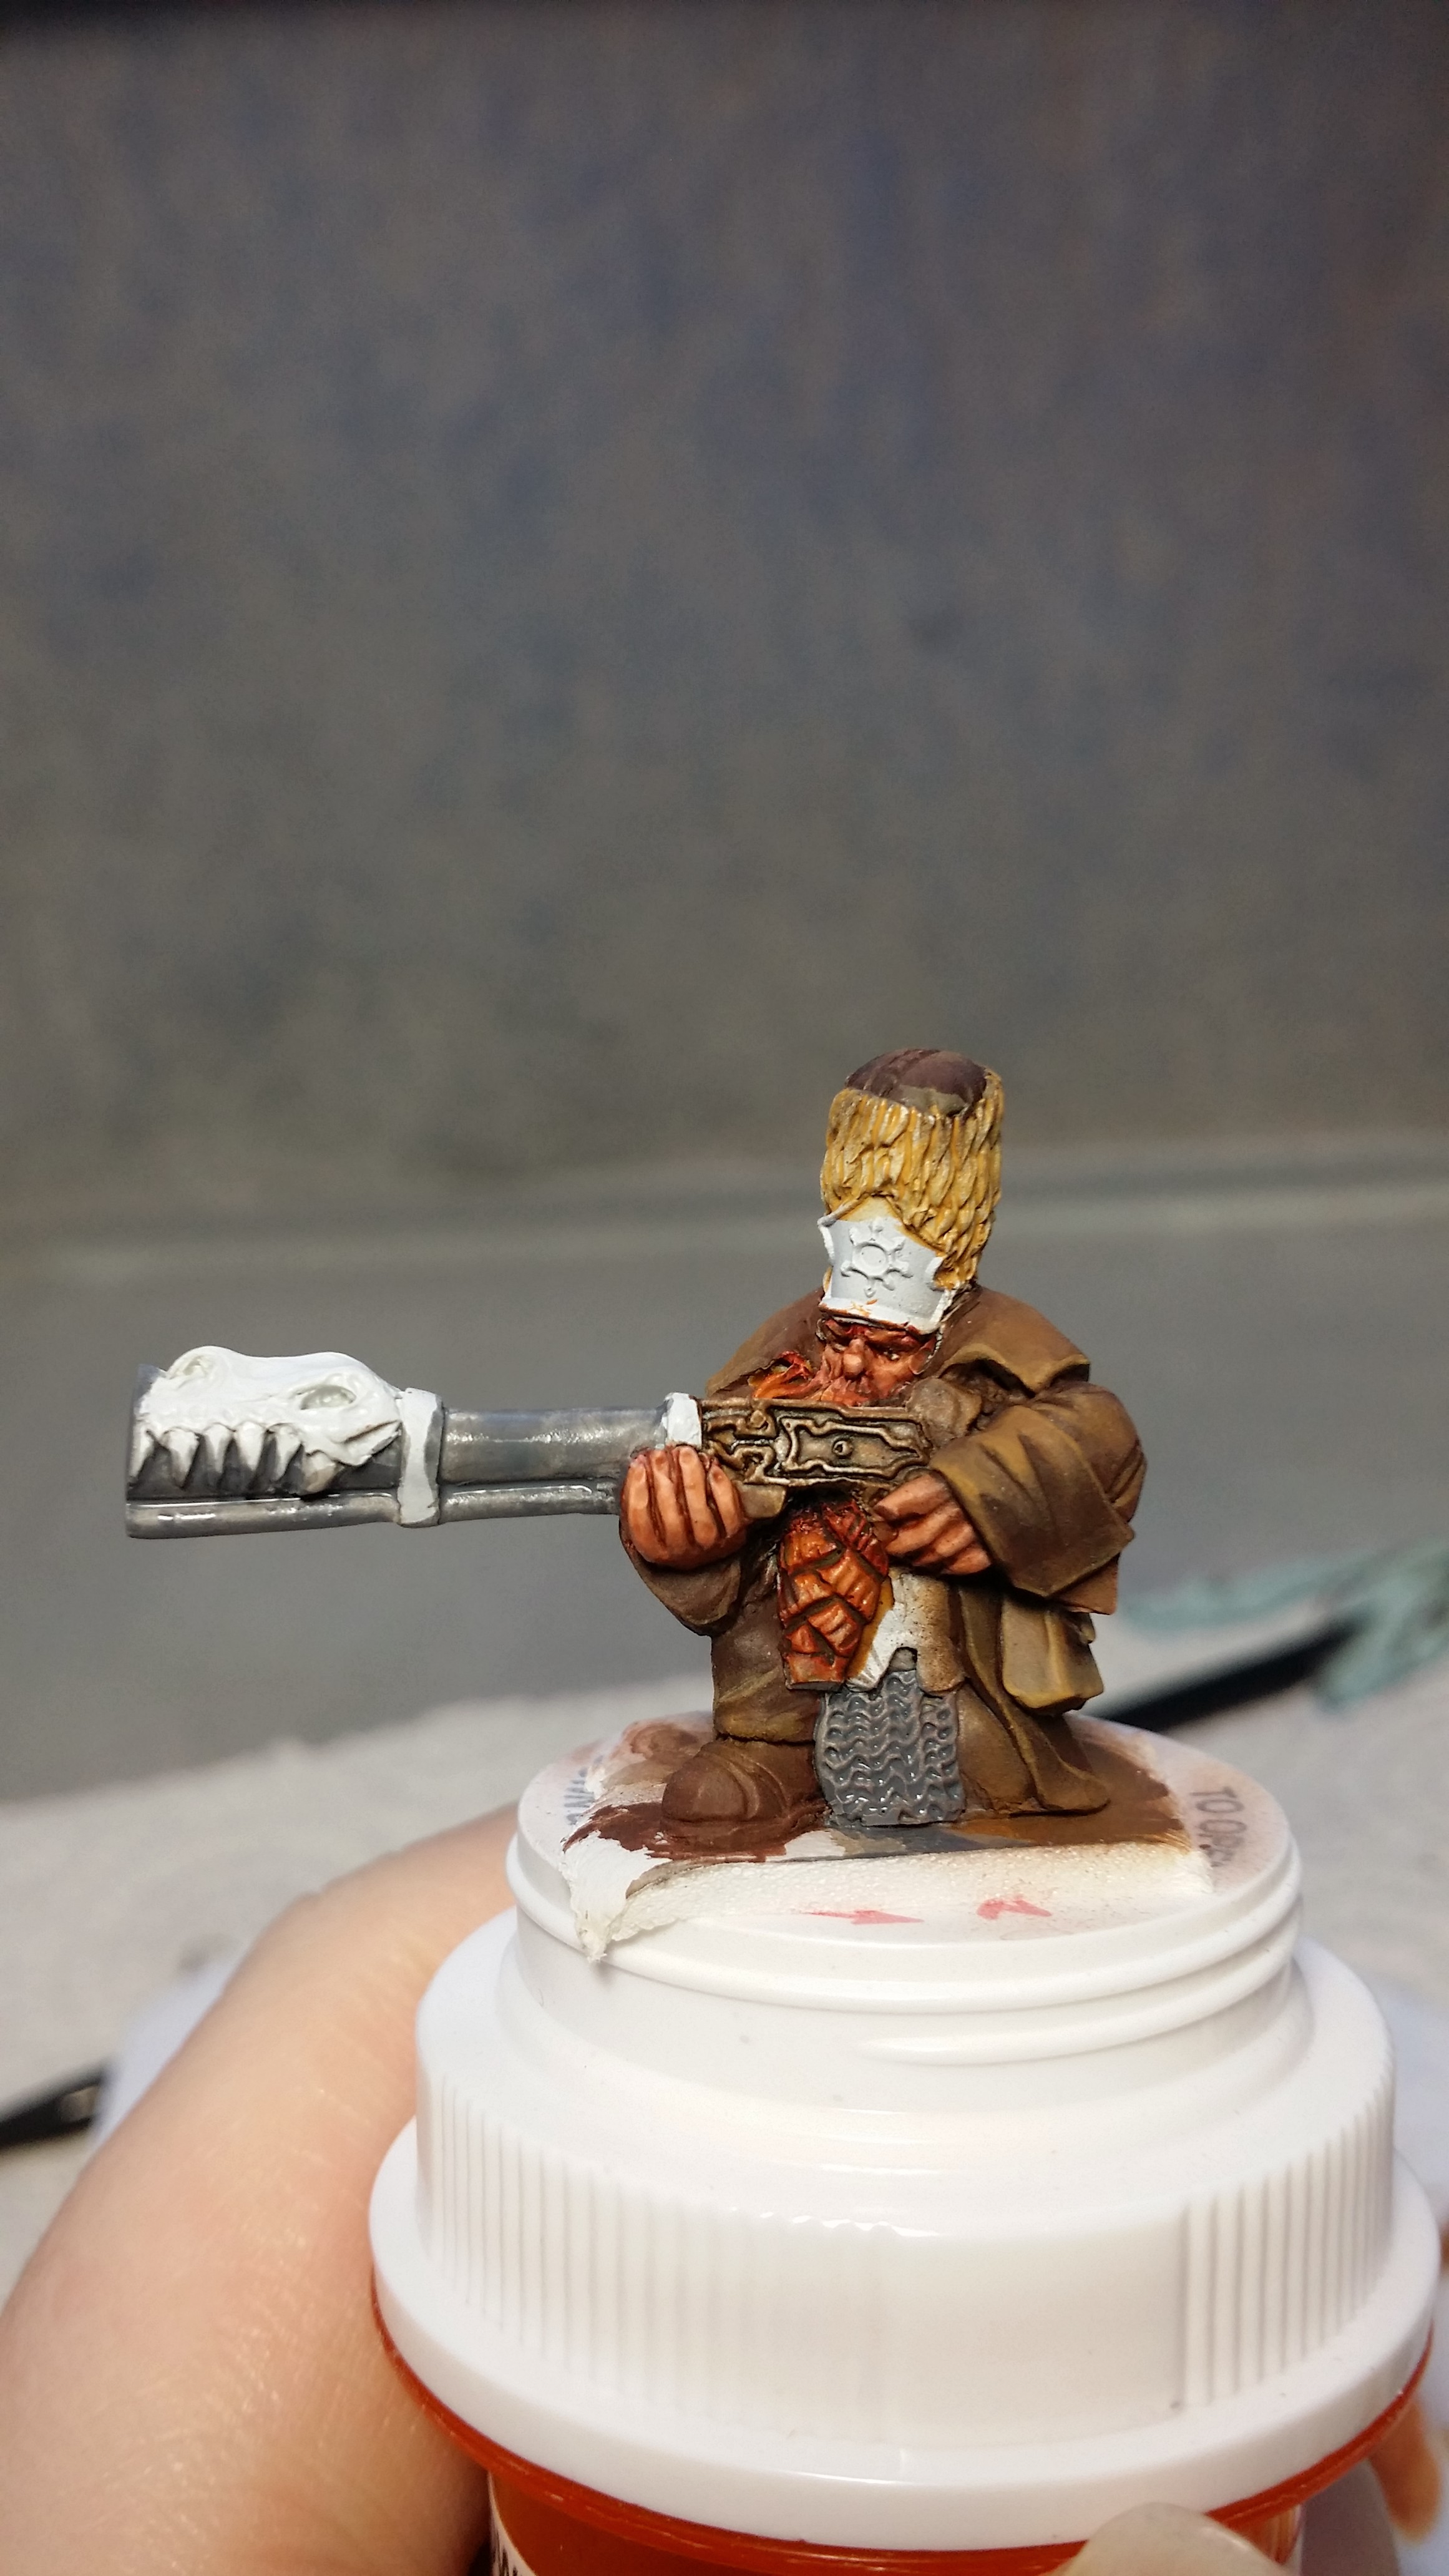


21. Wash the chainmail and line the crevice in the gun with Army Painter Dark Tone Ink (I’m starting to really like these inks!)
22. Start highlighting the gun and chainmail with RMS Cloudy Grey.
23. Gradually add RMS Ghost White to the RMS Cloudy Grey and continue with the non-metallic metal on the gun and chainmail.
24. When that mix has gone as far as it can add RMS Pure White.
25. Shade the dark areas of the gun barrel with Army Painter Dark Tone ink.
26. Drybrush the hat with RMS Creamy Ivory.
27. Wash the hat with Army Painter Soft Tone ink.
28. Basecoat the skull on the gun with RMS Polished Bone.
29. Wash the skull with Army Painter Soft Tone ink.
30. Drybrush the skull with RMS Polished Bone.
31. Wash the skull with GW Seraphim Sepia.
32. Drybrush the skull with RMS Polished Bone while the GW Sepia is still wet.
33. Drybrush again when dry, very lightly.

34. Basecoat the brass with a 1:1 mix of RMS Chestnut Brown and VMA Orange.
35. Shade the brass with RMS Brown Liner.
36. Mix a little VMA Yellow Ochre into the Chestnut Brown/Orange mix and begin working up the brass.
37. Gradually increase the VMA Yellow Ochre in the mix and continue on the NMM brass.
38. When that mix has gone as far as it can add VMC Golden Yellow.
39. Wash the brass with GW Seraphim Sepia.
40. Final highlights on the brass NMM with a mix of VMC Golden Yellow and RMS Linen White.
41. Put in glints with RMS Linen White.


Tutorial: Scibor Moscal Strielec part one
I’ve completed a test model for a Chaos Dwarf army using Scibor Strielecs as Infernal Guard with Blunderbusses. Here’s the step-by-step:
1. Basecoat the beard and skin with Vallejo Model Air Mahagony.
2. Use Reaper Master Series Tanned Skin mixed with VMA Mahagony and coat the skin.
3. Highlight the skin by adding RMS Rosy Skin gradually.
4. Paint the eyes with RMS Linen White.
5. Line the eyes and paint in the pupils with RMS Brown Liner.
6. Use RMS Flesh Wash on the cheeks and between the fingers.

7. Highlight the beard with RMS Rust Brown, then mix in RMS Palomino Gold and gradually increase the Gold as you layer highlights.
8. Wash the beard with Games Workshop Seraphim Sepia.


9. Paint the gun haft RMS Shield Brown
10. Wash the gun haft with thinned RMS Brown Liner.
11. Basecoat the coat with RMS Dark Skin.

12. Wash the skin with a mix of RMS Flesh Wash and GW Seraphim Sepia.
13. Airbrush shadows in the coat with RMS Blackened Brown.
14. Airbrush highlights in the coat with a 4:1 mix of RMS Chestnut Gold and Dark Skin.
15. Use a brush to touch up the shadows on the coat with RMS Blackened Brown.
16. Touch up the highlights with RMS Chestnut Gold.
The rest is coming up tomorrow!
WIP: Chaos Dwarfs and Reaper Hyrekia Dragonthrall Mage
I finished basing the Reaper Hyrekia model by painting the Oxide Paste, painting black around the edge, and putting some turf on the base to be vines, moss, etc. I’m pretty happy with how she turned out considering she was a pretty basic tabletop model:
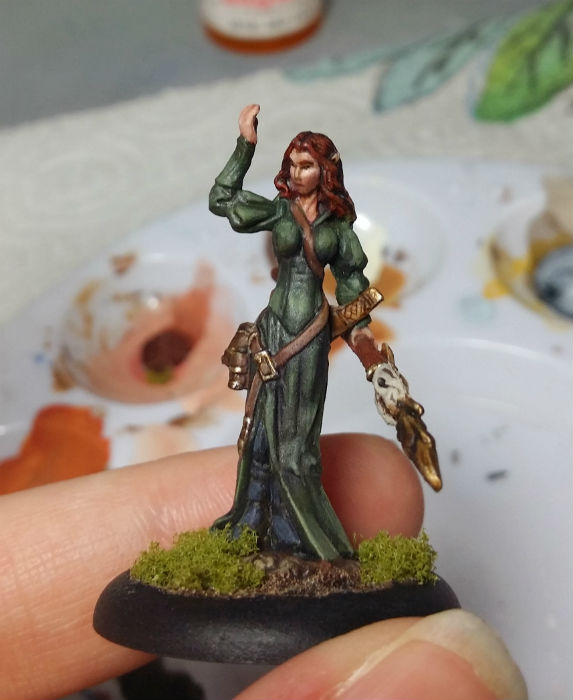

I’ve decided I do like the Bones plastic. It doesn’t hold sharp details very well, but paint goes on easily and adheres really well to it, and that’s really important to me. I’ve painted far too many models that I’ve had to touch up repeatedly just because they were handled (carefully!) before being sealed. That problem is mostly with metal models, but it can happen with plastic and resin also.
I also got some work done on a test model for the Chaos Dwarf Infernal Guard. I’ll put up a step-by-step of painting a Scibor Moscal Strielec tomorrow!
WIP: Chaos Dwarfs
This month I am beginning a Chaos Dwarf army commission. The first unit is 15 Scibor Moscal Strielecs, a Scibor Moscal standard bearer, Scibor Moscal musician, Scibor Moscal officer, Scibor Moscal cannon crew (3 dwarfs), and GW IG Cadian heavy weapons team mortar – representing 24 Chaos Dwarf Infernal Guard with Blunderbusses. I’m starting with the Scibor Moscal Strielecs.
The cleanup on the Strielecs so far was fairly annoying. Although the resin seems nice enough, the models were plagued with bubbles. There were a few areas of weird textures, and part of the gun barrel was missing on many models. There were very few mould lines, however, and they were very fine if the model even had any.
The models are nicely sculpted with lots of details, but (and this is just my personal pet-peeve) the delineation between areas on the model isn’t sharp enough. For instance, faces almost blend right into coats. To me, this makes painting far more difficult.
I primed the first 6 Strielecs.

