Blog Archives
WIP: Reaper Pathfinder Red Dragon
The bulk of the work on this figure was done with my airbrush. I used Reaper Dark Elf Shadow as a base color, then highlighted with RMS Dark Elf Highlight. I used VMA Black for the deepest shadows. Then I used VMC Dark Prussian Blue (a fabulously beautiful color!) to begin the blue areas on the wings, frills, and body. After that, the blue areas were taken up to RMS Surf Aqua. Then, for the final lights on those areas, I used VMA White and then RMS Surf Aqua again. Putting the white first allows the Surf Aqua to be brighter. The transparent nature of these paints means that even if a bright color is used, if it has a dark base it will not appear bright. Putting that white “barrier” in between the dark and the aqua helps that.


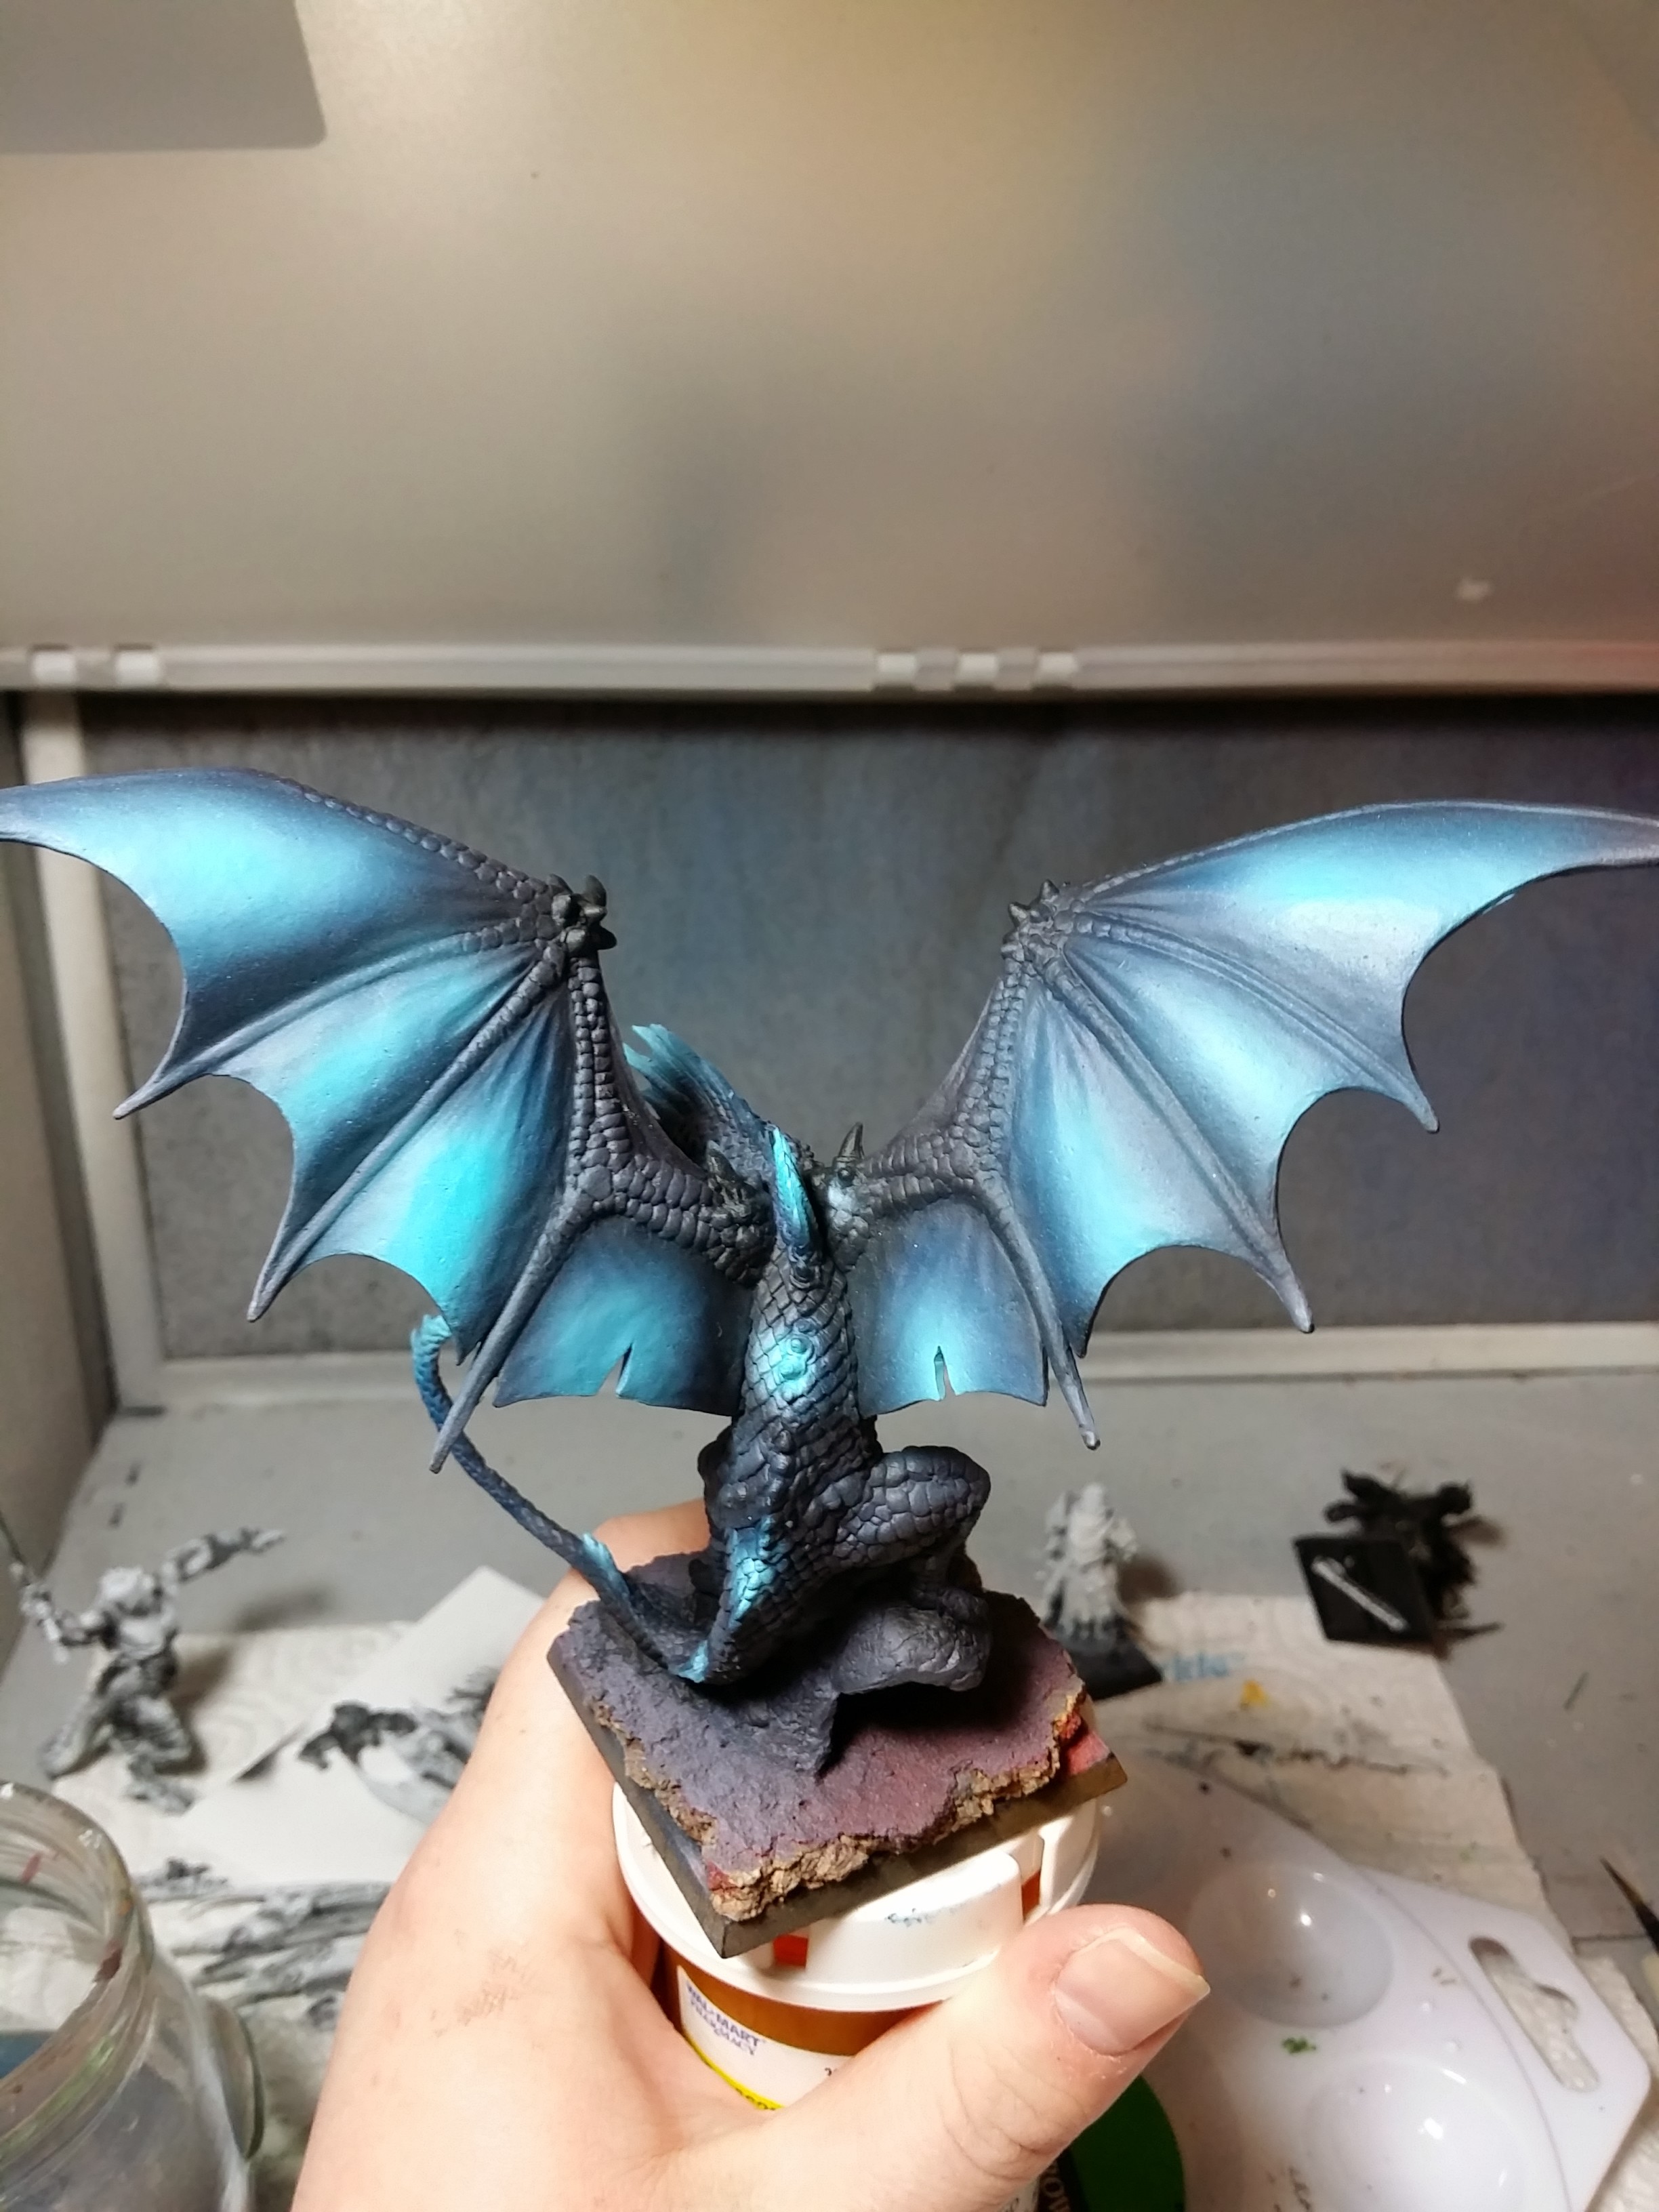
The airbrush really made quick work of it to this point, but now it was time for the detail-work.
The plan was to make the scales, especially the chest, appear iridescent. To that end, the next colors used were a bright green and a violet-red.
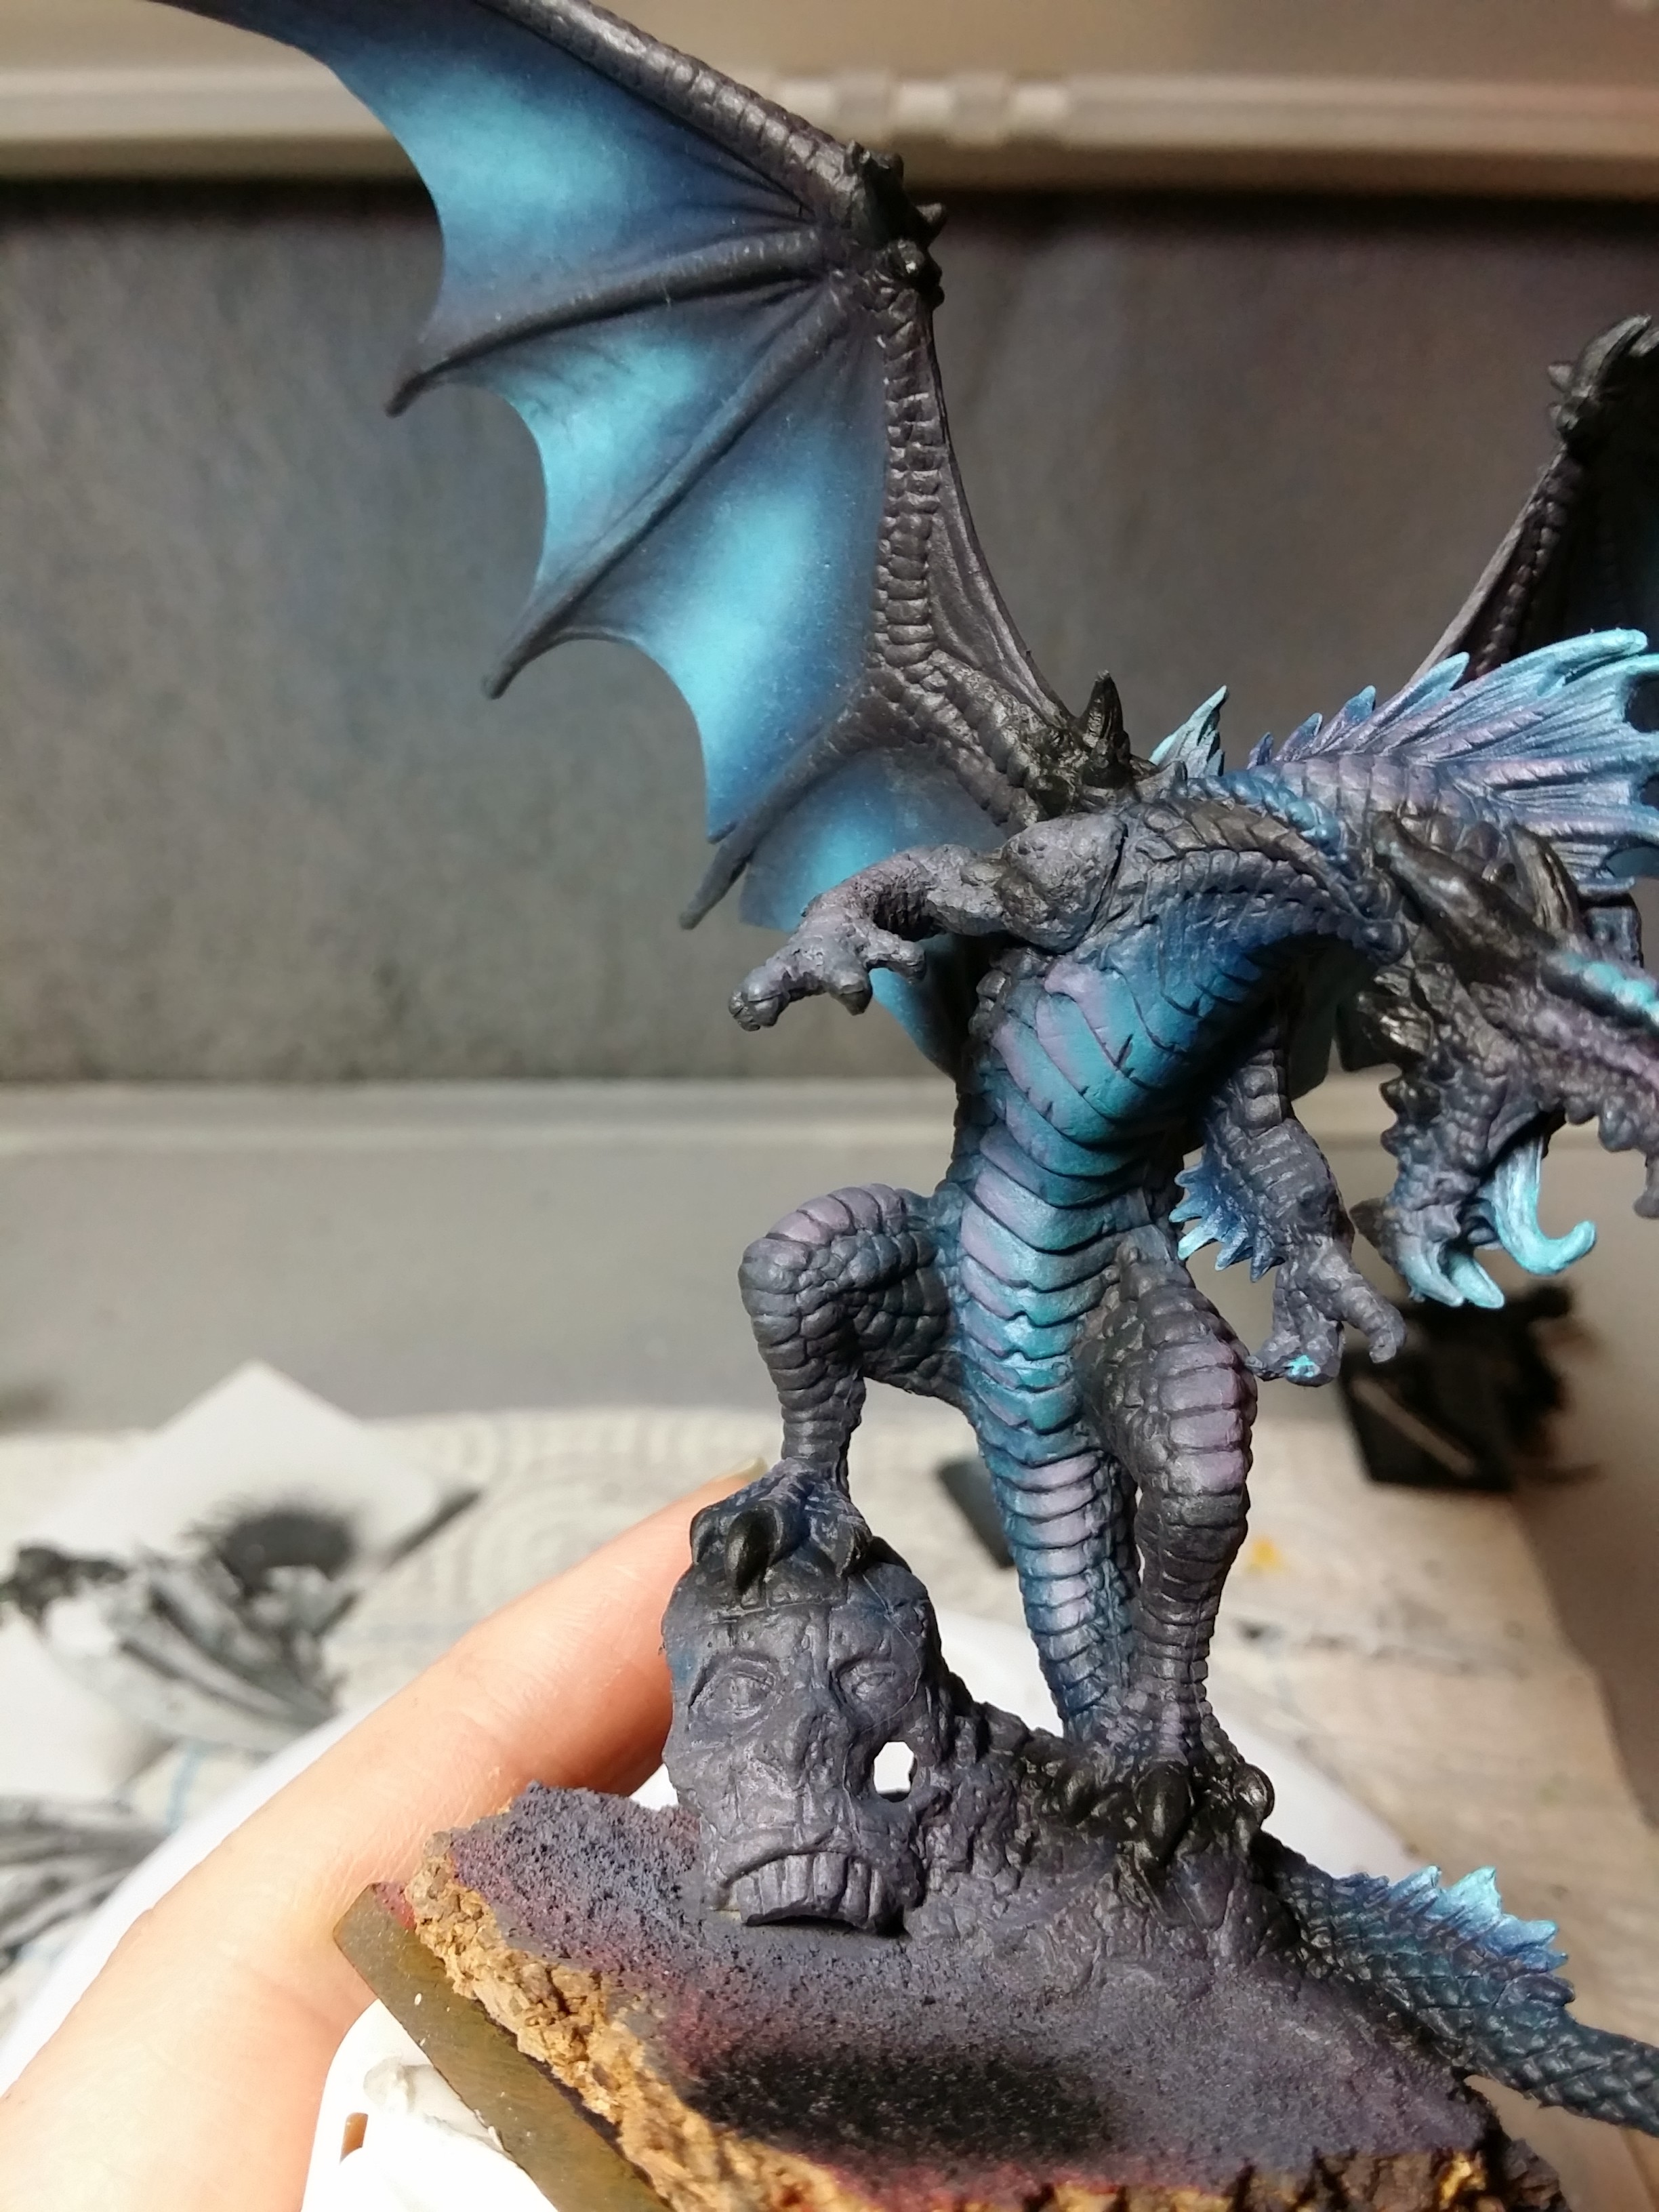

After that it was the horns. I base-coated them with RMS Weathered Stone.

After that, I washed them with Army Painter Dark Tone Ink, and then highlighted them back up with RMS Weathered Stone.
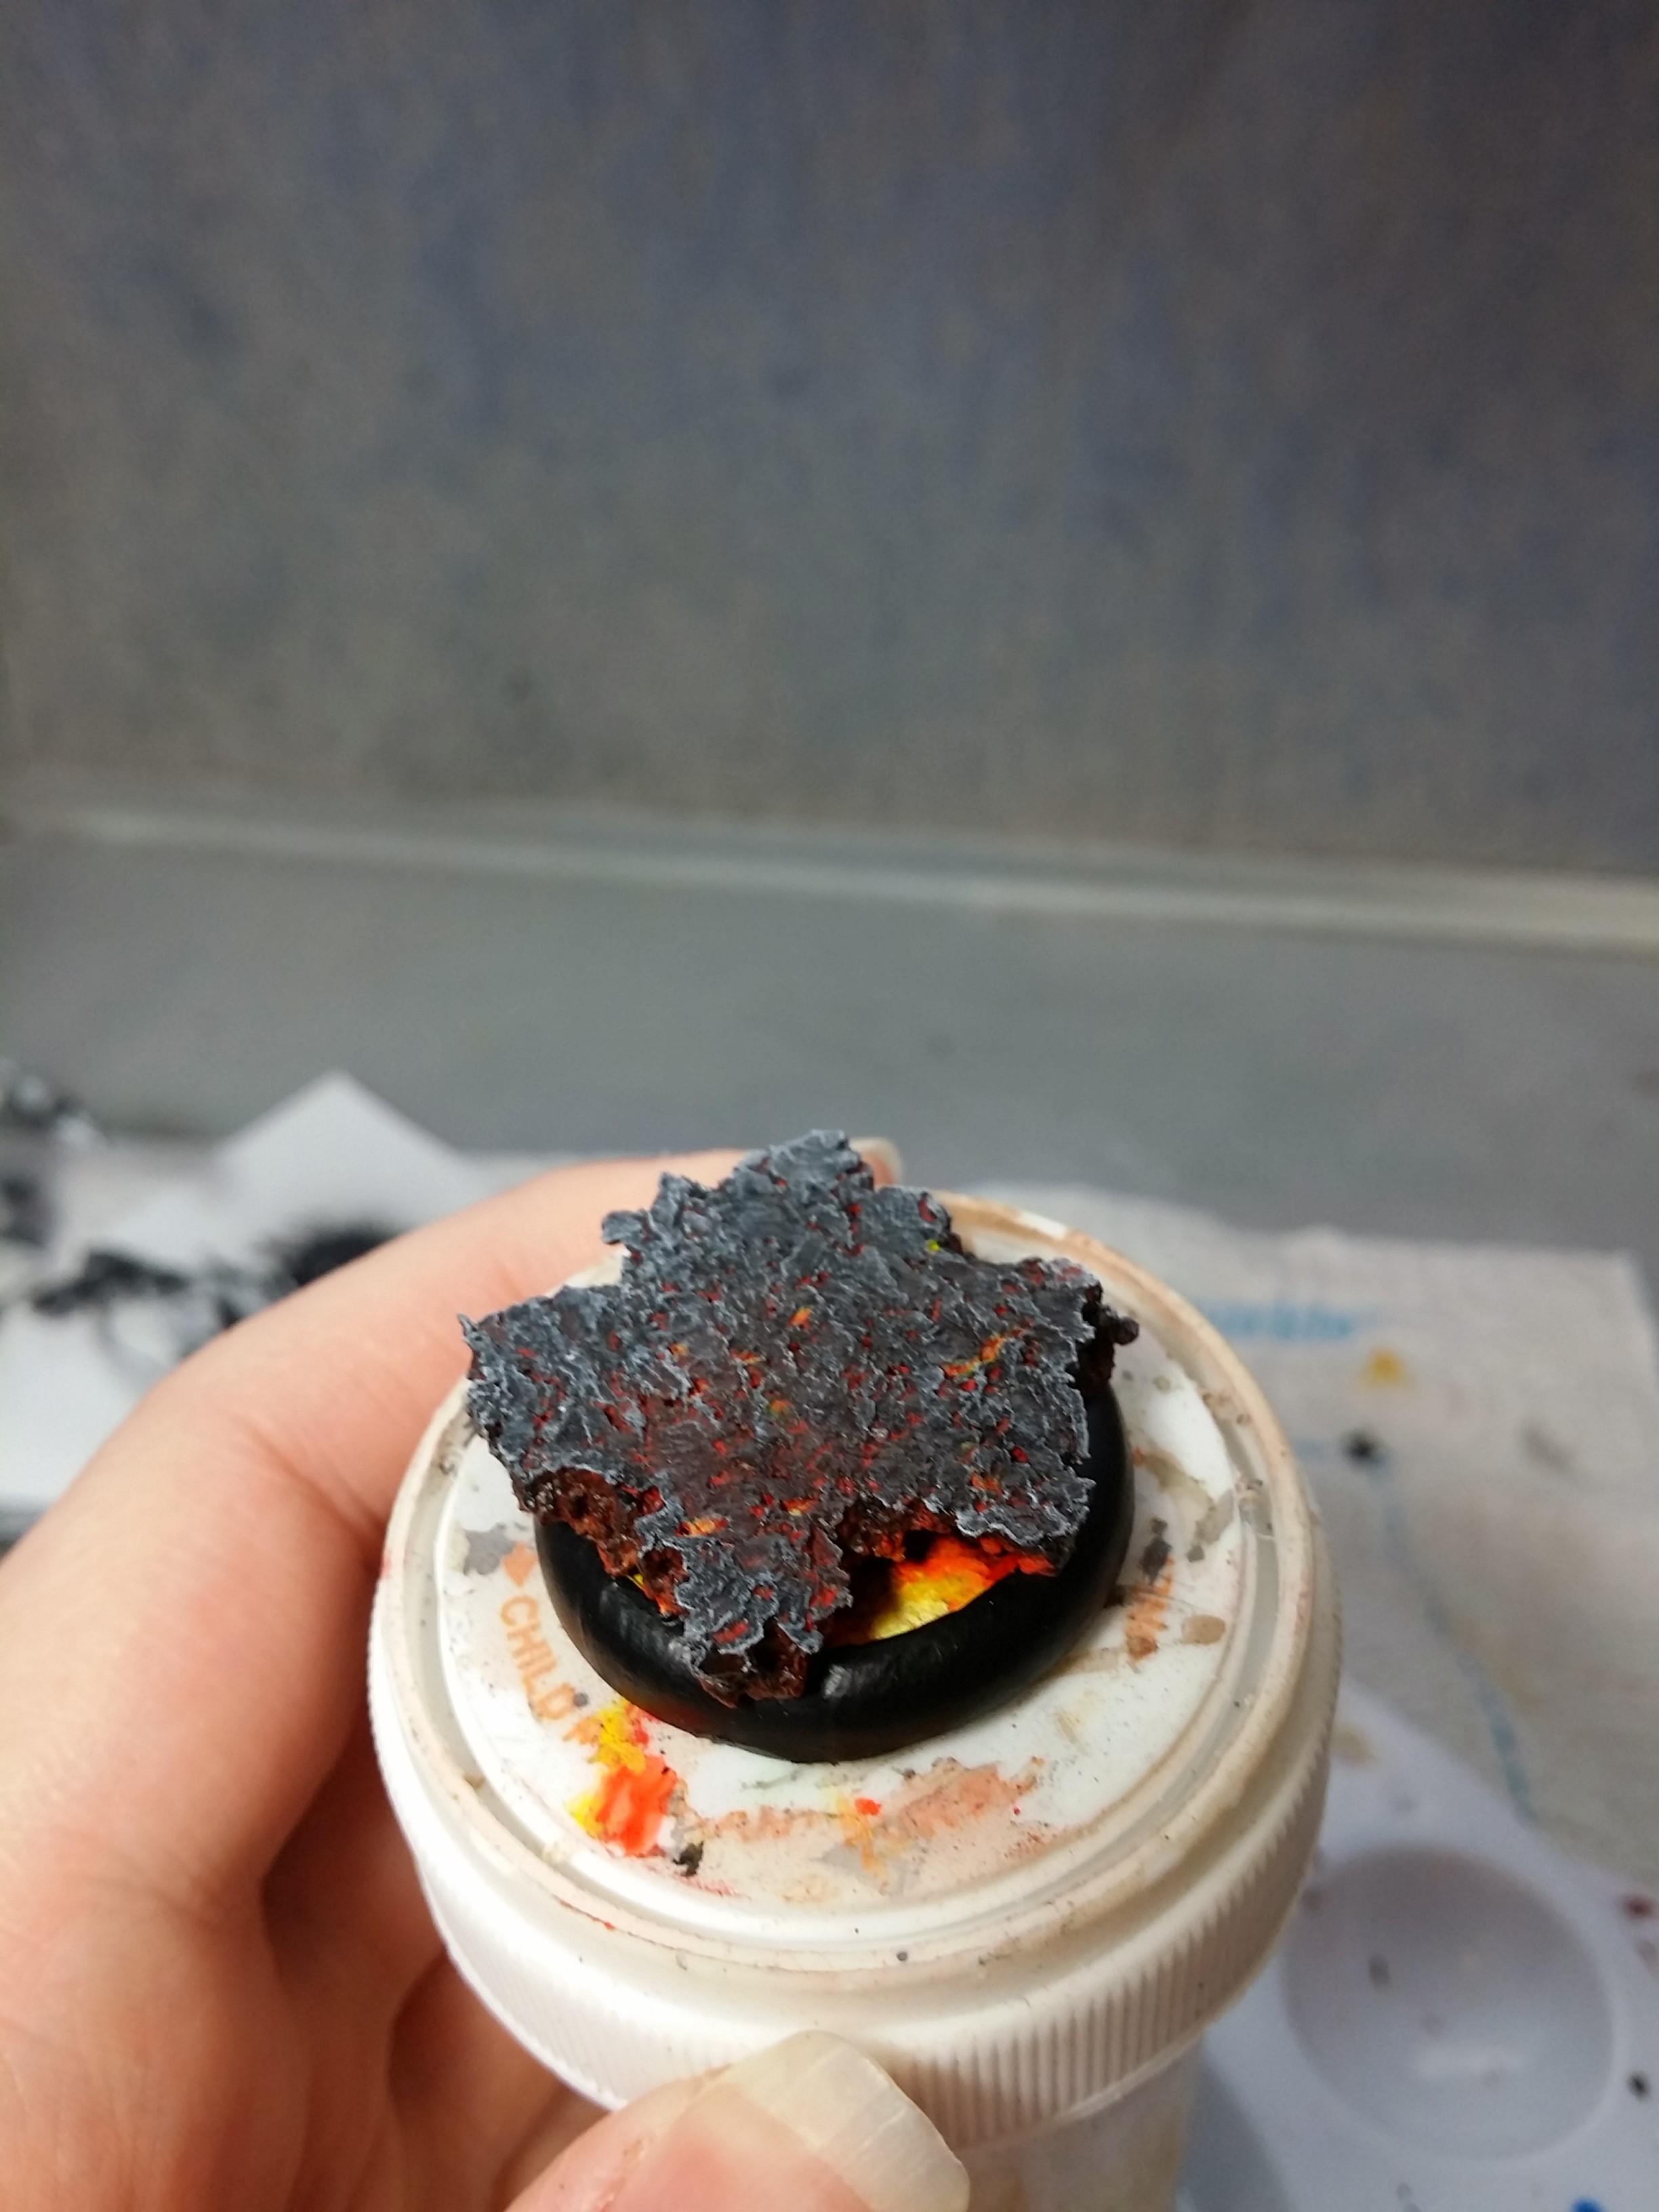
About this point in the painting, the owner of this dragon asked me to add a washer in the base so that it magnetic counters used in D&D would stick to it, so I dug a hole in the cork to place it so that the surface of the base could remain flat.

Next, I covered the washer with Vallejo Red Oxide Paste.

After that dried, I began painting over it to blend that area back into the base, and I decided the eyes should be a bright orangey-yellow instead of bright blue.

And here he is finished:


This dragon was a ton of fun to paint. I really enjoyed the colors. However, the Bones plastic was such a pain! Mould lines would just appear out of nowhere! I will probably paint a couple more of these dragons this year.
WIP: Vaeloth Hellborn Paladin with Lava Base
Another quick update here – I needed to wrap up several projects including the Hellborn Paladin, and I decided that Vaeloth should have a simple lava base:
It was a lot of fun to make it, and the Vallejo Fluorescent paints came in handy!
Here he is finished and attached to his base:

I’ll put up good final pictures and list him on my For Sale! page shortly!
WIP: Chaos Dwarfs, Reaper Hellborn Paladin
So the next set of Dwarfs is coming along. The guy with the banner has been every bit as much of a pain as I figured, but it is at least possible to paint in that area. I’ve seen models where if you fully assemble them you really are going to have a hard time so much as squishing paint into some areas.
Here is how they’ve come along over the last couple days:
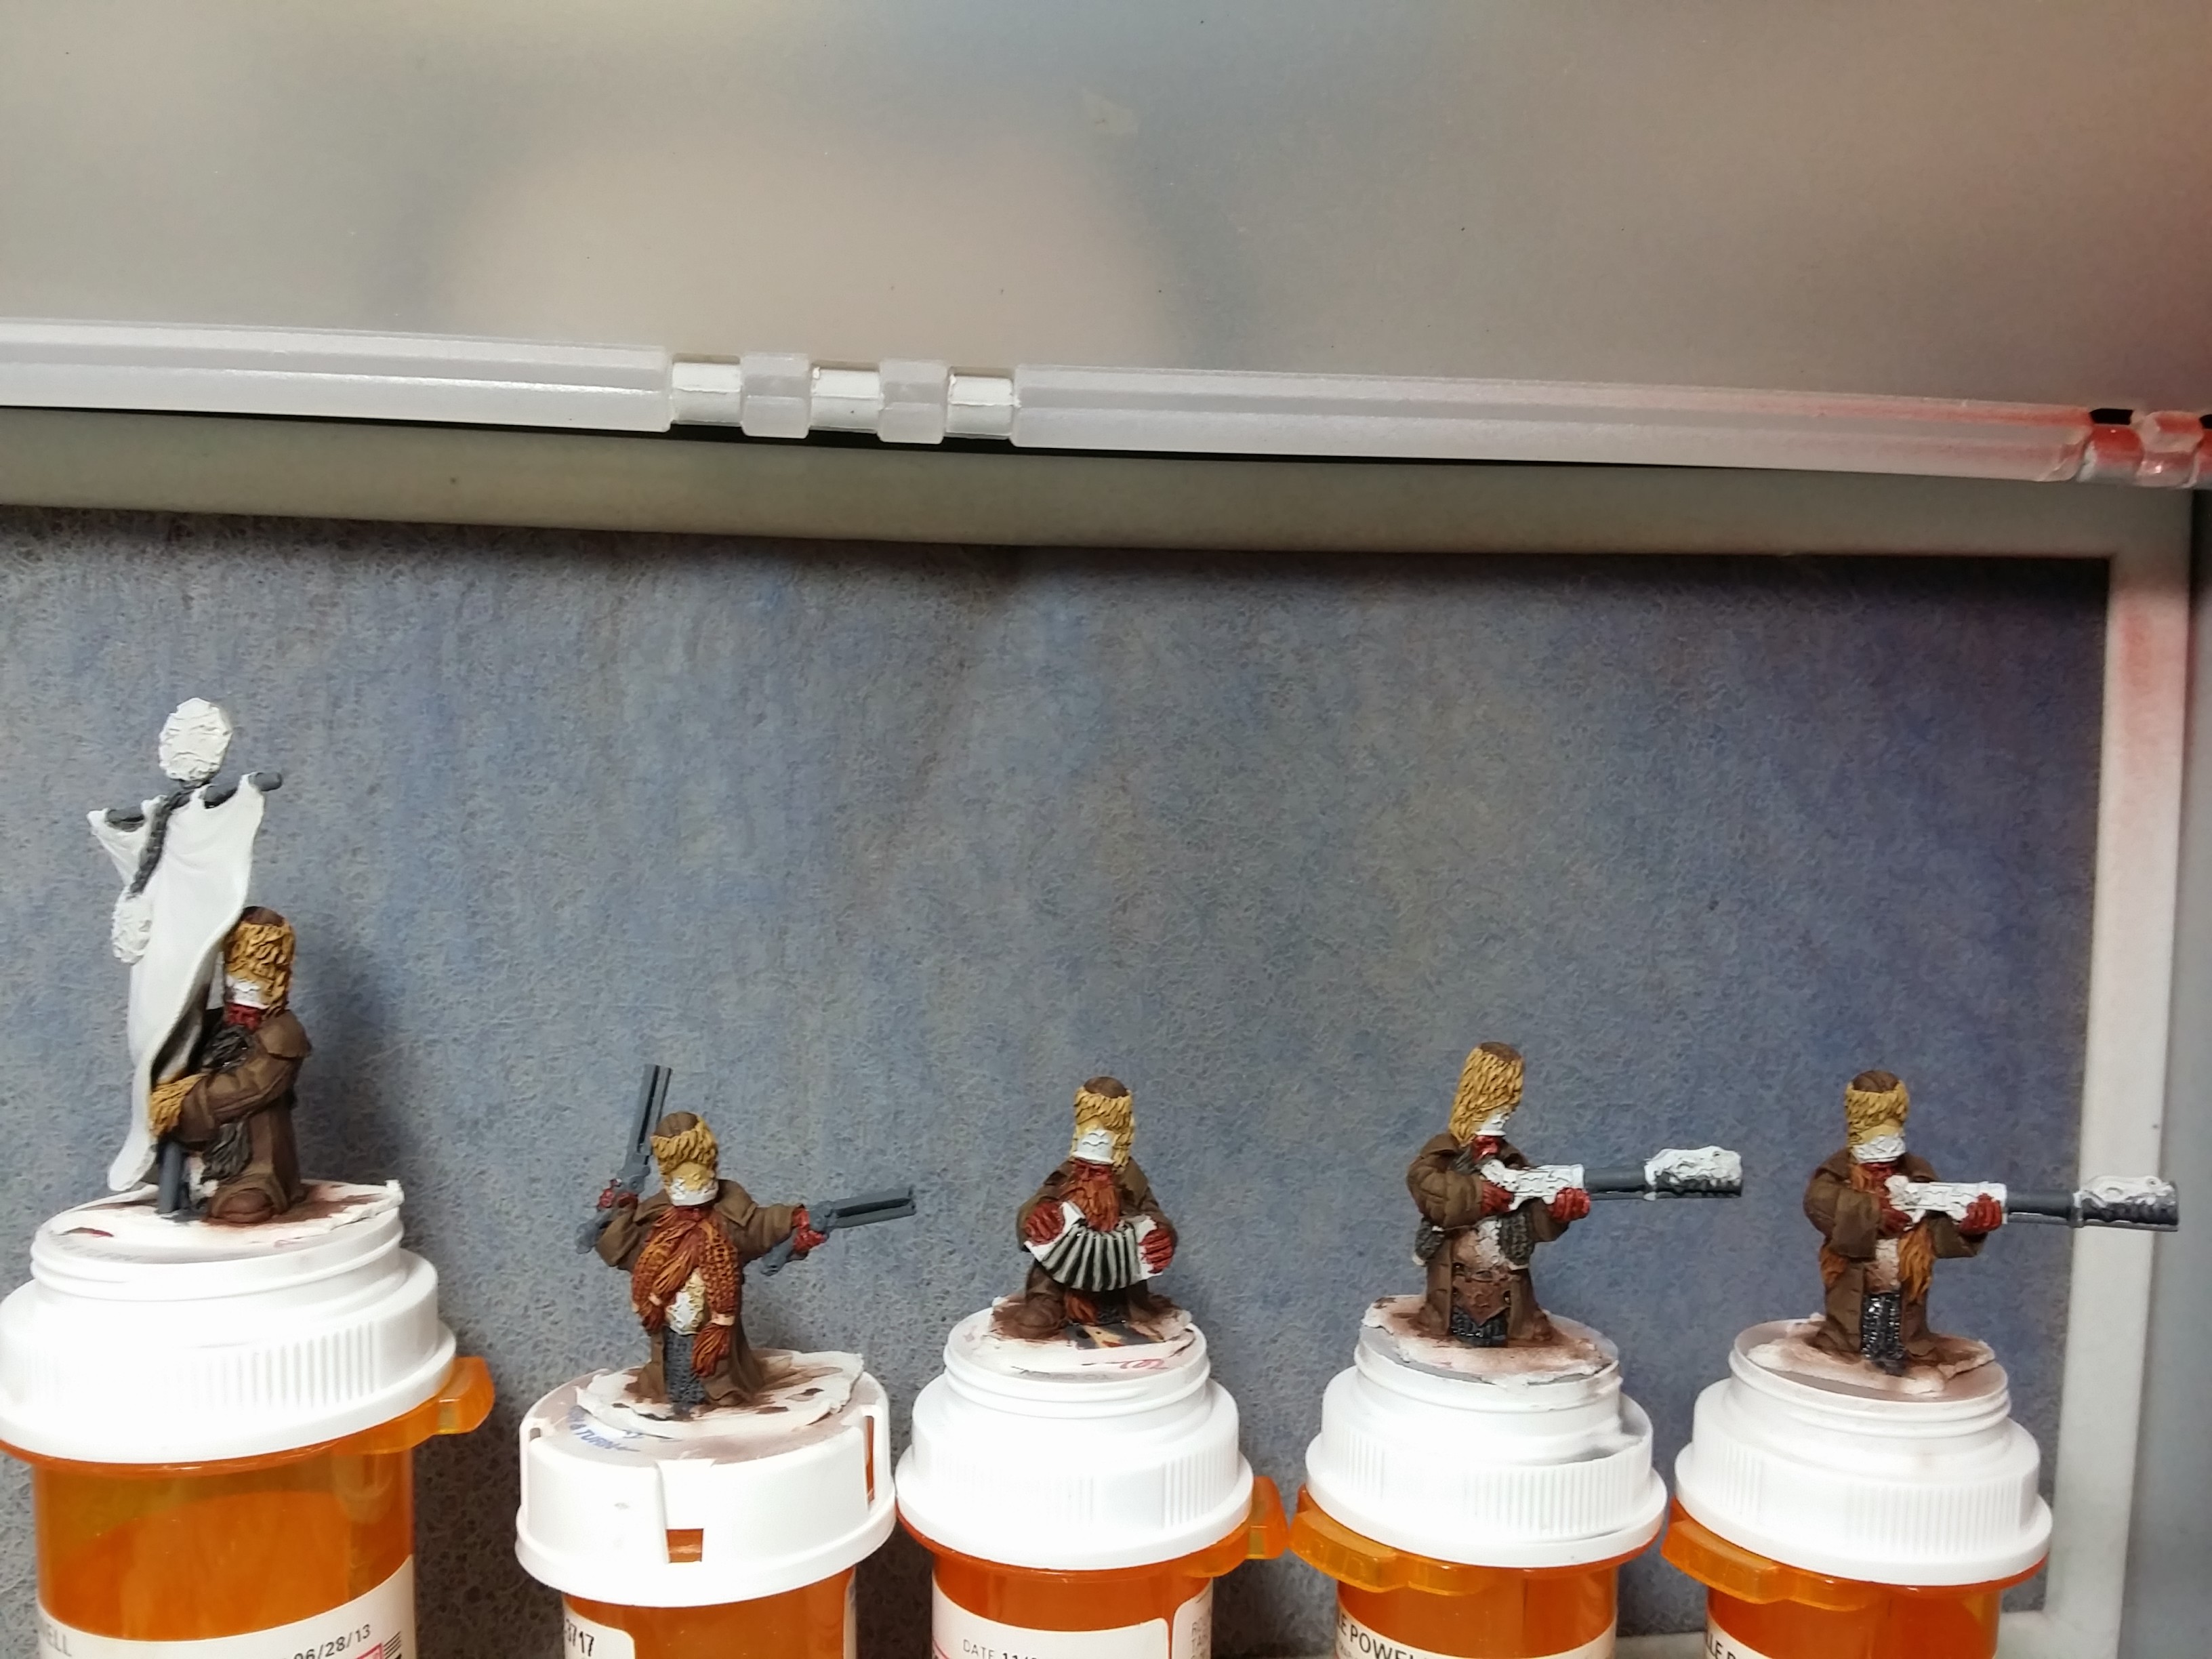
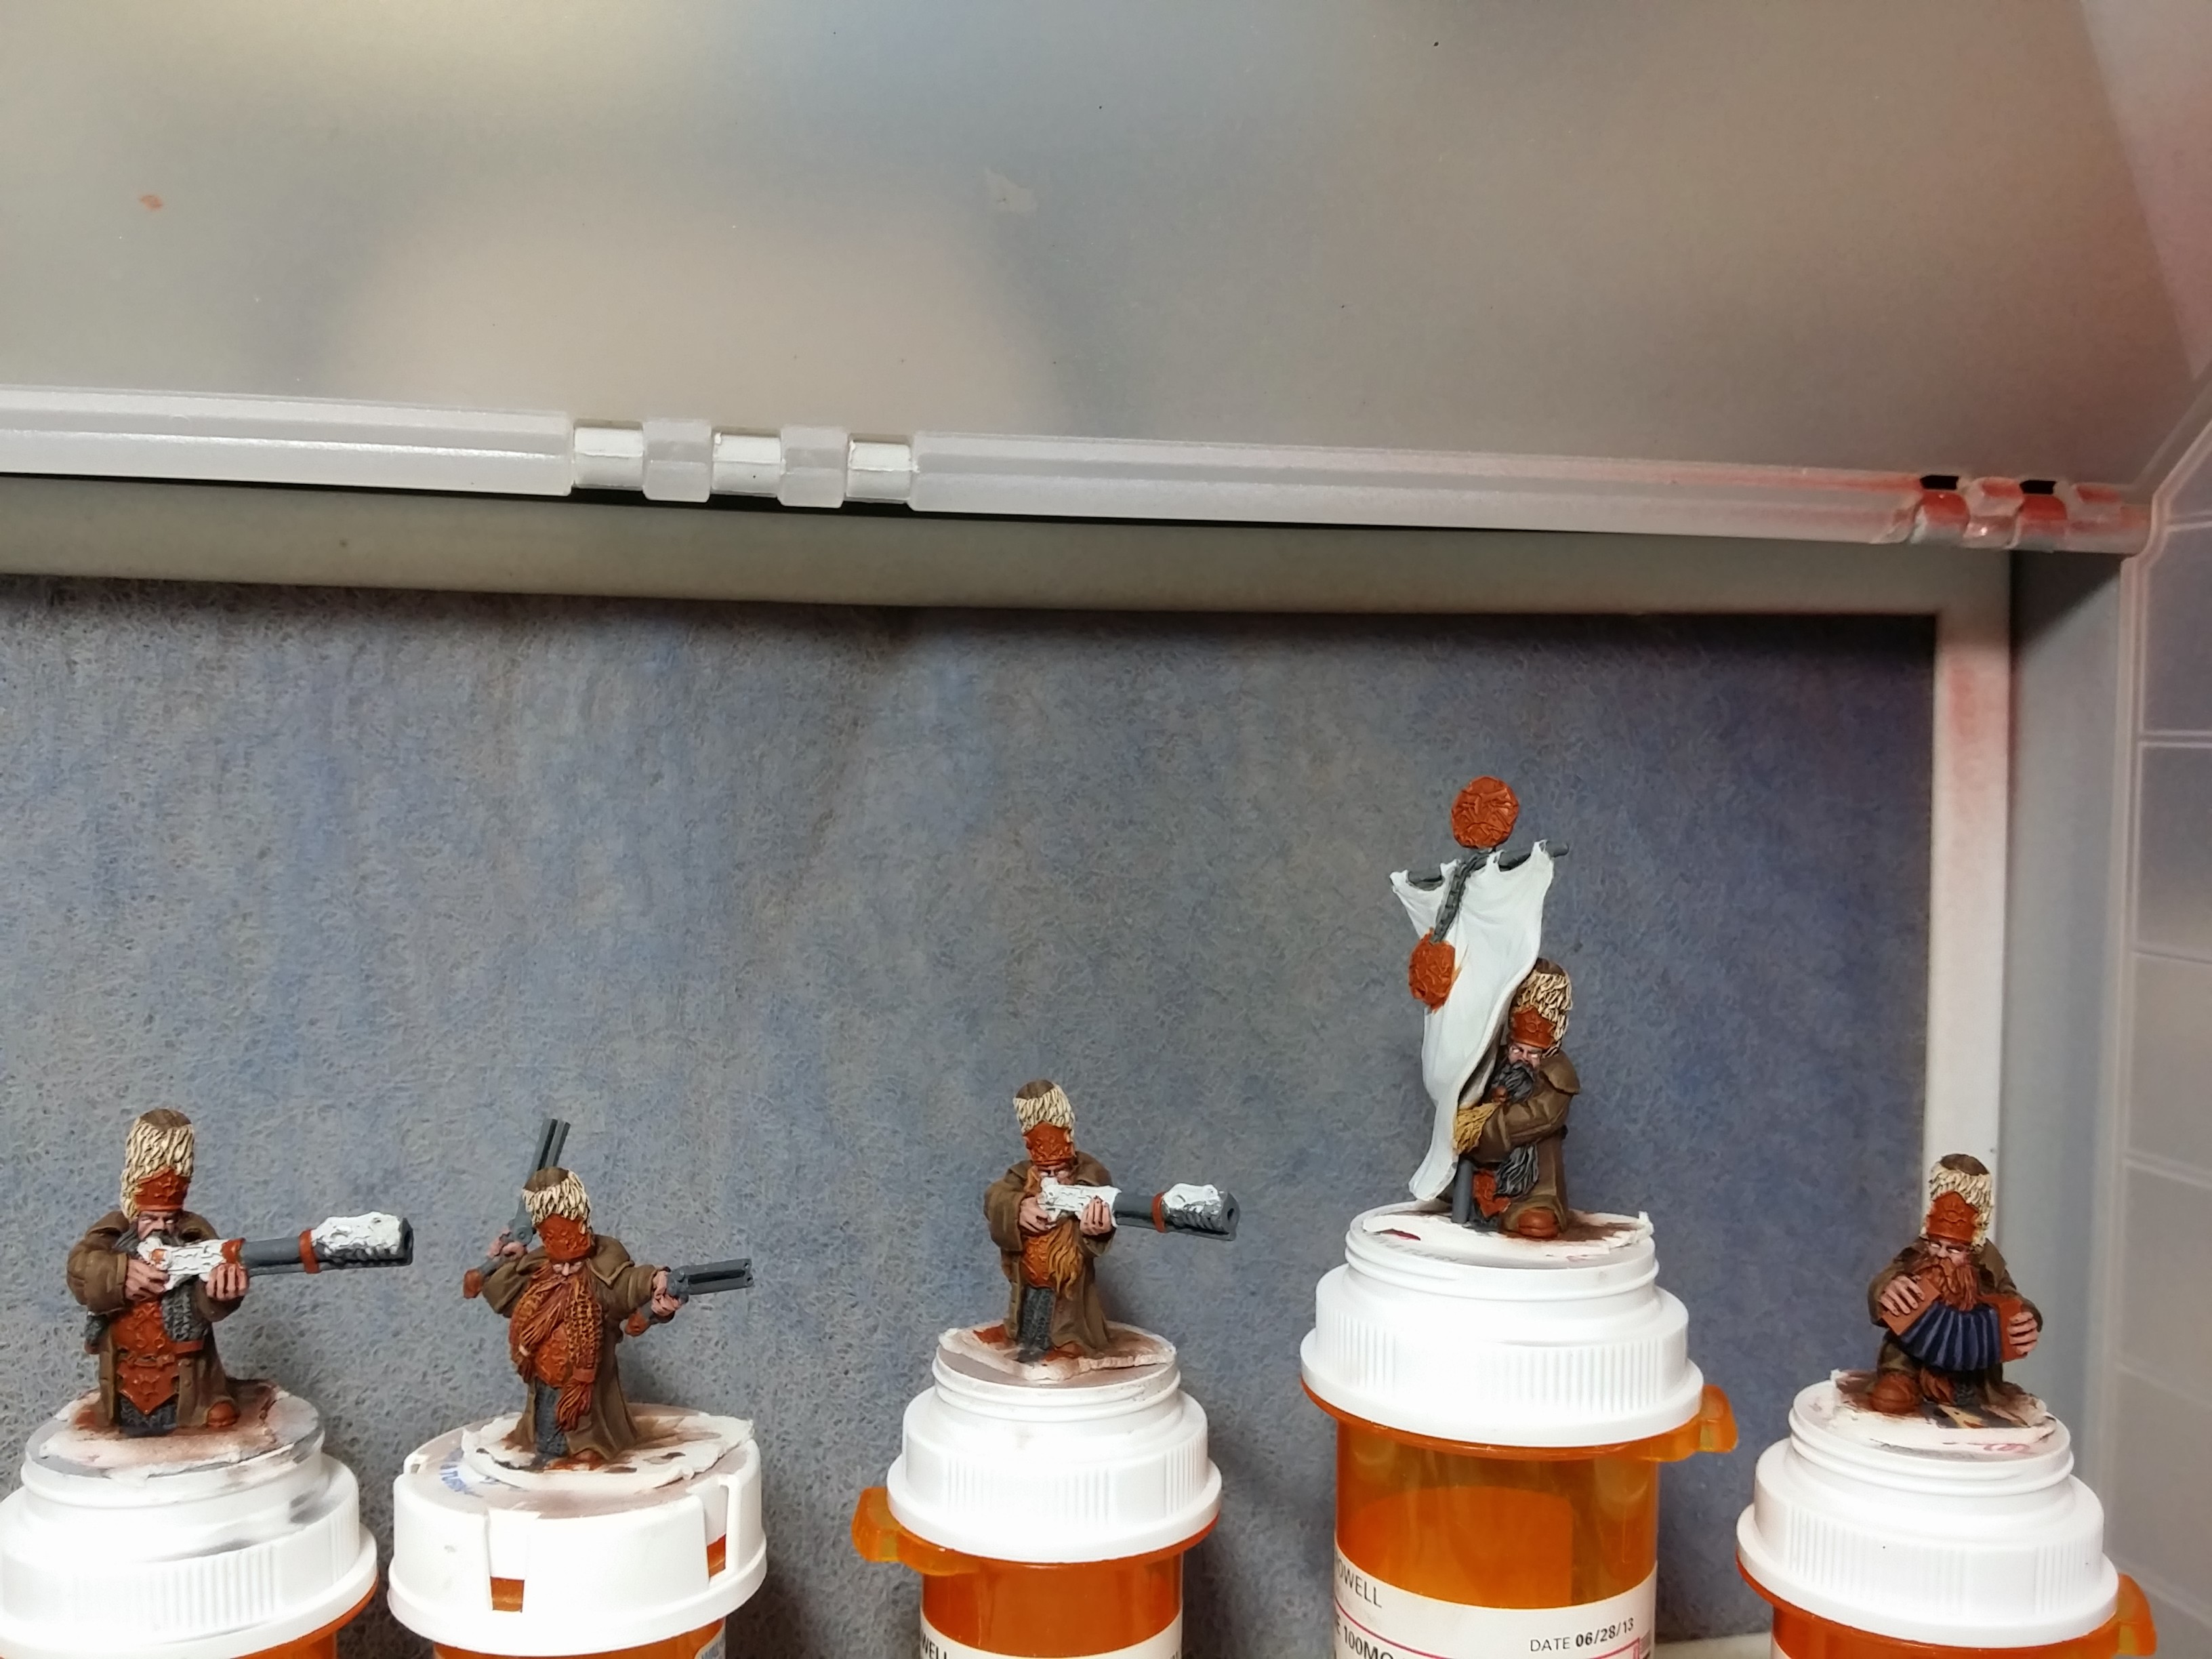

I really like the champion model (2 guns). I think he’s probably one of the best of these sculpts so far. Not too many issues with soft edges causing cheeks to blend into coats blending into beards blending into hands/guns/chainmail/etc. Some dark lining can help with that issue, so it doesn’t completely ruin everything, but it really is a pet peeve of mine. I think his sculpt looks just a little wild compared to the rest, and a lot more bad-ass (for a dwarf!).
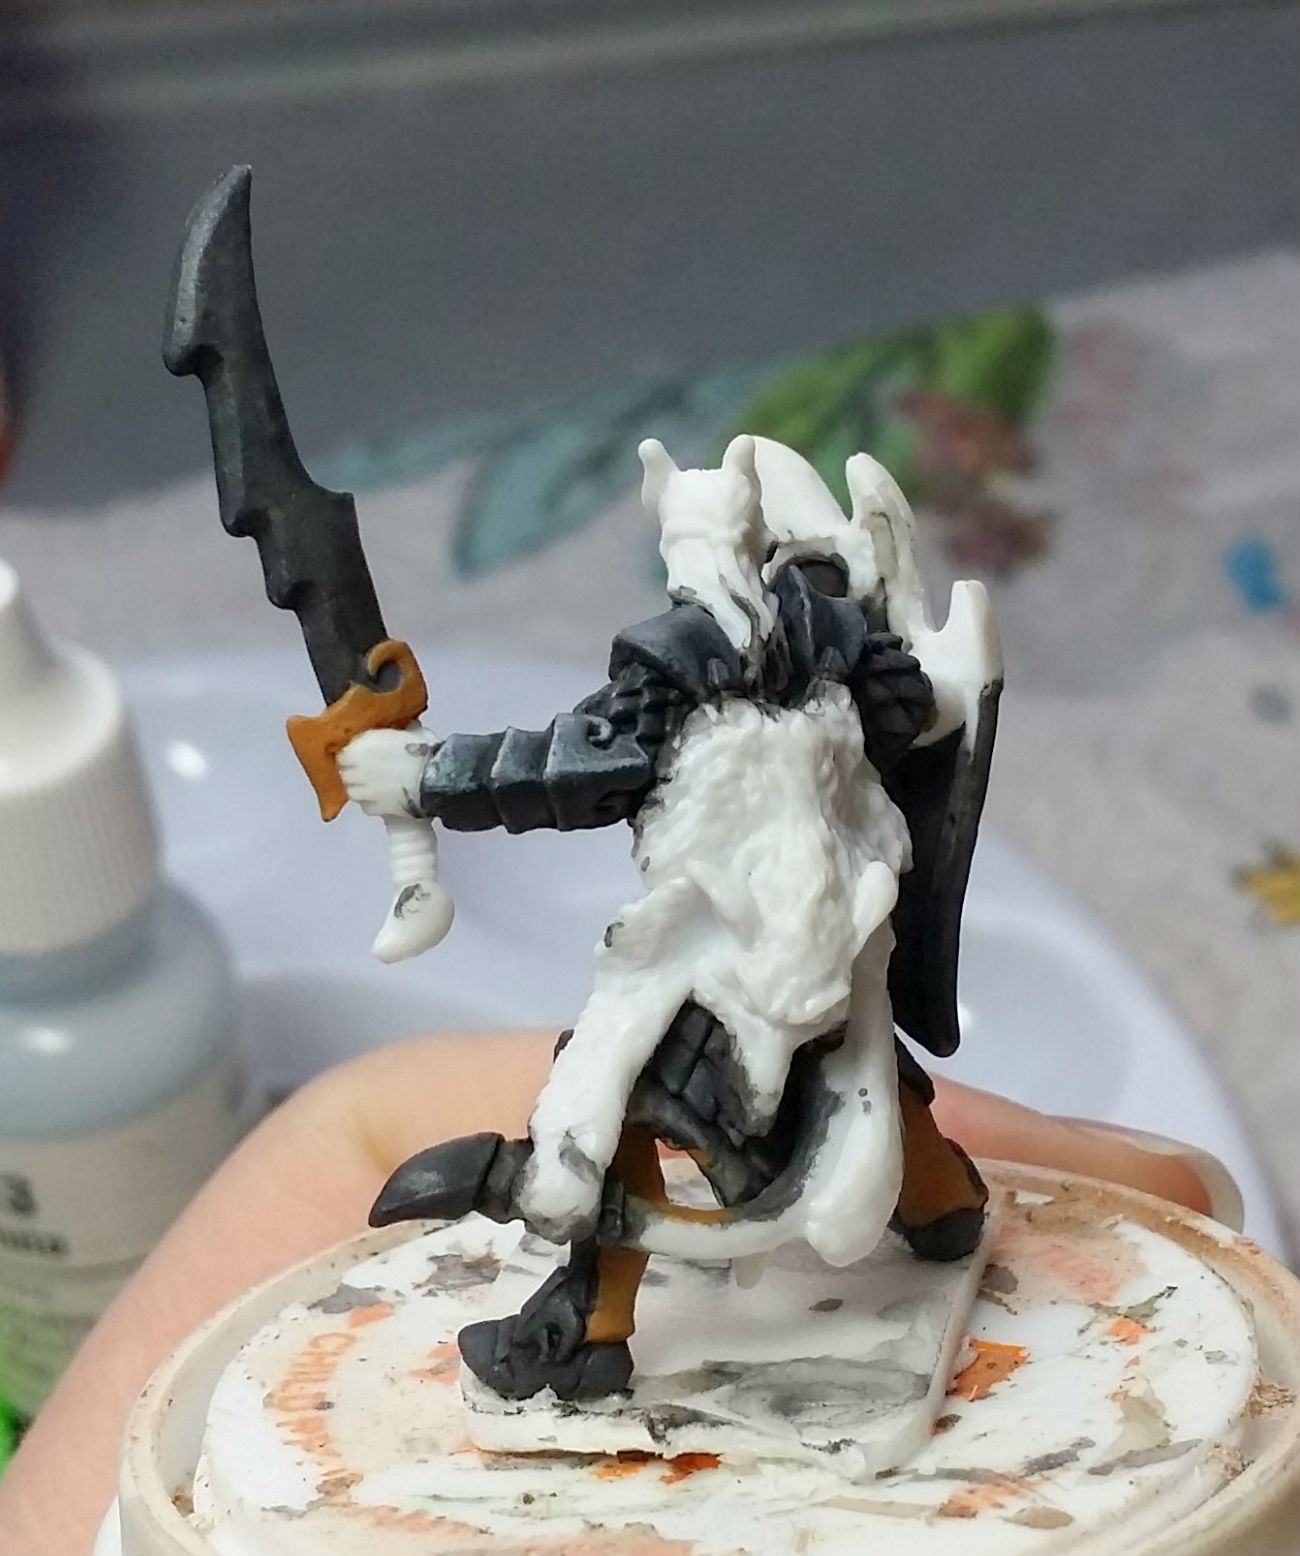
Reaper Vaeloth Hellborn Paladin has pretty much been sitting by the wayside while I’ve been working on the Dwarfs (and while I had a really busy week at work, eating into my painting time). Here’s where he stands now:

I cleaned up his skin a lot, but I’m not sure the hair is working for me. Also, the bits of cloth are obviously not finished.
I need to change his hair (possibly to a red tone), clean up the cloth, shade the sword, paint the wolf pelt, and figure out something cool to do with the shield. Also, he needs a base! I don’t know why, but this guy always makes me think of Drizzt Do’Urden.
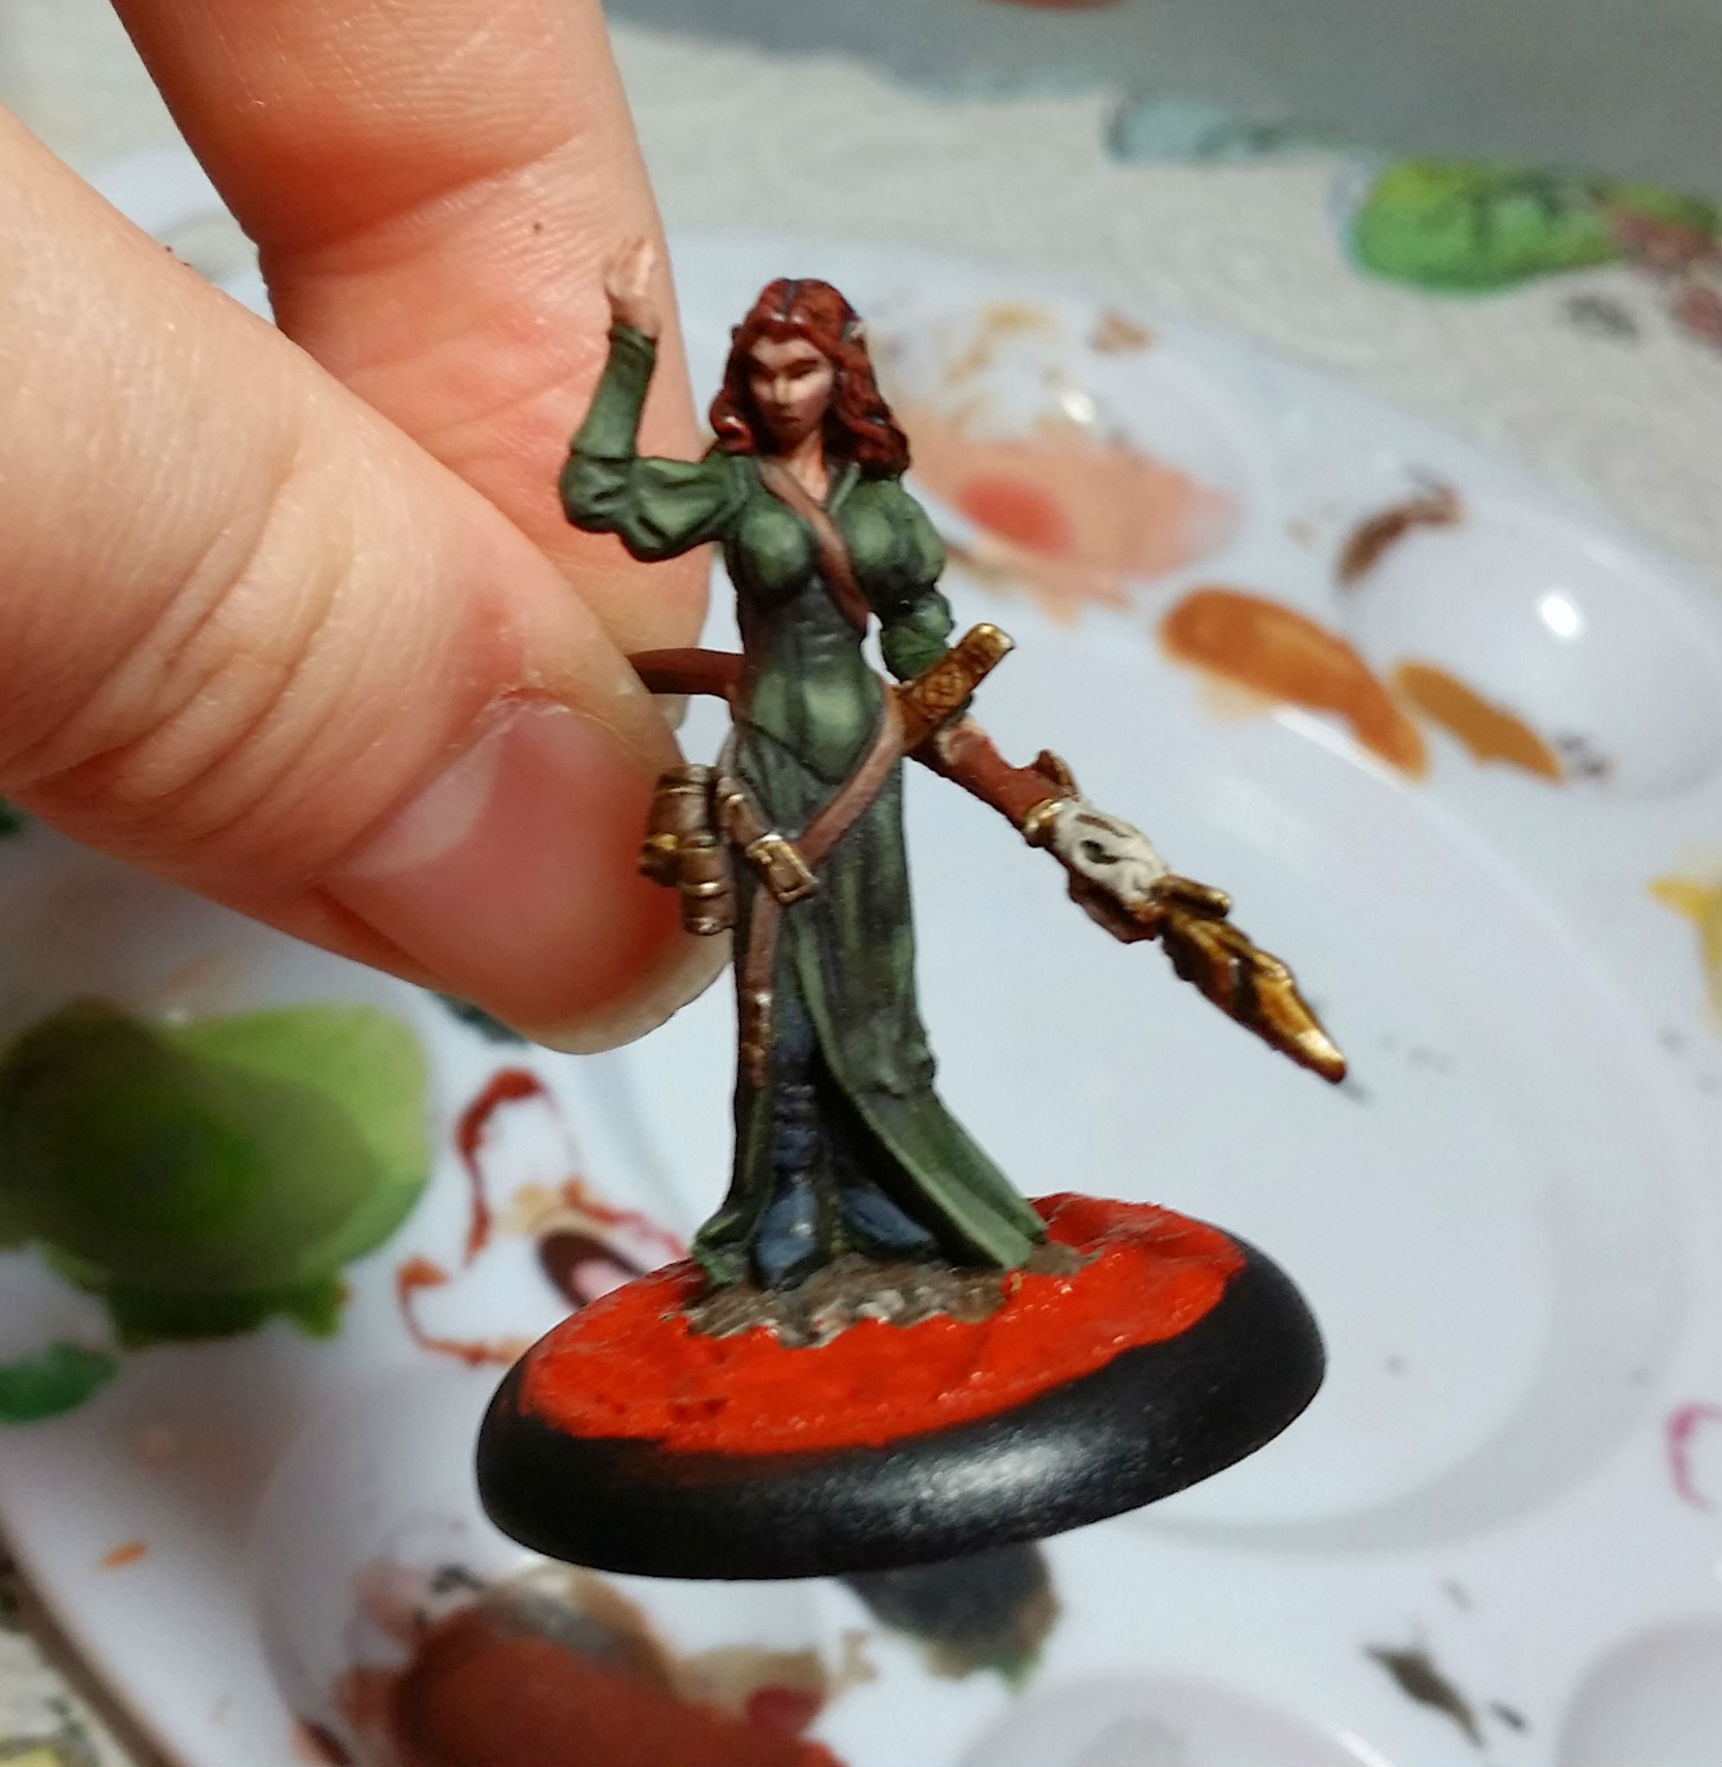
WIP: Reaper Vaeloth Hellborn Paladin cont.
I got a little work done on Vaeloth, although I’m not entirely sure which direction to take certain parts of this model still.

I think the NMM is a little rough at this point, and the blending is going to take some more work.
I also got started on the rest of the first group of 6 Chaos Dwarfs.
They’re at that point a lot of models hit where they look like a 3 year old finger painted them. =)

Tomorrow they won’t look so…red.
Reaper Bones Plastic followup and WIP
On yesterday’s post, there was a very useful comment with a link to information about working with Bones plastic: http://www.reapermini.com/forum/index.php?/topic/48668-bones-preparation-glues-putties-mould-lines-etc/
The staff on the Bones model that I had to boil is still straight, so this really does seem to have fixed the problem.
I repainted her, and here she is attached to a round base with some Vallejo Oxide Paste to blend it all in:
Reaper Bones Plastic
Happy New Year!
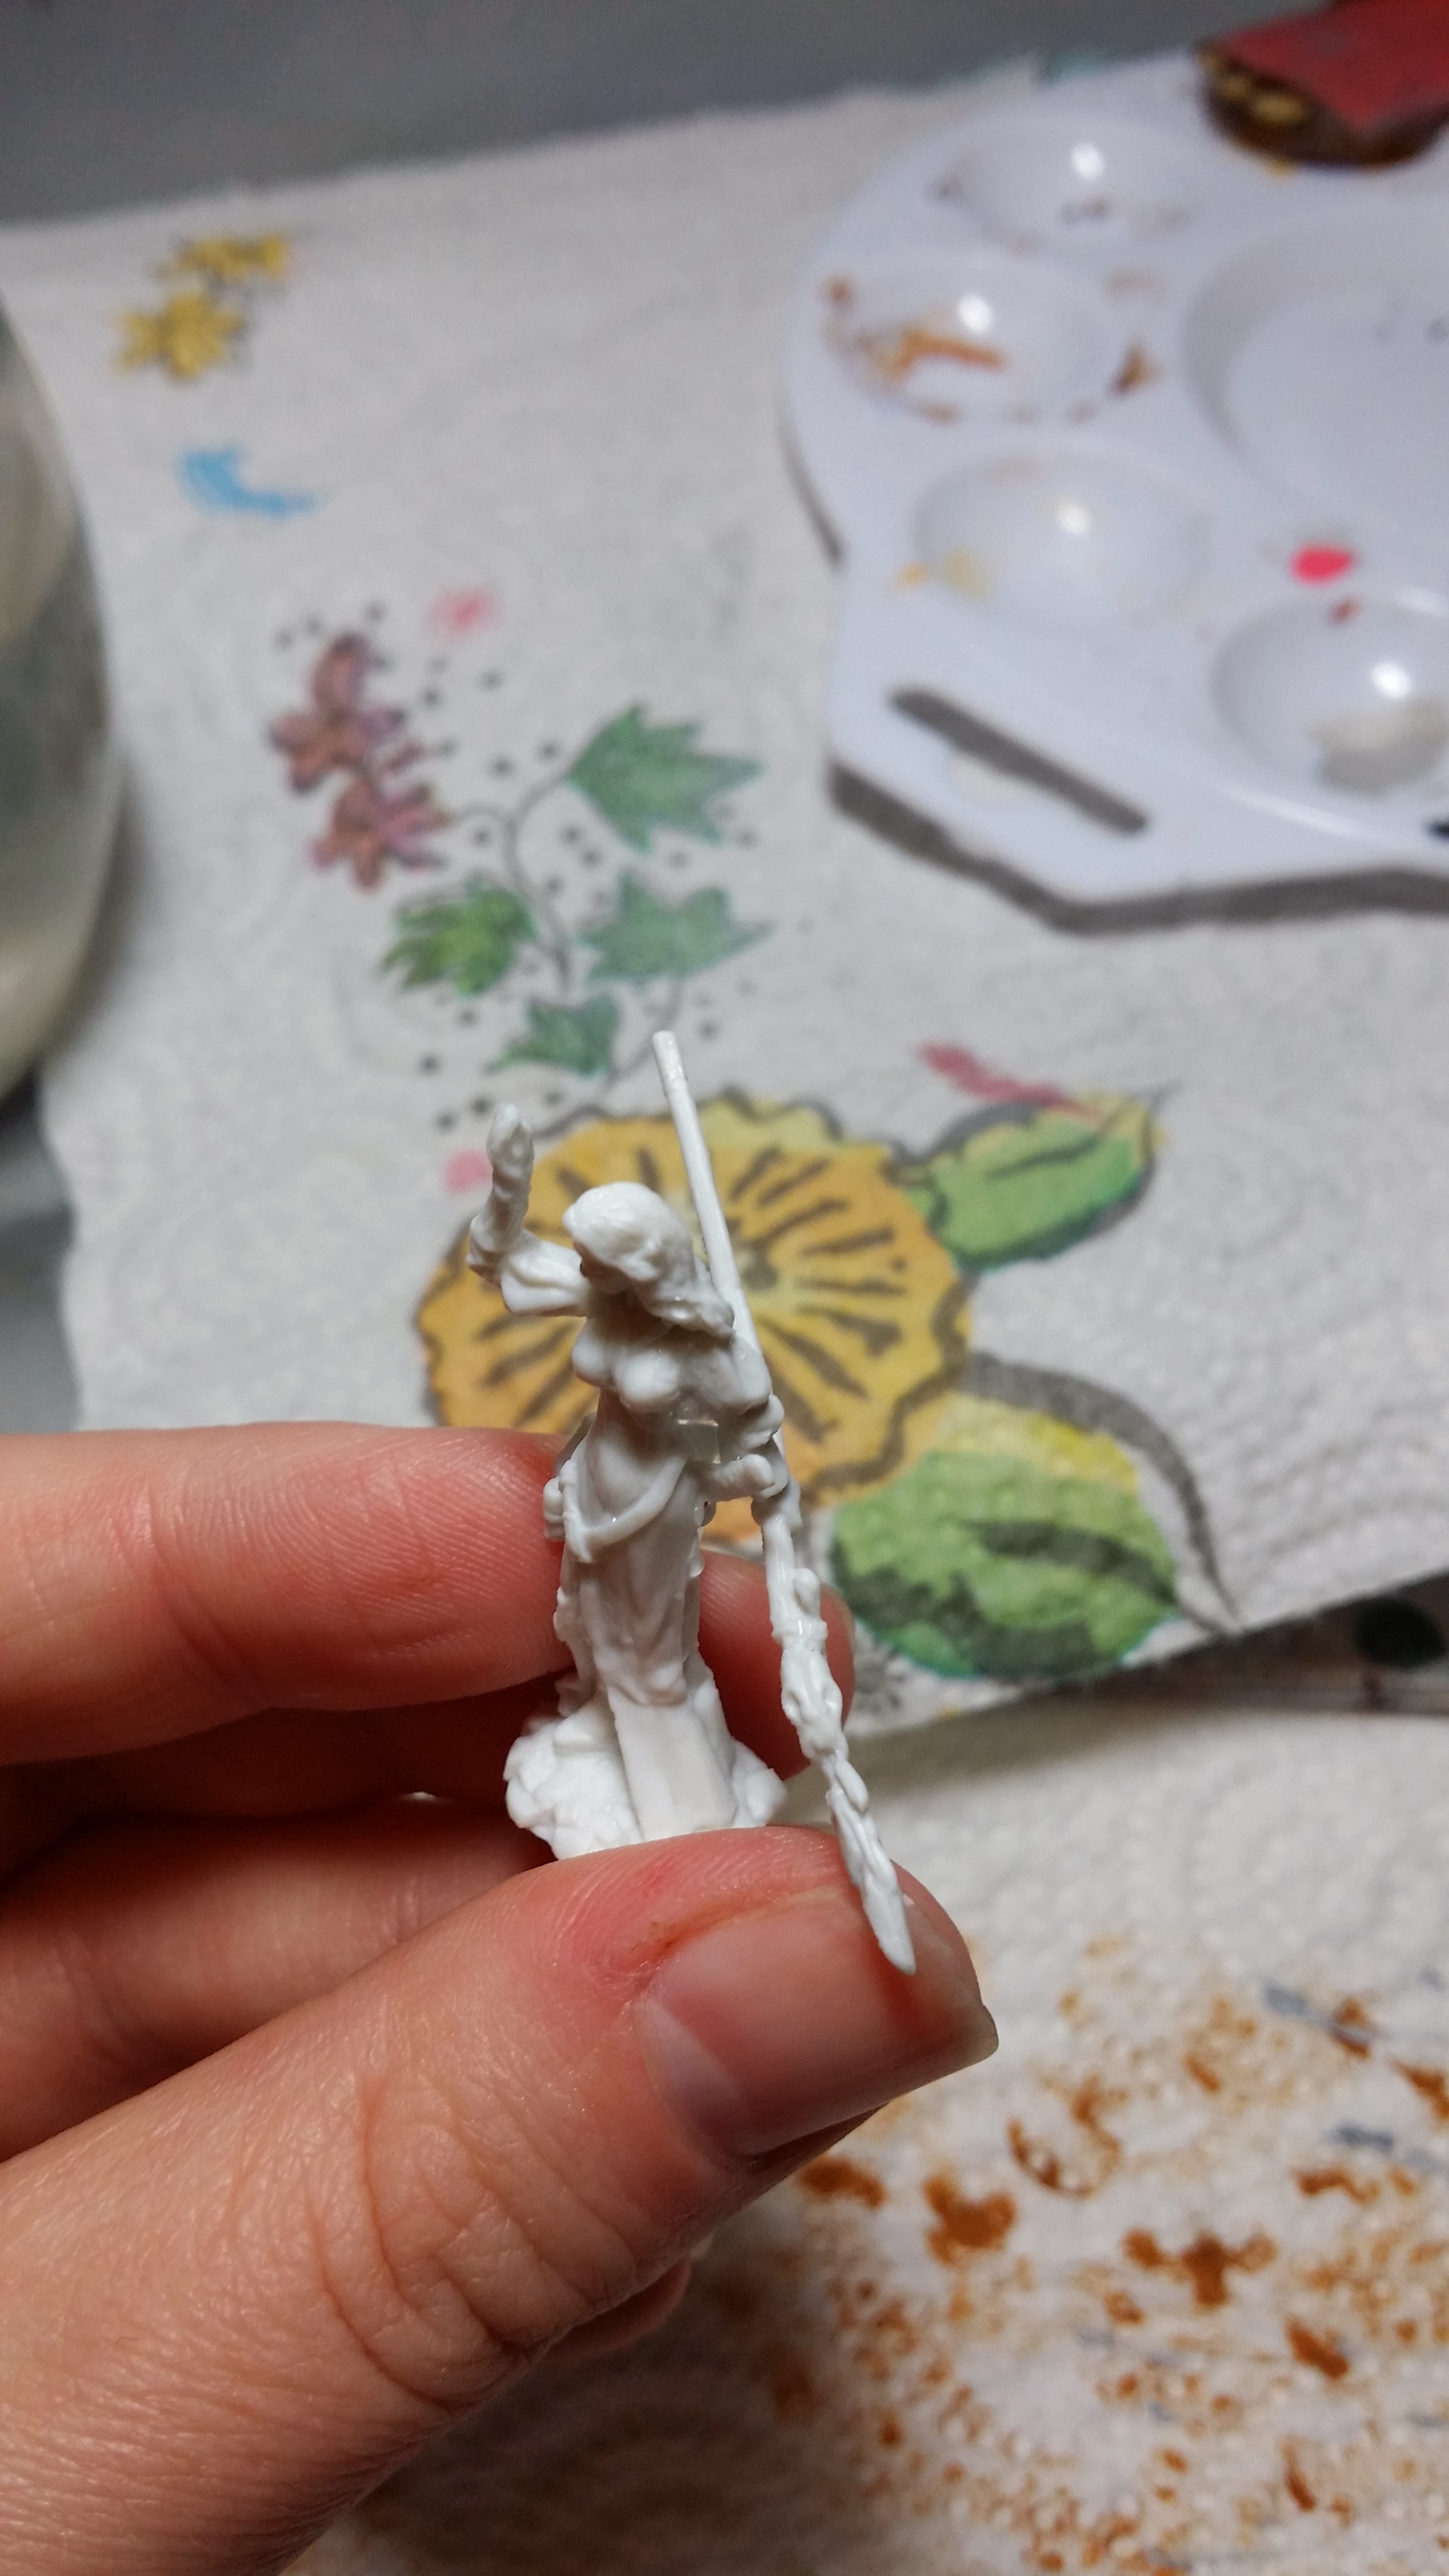
I decided to take a night off from my previously scheduled painting and grab a mini out of my Vampire box from the first Reaper Bones Kickstarter to experiment with this new plastic. I found only two minis loose in the box (the rest were bagged together, stapled together, etc.) – Mister Bones and a very basic female something-or-other. I didn’t want to mess with Mister Bones, so the as yet unidentified female it was.
Supposedly this plastic does not require priming, so I didn’t prime it. I did clean mould lines and scrub the model, but that was it. I even left her on her broccoli base since it was so tiny I figured I could blend it easily into a regular base later. I found the weird, crunchy, hard spot that every Bones mini I’ve handled has had. Not entirely sure what that’s from, but on this model it was in her armpit, which made it a bit harder to clean up.
Her staff was bent up pretty badly, as you can tell in the picture below.

I put her in scalding hot water from the tap, held the staff straight, and put her in cold tap water. This seemed to fix the problem.
The first layer of paint went on a bit differently than I’m used to, as though the paint was a wash. After that dried, the rest went on as normal. It seemed to be staying on well also, so I think it’s probably true that this plastic does not need priming. I have a really hard time seeing the details on it though, so the matte finish of a primer may be helpful.
In this picture, her skirt, top, and boots are all the same color, but the skirt has several layers of paint and the rest of her dress and boots has only one layer, so you can see what I mean about the paint going on like a wash in the first layer.

The next morning her staff had reverted to its previously bendy self.

I did some reading, and found that the temperature of the water I used to straighten her staff the first time may not have been hot enough. This time I was going to put her in boiling water. There was a good chance of ruining the paint already applied to her, but that’s a small loss in the name of science. Figuring out how to handle Bones plastic is pretty important considering how very many Bones minis I have now and will have in the future from the second Kickstarter.
I dipped her in the boiling water for about 10 seconds, and her staff completely reset itself. I didn’t have to hold it straight, and cold water was probably unnecessary. I did notice that the staff was less pliable after this process, but only a little.
Unfortunately, a lot of the paint was ruined.

I found out what mini she is before starting this post – Reaper Bones 77193 Hyrekia Dragonthrall Mage. She’s not even supposed to be in the Kickstarter Vampire box! Of course if I try to just randomly pick a mini out of that box the extra one would be the one I pick, and of course I would ruin her, lol. Oh well. I’m going to give her staff some time to see if it stays straight.
